How To Draw a Simple Crane Truck
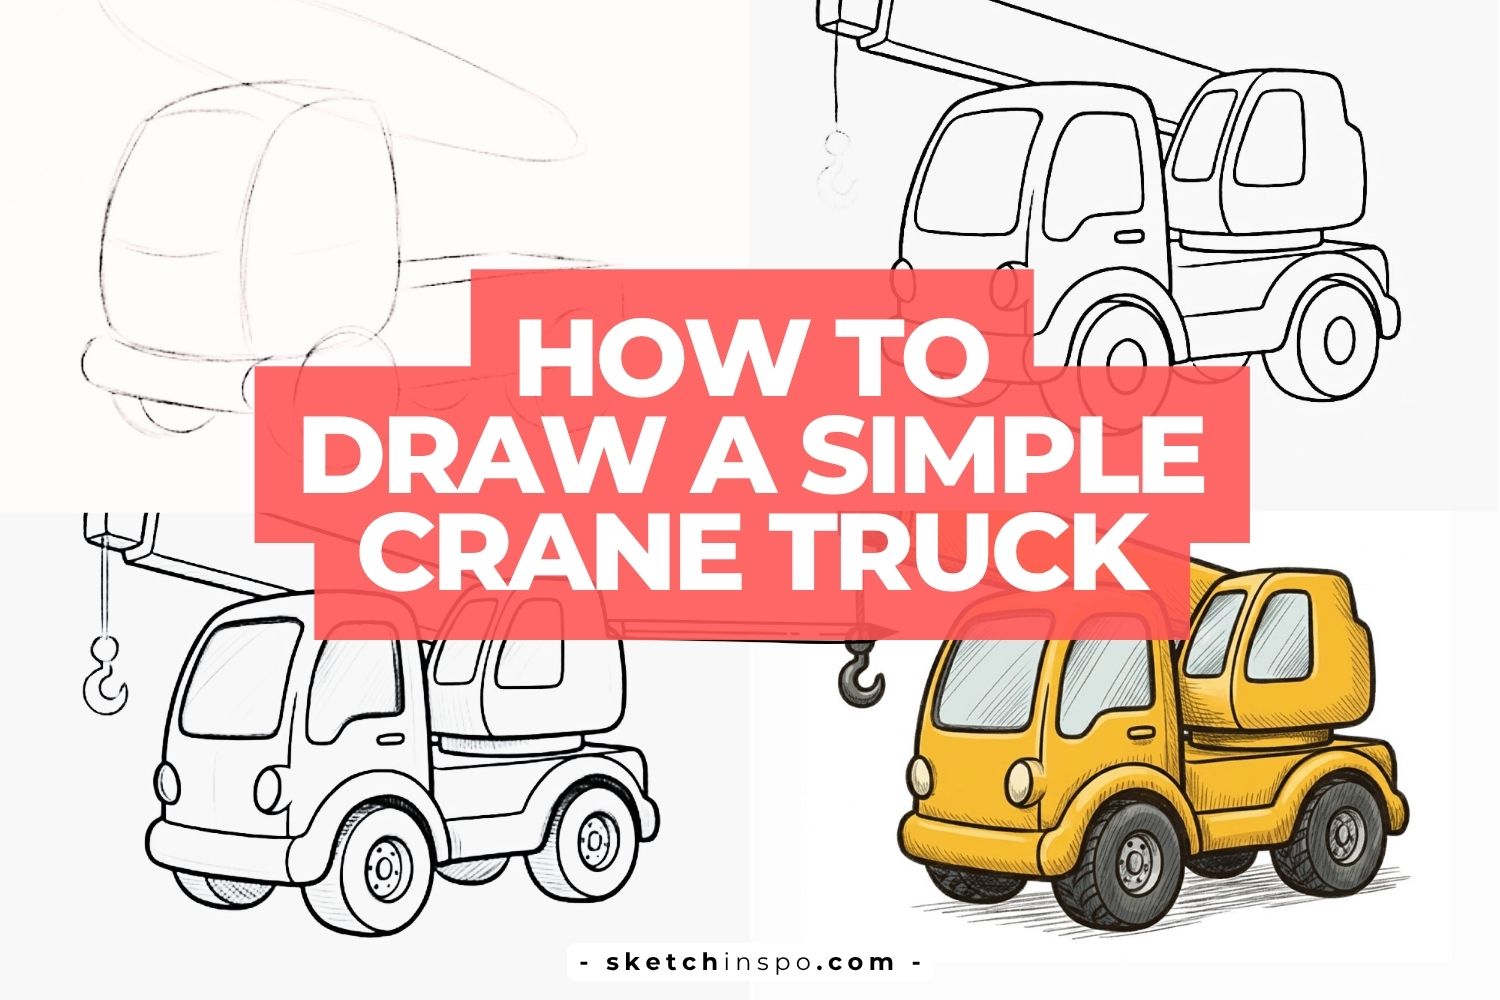
Want to learn how to draw a simple crane truck without getting lost in complicated details? You’re in the right place.
Crane trucks look impressive, but they’re surprisingly easy to sketch when you break them into manageable steps. Instead of worrying about every bolt, cable, and mechanical part, you can focus on the basic shapes first and build the drawing piece by piece.
I’ve always enjoyed drawing construction vehicles because they combine simple geometric forms with cool machinery. Plus, let’s be honest—a crane truck automatically looks more exciting than drawing yet another plain rectangle-shaped vehicle. Ready to get started?
Why Start with Simple Shapes?
Before you draw any vehicle, you need a solid foundation.
Professional artists rarely begin with tiny details. They start with circles, rectangles, and guiding lines. Why? Because simple shapes help you keep proportions balanced and make corrections much easier.
When learning how to draw a simple crane truck, focus on:
- Large shapes before details
- Basic proportions
- Clean construction lines
- Gradual refinement
Think of it like building a real crane truck. You wouldn’t install the hook before constructing the vehicle body, right?
Drawing Materials You’ll Need
You don’t need expensive supplies for this project.
Grab these simple tools:
- Pencil
- Eraser
- Black pen or fineliner
- Drawing paper
- Colored pencils, markers, or crayons
A basic HB pencil works perfectly for sketching.
Now let’s draw that crane truck.
Step 1: Basic Shapes and Construction Sketch
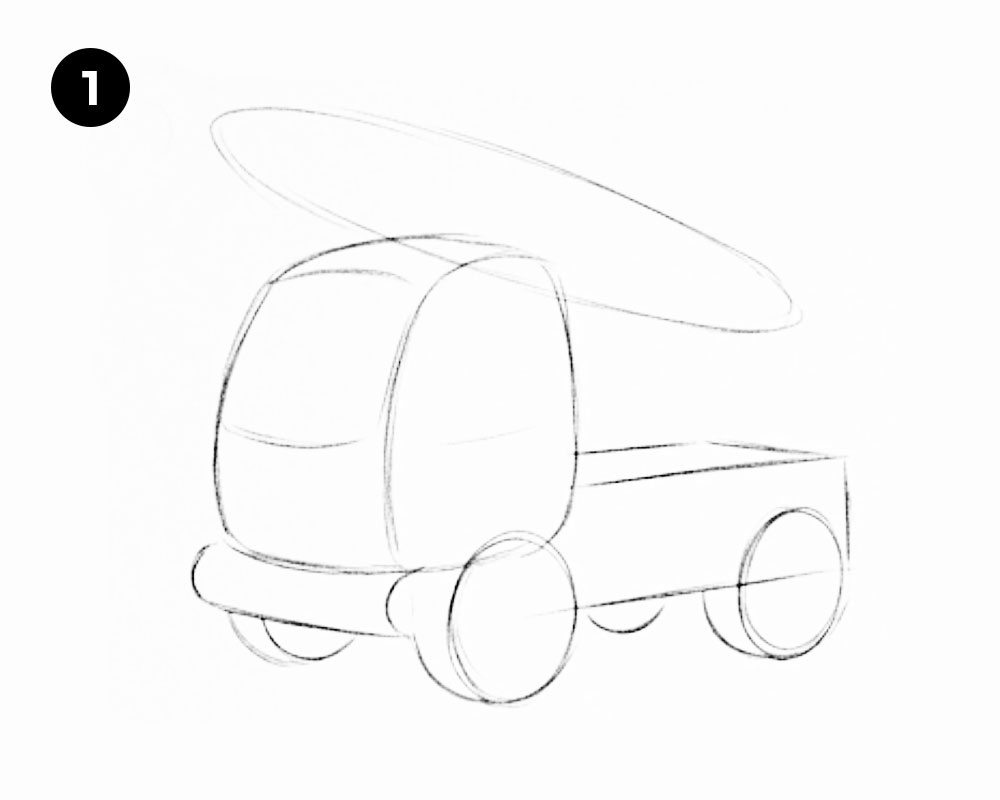
Build the Foundation
Start with very light pencil lines.
Draw a rounded rectangle for the cab section. Then sketch a longer rectangular shape behind it for the truck platform. Add large circles where the wheels will sit.
Next, draw an angled rectangle above the truck body to represent the crane arm.
At this stage, your sketch may look messy. That’s completely normal.
Focus on Proportions
Ask yourself: Does the crane arm look too short? Do the wheels look oversized?
Making adjustments now saves time later.
Keep your lines loose and light. You will erase many of them before finishing the drawing.
Step 2: Outline the Crane Truck Body
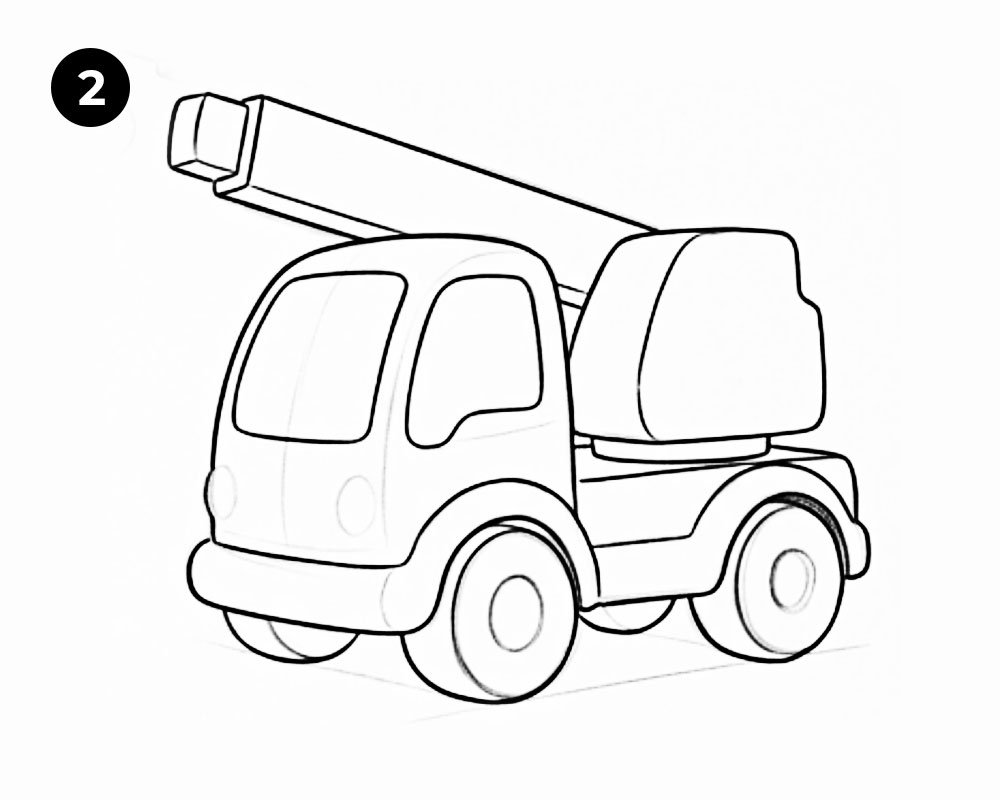
Define the Vehicle Shape
Now you can start tracing cleaner outlines over your construction sketch.
Round the edges of the cab to create a friendly cartoon-style appearance. Draw the front bumper and shape the windows.
Then outline the truck platform and crane housing.
Add Basic Vehicle Features
Include:
- Windshield
- Side windows
- Front lights
- Bumper
- Wheel arches
These details immediately transform simple shapes into a recognizable crane truck.
Ever notice how just adding windows suddenly makes a vehicle feel alive? Funny how a few lines can do so much.
Step 3: Add the Crane Hook and Details
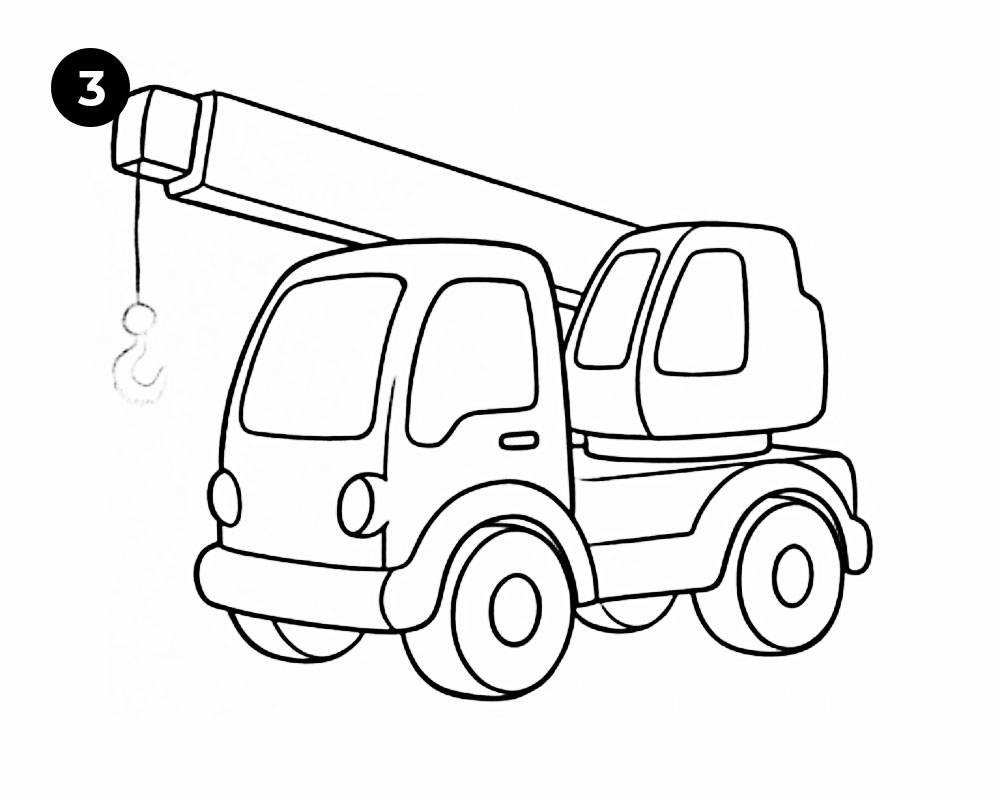
Draw the Crane Arm
The crane arm serves as the star of this drawing.
Refine the rectangular boom shape and make sure it connects naturally to the crane base.
Keep the design simple and easy to follow.
Add the Hook
Draw a straight cable hanging from the end of the crane arm.
At the bottom of the cable, sketch a curved hook shape.
The hook doesn’t need extreme detail. A simple curved design works perfectly.
Include Small Mechanical Details
Add a few simple elements such as:
- Connection joints
- Support panels
- Crane housing outlines
Small details add realism without making the drawing overwhelming.
Step 4: Refine the Wheels and Structure
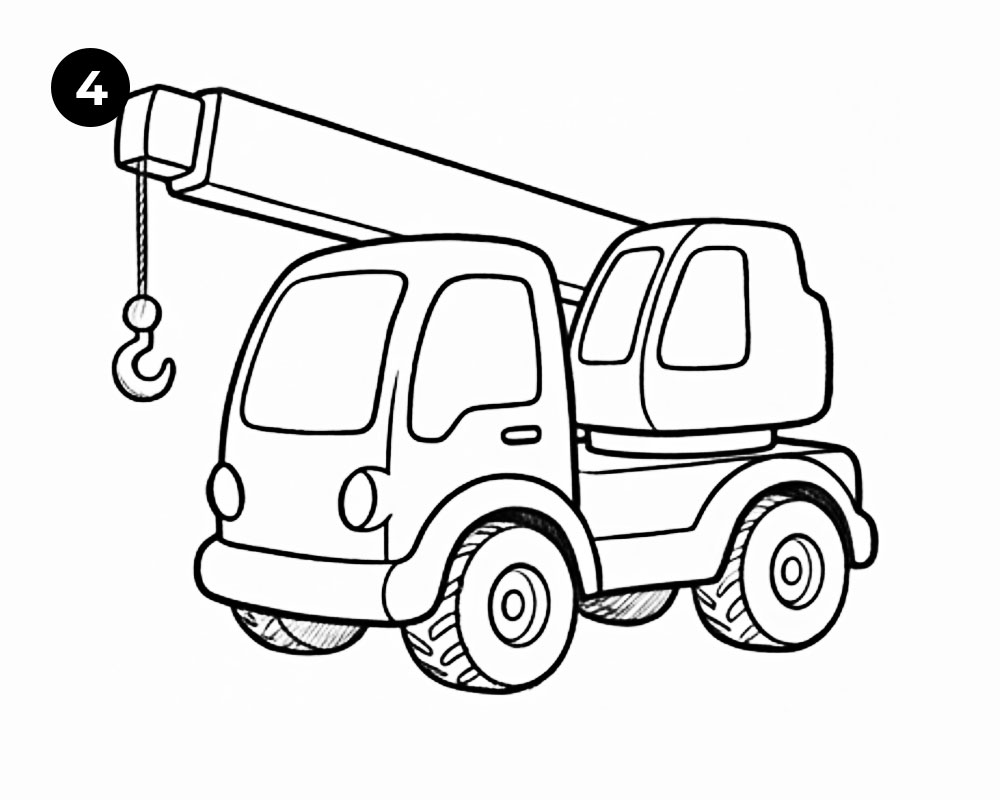
Improve the Wheel Design
Now focus on the wheels.
Draw inner circles inside each wheel to create rims. Thicken the tire outlines slightly.
You can also add subtle tread indications around the tires.
Strengthen the Vehicle Structure
Refine:
- Wheel arches
- Truck platform
- Cab edges
- Crane base
At this stage, your crane truck should look complete even without shading.
That’s always one of my favorite moments in a drawing. Everything suddenly starts making sense instead of looking like random circles and rectangles.
Check Your Proportions
Take a quick look at the entire drawing.
Ask yourself:
- Does the crane arm feel balanced?
- Are the wheels evenly sized?
- Does the hook hang naturally?
Small corrections now create a cleaner final result.
Step 5: More Details and Light Shading
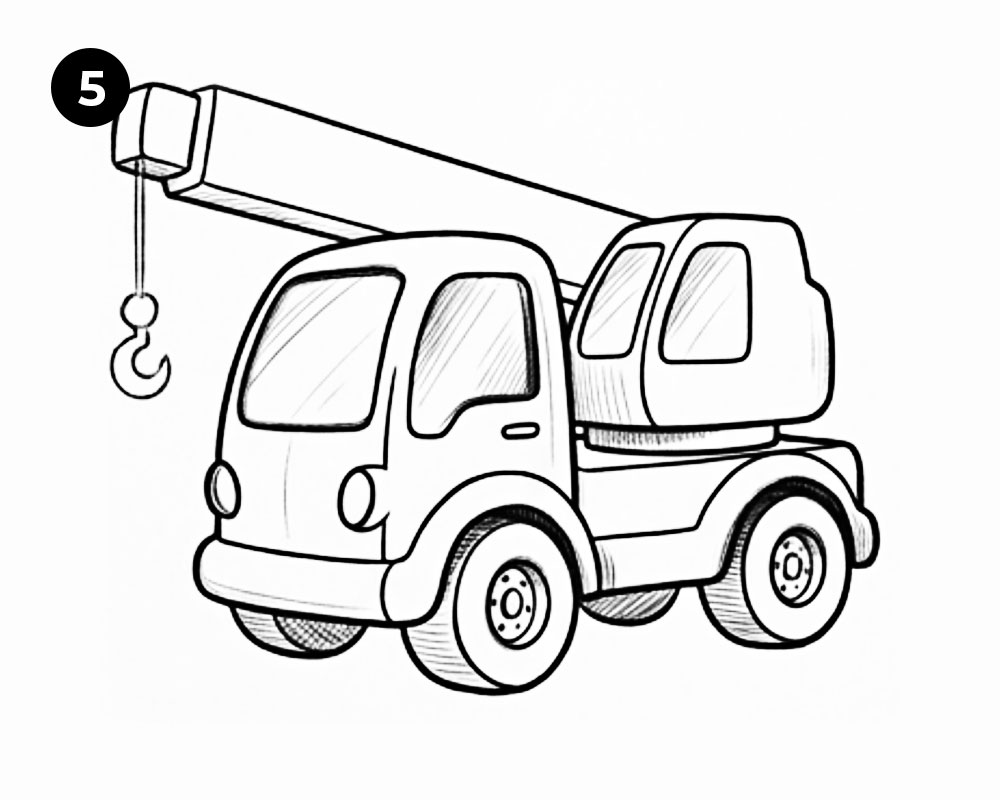
Add Interior Details
Start placing a few details inside the windows.
You might draw:
- Simple seats
- Dashboard outlines
- Window reflections
Avoid cluttering the design.
Remember, this tutorial focuses on how to draw a simple crane truck, not a hyper-realistic engineering blueprint 🙂
Apply Light Shading
Use gentle pencil strokes to create basic shadows.
Shade areas such as:
- Under the cab
- Beneath the truck platform
- Inside wheel wells
- Around the crane housing
Light shading adds depth and dimension.
Establish a Light Source
Choose a direction for your imaginary light source.
For example:
- Light from upper left
- Shadows on lower right
Keeping your lighting consistent makes the drawing look more realistic.
Step 6: Add Texture and Final Shading
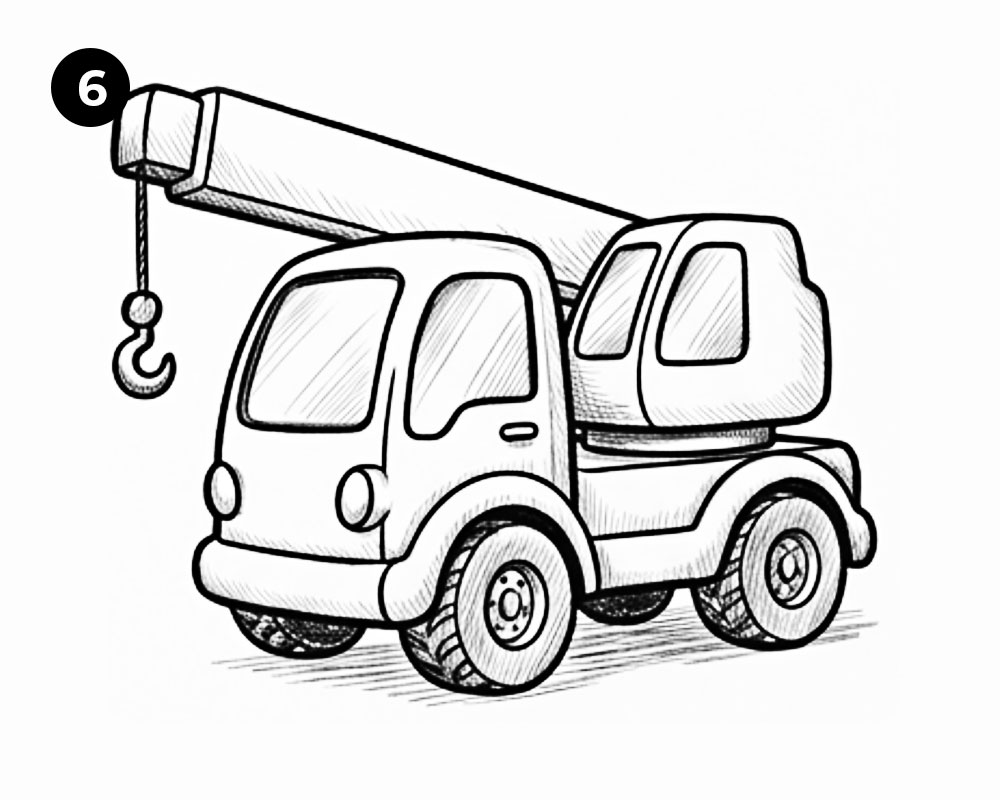
Create Surface Texture
Now you can introduce texture to different parts of the crane truck.
Use short pencil strokes for:
- Tires
- Metal surfaces
- Ground shadows
These textures help separate materials visually.
Deepen the Shadows
Strengthen the darkest areas carefully.
Focus on:
- Underside of the truck
- Between wheels
- Under the crane arm
- Inside recessed sections
The contrast creates a stronger three-dimensional effect.
Clean Up the Drawing
Erase any remaining construction lines.
Then trace important outlines with a darker pencil or pen.
Clean outlines instantly improve the finished artwork.
IMO, this stage often delivers the biggest visual improvement with the least amount of effort.
Step 7: Color Your Crane Truck
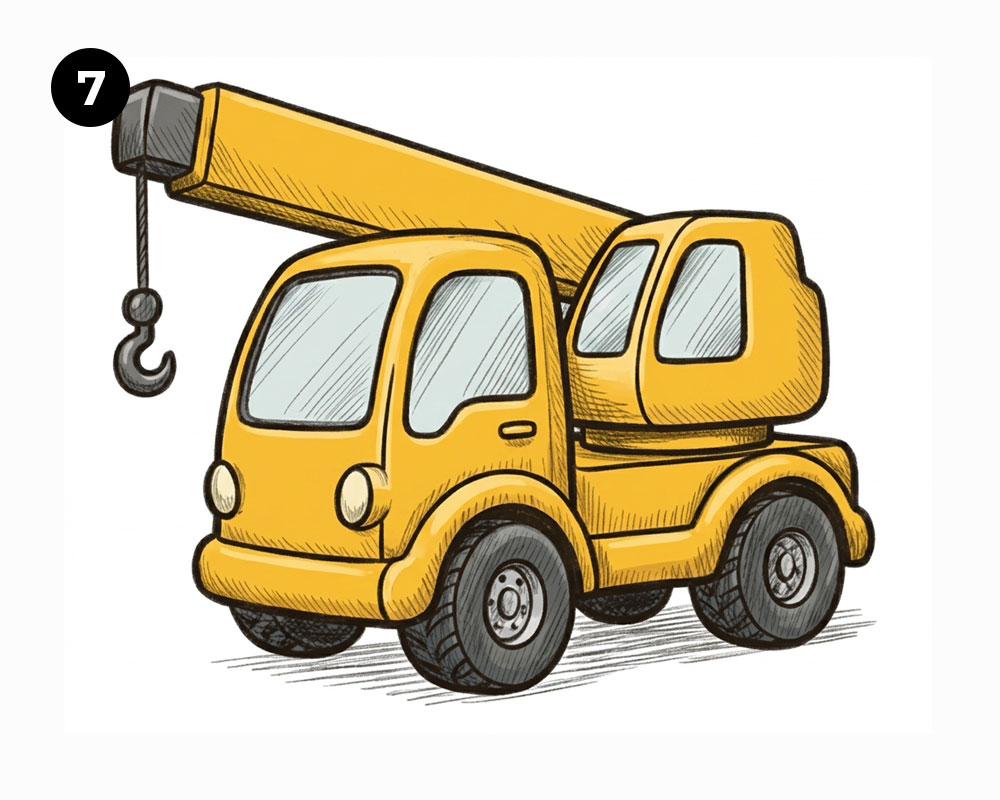
Choose a Color Scheme
This step gives your crane truck personality.
Popular color choices include:
- Yellow construction truck
- Orange utility truck
- Red service crane
- Blue industrial vehicle
You can even create your own custom color combination.
Why follow the rules when you can design a crane truck that looks unique?
Color the Main Sections
Apply colors gradually.
Suggested areas:
| Part | Suggested Colors |
|---|---|
| Cab | Yellow, red, blue |
| Crane Arm | Yellow or orange |
| Tires | Dark gray |
| Windows | Light blue |
| Hook | Gray or silver |
Keep the colors consistent throughout the vehicle.
Add Color Depth
Layer slightly darker shades in shadowed areas.
This technique creates more depth without making the coloring process complicated.
FYI, colored pencils often work best for beginners because they allow gradual blending and easy corrections.
Common Mistakes to Avoid
Even simple drawings can run into a few problems.
Watch out for these common issues:
Oversized Crane Arm
Many beginners draw the crane arm too large.
Keep it proportional to the truck body.
Uneven Wheels
Always compare wheel sizes before finalizing outlines.
Mismatched wheels can make the vehicle look unstable.
Excessive Details
Too many tiny mechanical parts often make the drawing harder to read.
Focus on clear shapes first.
Heavy Early Shading
Apply light shading initially.
You can always darken shadows later, but removing heavy graphite takes much more work.
Tips for Improving Your Crane Truck Drawings
Want your future crane trucks to look even better?
Try these simple strategies:
Study Real Vehicles
Look at reference photos of actual crane trucks.
Notice:
- Wheel placement
- Crane arm structure
- Cab proportions
Observation improves drawing skills faster than almost anything else.
Practice Different Angles
Once you master this version, experiment with:
- Side view
- Front view
- Top perspective
- Three-quarter angle
Each angle teaches valuable drawing skills.
Sketch Regularly
Even ten minutes of daily practice helps.
Consistent sketching develops confidence and improves line quality over time.
Nobody starts as an expert. Every great artist began with wobbly circles and questionable rectangles.
Why Drawing Construction Vehicles Is Great Practice
Construction vehicles offer an excellent balance between simple and complex forms.
You learn:
- Perspective
- Shape construction
- Mechanical design
- Shading techniques
A crane truck combines all these skills in one fun project.
Plus, they look pretty cool sitting in your sketchbook afterward.
Final Thoughts
Learning how to draw a simple crane truck becomes much easier when you break the process into clear steps. Start with basic shapes, build the body, add the crane hook, refine the structure, and gradually introduce shading, texture, and color.
The most important thing? Keep drawing and enjoy the process. Every sketch teaches you something new, even when a wheel looks slightly lopsided or the crane arm decides to ignore gravity for a moment.
Grab your pencil, follow these seven steps, and create your own crane truck today. You might surprise yourself with how quickly those simple shapes turn into a finished construction vehicle.