How To Draw a Banana
A banana looks simple until you actually try to draw one. Suddenly, that little yellow fruit starts looking more like a crooked boomerang.
Don’t worry—I’ve got you. Learning how to draw a banana doesn’t require advanced drawing skills or fancy supplies. With a pencil, some paper, and seven simple steps, you can create a clean banana drawing that looks natural and beginner-friendly.
I like this kind of drawing because you can focus on basic shapes, smooth curves, and simple details without getting buried in complicated techniques. So, grab your pencil and let’s draw a banana together!
What You Need to Draw a Banana
Before we start, gather a few basic supplies. You really don’t need much.
Here’s what I recommend:
- Pencil for sketching the basic shape
- Eraser for cleaning up guide lines
- Black pen or marker for the final outline
- Colored pencils or markers for adding yellow color
- White paper or your favorite sketchbook
If you only have a pencil, that works perfectly. FYI, you don’t need an expensive drawing kit to make a good beginner drawing.
The most important tool here involves your patience. A banana contains lots of curves, so focus on drawing those curves slowly instead of trying to finish everything in five seconds.
How To Draw a Banana Step by Step
Now comes the fun part. We’ll build the banana from a simple curved line and gradually add the outline, stem, texture, and color.
Don’t worry if your first curve looks slightly weird. Mine often do too. The goal involves creating a recognizable banana, not winning a fruit-drawing championship.
Step 1. Draw the Basic Banana Curve
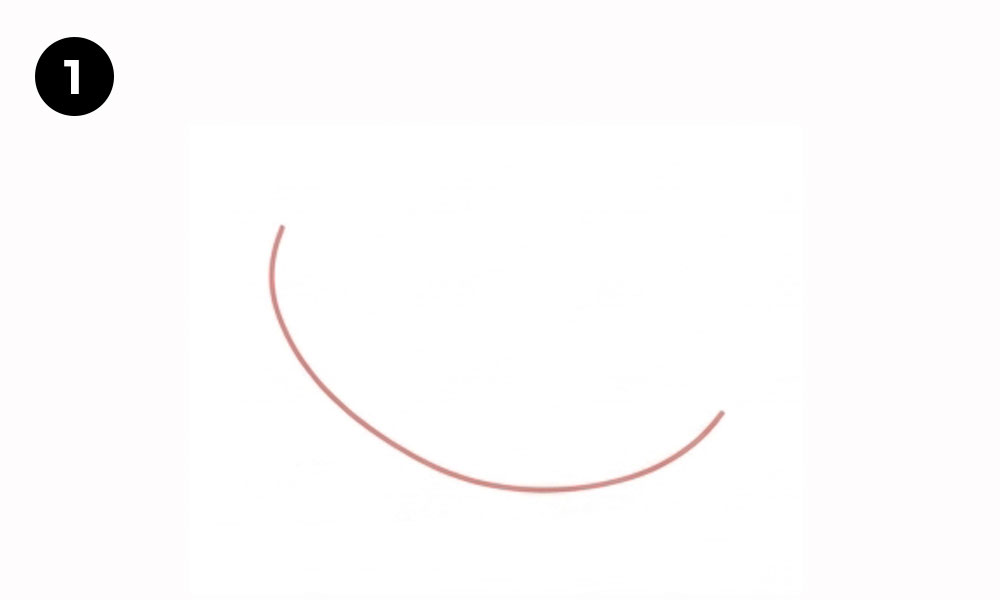
Start by drawing one long, gentle curved line.
Think about the overall direction of the banana. You want the line to bend slightly upward at both ends while creating a soft curve through the middle.
Don’t press your pencil too hard yet. Keep this first line light because you may need to adjust it later.
Try to avoid making the curve perfectly symmetrical. Real bananas rarely follow perfect geometry, and that little bit of irregularity actually makes your drawing look more natural.
Keep the Curve Smooth
Move your hand slowly as you draw the line. If you struggle with long curves, break the movement into smaller sections while keeping the overall flow consistent.
Ask yourself: Where should the banana point? Your answer will determine the direction of the entire drawing.
For this tutorial, we’ll create a banana that curves upward slightly toward the left and right.
Step 2. Outline the Banana Shape
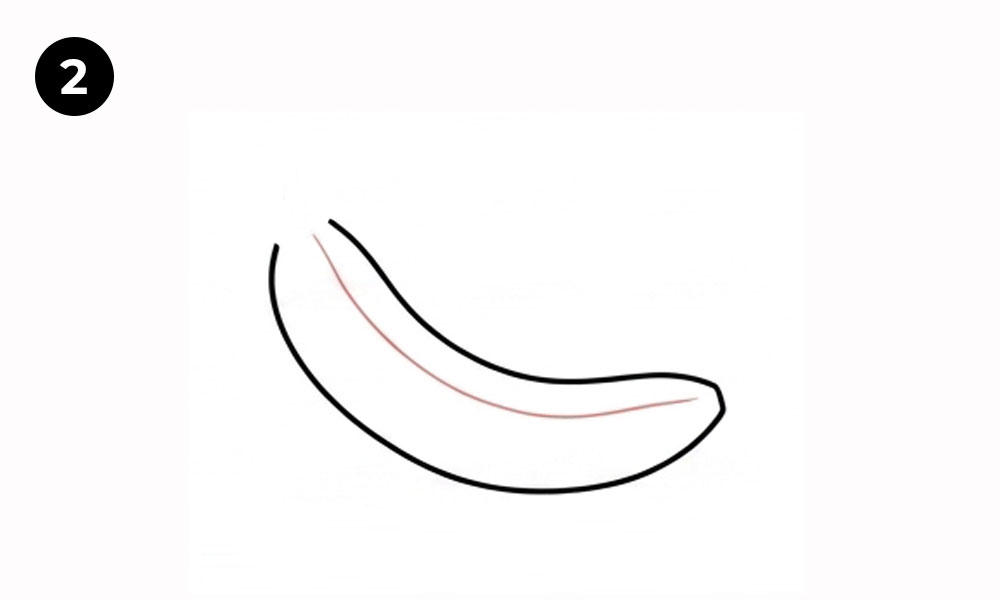
Now turn that single curve into the main banana body.
Start near the left side and draw another curved line around the first guideline. Follow the general shape while giving the banana some thickness.
The upper edge should curve inward slightly before reaching the right tip. The lower edge should create a broader, fuller curve underneath.
Keep the two sides connected near the right end.
At this stage, you should already see the banana taking shape. Pretty satisfying, right?
Give the Banana Some Natural Shape
Avoid making both edges perfectly parallel. A banana usually has a thicker middle section and narrower ends.
Try this simple rule:
- Keep the middle section fuller.
- Make the ends narrower.
- Keep the curves smooth.
- Let the two sides follow slightly different paths.
Those small differences can make a huge difference in the final drawing.
Step 3. Add the Inner Curve and Tip
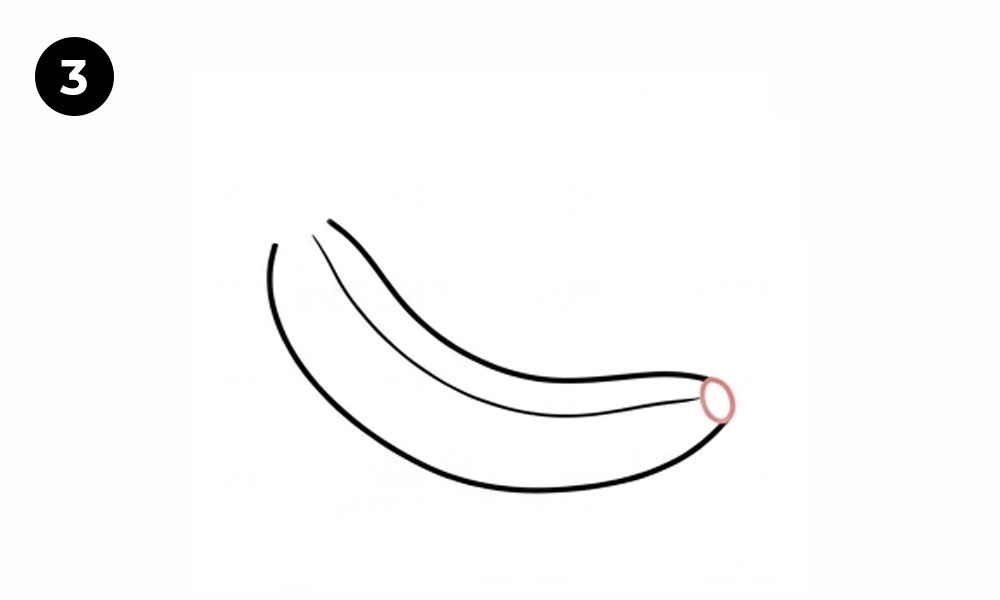
Next, add the inner curve that runs along the banana.
Start near the left side and draw a long curved line toward the right tip. Keep this line inside the main outline and follow the natural bend of the banana.
This inner line helps create the appearance of the banana’s separate ridges. It also gives the fruit more dimension instead of making it look like a flat crescent.
Now focus on the right tip.
Draw a small curved shape where the two outer lines meet. This detail gives the banana a finished end and makes the overall shape feel more realistic.
Don’t Overthink the Tip
The tip doesn’t need perfect symmetry.
In fact, a slightly uneven tip often looks better. Real bananas have plenty of little imperfections, so let your drawing keep some personality.
If your tip looks a little wonky, don’t panic. You’re drawing a banana, not designing a spacecraft. 🙂
Step 4. Add the Banana Stem Lines
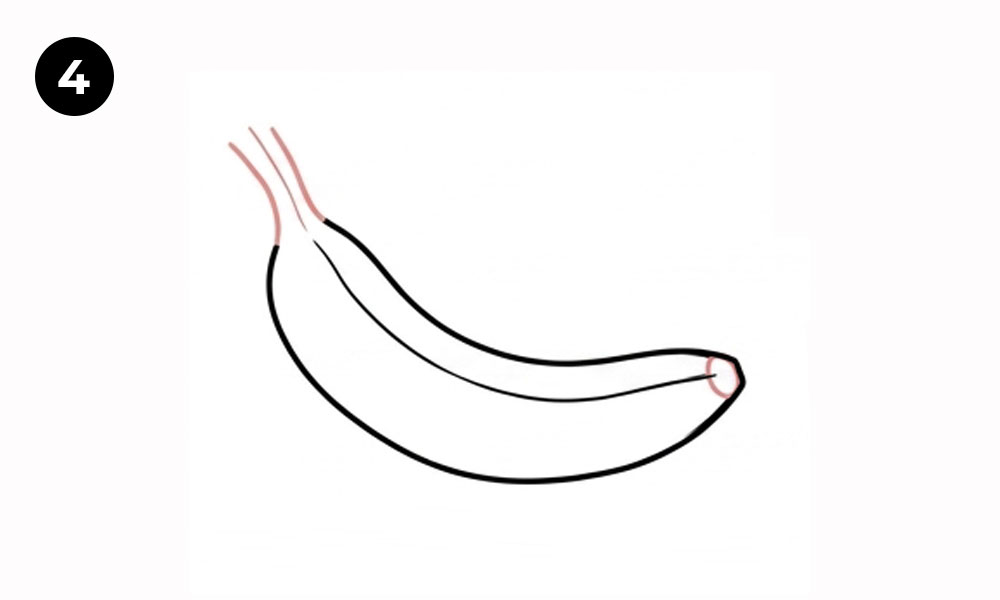
Now move to the opposite end and work on the banana stem.
Add a few short curved lines extending upward from the left side of the banana. These lines will guide the stem and help connect it naturally to the main fruit.
Keep the lines light at first.
The stem should look slightly narrower than the banana body. You can also let the lines angle outward a little to create a more organic appearance.
Create a Natural Connection
Pay attention to the transition between the stem and the banana body.
You don’t want the stem to look like you simply glued a stick onto the fruit. Instead, let the curves flow naturally into the top of the banana.
This small area can add a surprising amount of realism to a simple banana drawing.
Step 5. Draw the Banana Stem
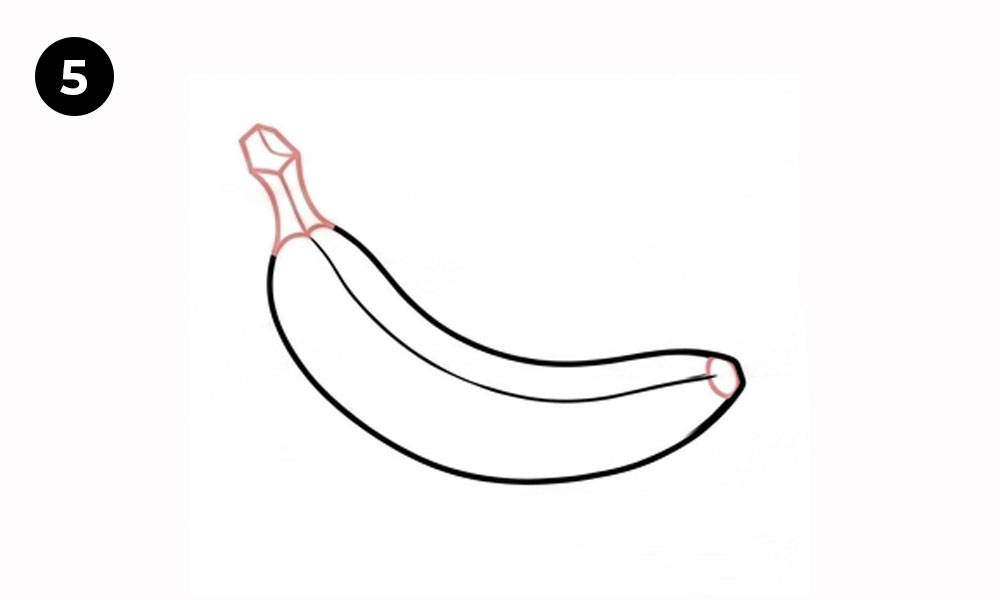
Now turn those guide lines into a proper banana stem.
Build a small, irregular shape around the top of the stem. You can create several short angled lines to give the end a slightly rough appearance.
Keep the stem relatively small compared with the banana body.
You can also add a few lines where the stem meets the fruit. These details help separate the stem from the yellow body.
Why the Stem Matters
The stem gives the drawing an obvious starting point and makes the fruit easier to recognize.
Without it, your drawing might still look like a banana, but the stem adds an extra layer of detail. It also creates a nice contrast between the smooth fruit and the rougher top section.
For a beginner drawing, that contrast works really well.
Step 6. Add Banana Details and Texture
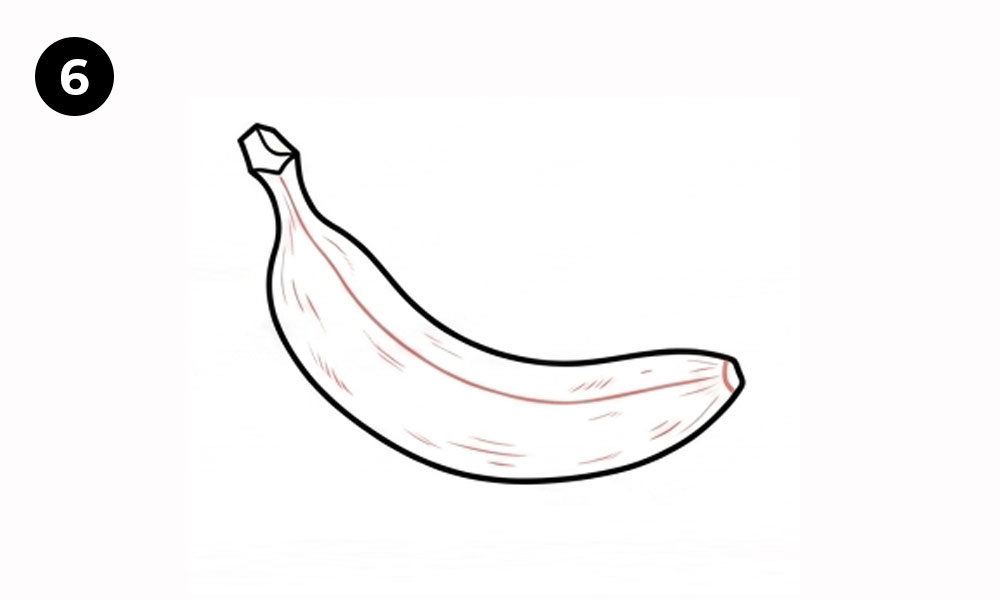
Your banana now has a complete outline, but it still needs a few details.
Add small curved lines along the banana skin to suggest texture. You don’t need dozens of them. A handful of carefully placed marks can create enough visual interest.
You can add details along:
- The inner curve
- The lower edge
- The middle section
- Around the stem
- Near the right tip
Keep most of these lines short and subtle.
Use Texture Sparingly
This step gives you plenty of room for creativity.
You could add tiny scratches, short curved marks, or slightly darker areas around the ends. However, avoid covering the banana with random lines.
Too many details can make a simple banana drawing look messy.
IMO, fewer details usually create a cleaner beginner-friendly illustration. Start with a few marks and add more only when you feel the drawing needs them.
Step 7. Color the Banana
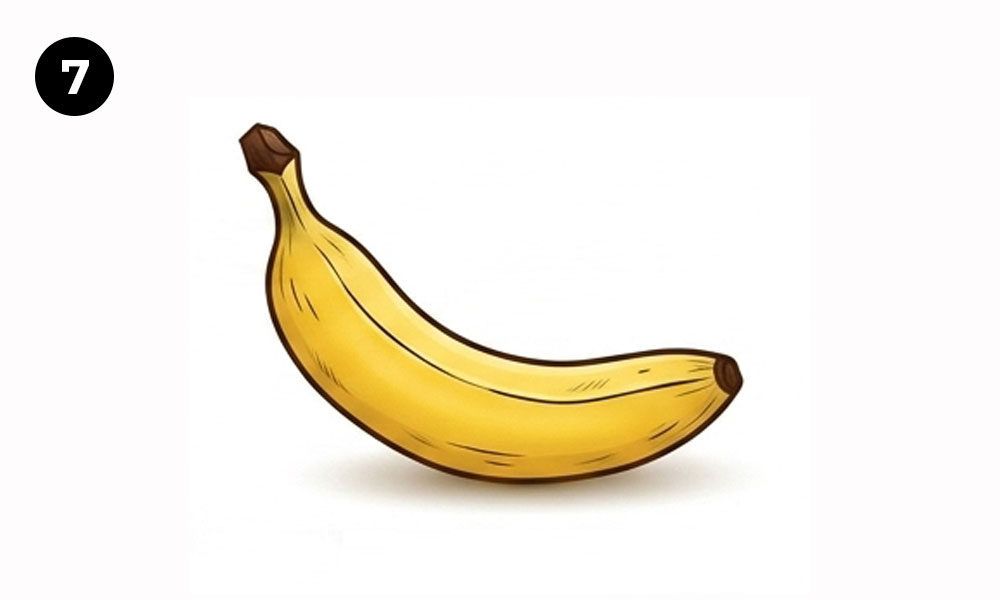
Finally, bring your banana to life with color.
Use yellow as your main color and add a slightly darker shade around the edges and curved areas. You can use brown or dark ochre for the stem and the small tip.
If you use colored pencils, build the color gradually. Start with a light yellow layer, then add darker yellow or orange around the edges.
Add Simple Shading
You don’t need complicated shading techniques.
Focus on a few simple areas:
- Add darker yellow near the lower edge.
- Add a slightly deeper yellow around the curves.
- Use brown around the stem.
- Keep a lighter area through the middle for a subtle highlight.
This simple approach can make the banana look much more three-dimensional.
Want a cartoon-style banana instead? Skip most of the shading and use a bright yellow color with a strong black outline. That approach works especially well for simple banana drawings, kids’ illustrations, and beginner doodles.
Tips for Drawing a Better Banana
Once you finish your first banana, try drawing another one without following every guideline. You’ll quickly notice which parts feel easy and which parts need more practice.
Here are a few tips that can help:
1. Practice Curves
The banana depends heavily on smooth curves. Spend a few minutes drawing curved lines before starting the actual fruit.
2. Avoid Perfect Symmetry
A banana should look organic. Let one side curve slightly differently from the other.
3. Start Light
Use light pencil strokes during the sketching stage. You can always darken the final outline later.
4. Keep the Details Simple
You don’t need to draw every tiny mark on the banana peel. A few well-placed lines can create enough texture.
5. Experiment With Color
Try different yellow tones. A bright yellow banana can create a cheerful cartoon style, while darker yellow and brown accents can create a more realistic look.
Common Mistakes When Drawing a Banana
Even a simple fruit can create a few drawing headaches.
One common mistake involves making the banana too straight. The curve gives the fruit its personality, so keep that gentle bend throughout the drawing.
Another mistake involves making the middle too thin. Give the banana enough width so the body feels full and rounded.
You might also add too much texture. Remember, details should support the shape rather than compete with it.
Finally, don’t press too hard with your pencil during the first few steps. Heavy guidelines can make cleanup frustrating later.
How To Make Your Banana Drawing More Realistic
Once you feel comfortable with the basic seven steps, you can experiment with more realistic details.
Try adding subtle color changes along the peel. Real bananas rarely have one perfectly uniform shade of yellow.
You can also add small brown spots, tiny scratches, and darker areas around the stem. These details can make your banana drawing feel more natural without requiring advanced drawing skills.
Want to take things one step further? Try drawing several bananas together. Place one banana behind another, change their angles, or create a small bunch.
That exercise can help you practice overlapping shapes, perspective, and proportions while keeping the subject simple.
Easy Banana Drawing Ideas to Try Next
Once you learn how to draw a banana, you can turn the basic shape into several fun drawing exercises.
Try these ideas:
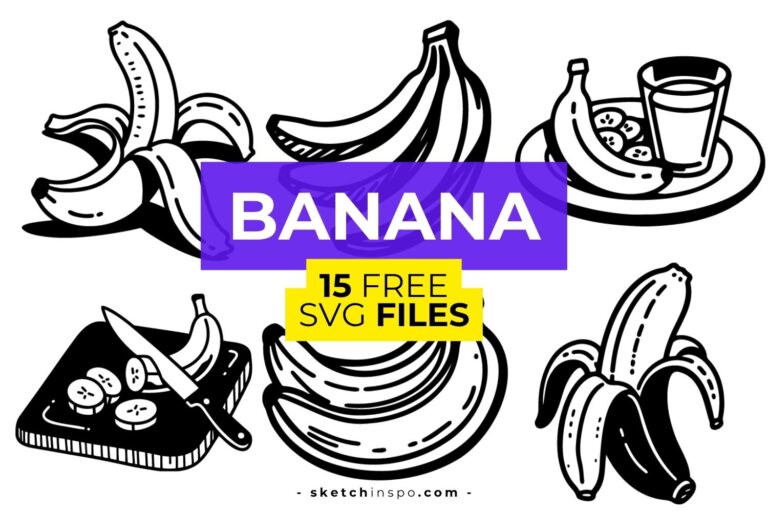
- Draw a peeled banana.
- Draw a banana with a few brown spots.
- Draw a bunch of three bananas.
- Draw a banana lying on a table.
- Draw a banana beside an apple.
- Draw a cartoon banana with exaggerated curves.
- Draw a small banana doodle for your notebook.
- Draw several bananas from different angles.
Why stop at one banana? The first drawing teaches you the shape, while the next few drawings help you understand how that shape changes.
Final Thoughts on How To Draw a Banana
Learning how to draw a banana gives you a surprisingly useful drawing exercise. The simple shape helps you practice smooth curves, proportions, outlines, texture, and basic coloring without overwhelming you.
Remember the seven steps:
- Draw the Basic Banana Curve
- Outline the Banana Shape
- Add the Inner Curve and Tip
- Add the Banana Stem Lines
- Draw the Banana Stem
- Add Banana Details and Texture
- Color the Banana
Take your time with the curves, keep your first lines light, and don’t worry about making everything perfect.
The best part? You can practice this drawing almost anywhere. Grab a pencil, sketch another banana, and see how much better your second attempt looks. After all, even bananas deserve a little artistic attention. 🍌