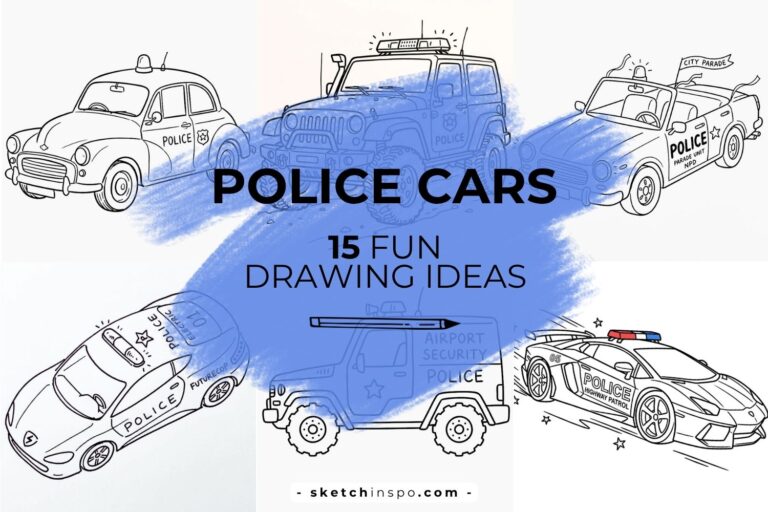
How To Draw a Vintage Police Car
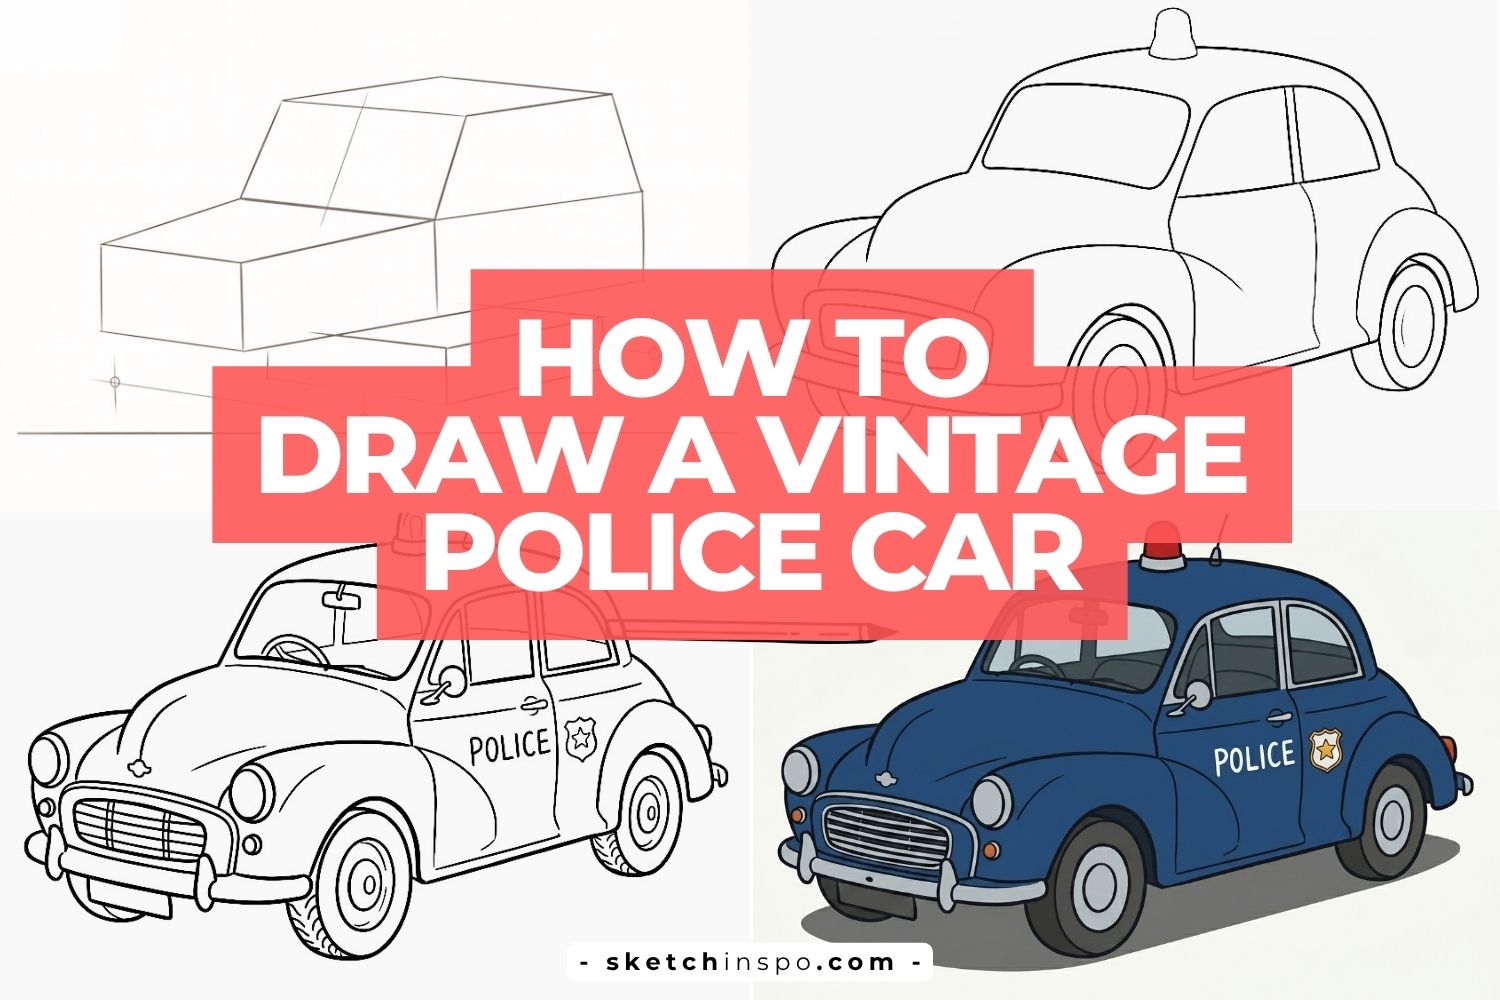
Want to learn how to draw a vintage police car without getting lost in complicated details? You’re in the right place. Vintage police cars have a unique charm that modern vehicles simply can’t match. They feature rounded bodies, classic headlights, and old-school police lights that instantly give them character.
I still remember sketching my first vintage police car years ago. I thought drawing all those curves would feel impossible. A few pencil lines later, I realized the secret wasn’t artistic magic—it was breaking the drawing into simple steps. Funny how often the intimidating stuff turns out to be the easy stuff once you start, right?
In this guide, I’ll walk you through each stage of the process. By the end, you’ll have a complete vintage police car drawing ready for coloring and customization.
Why Draw a Vintage Police Car?
Vintage police cars combine several fun drawing elements into one subject.
You get to practice:
- Basic vehicle proportions
- Smooth curved shapes
- Classic automotive details
- Police-themed decorations
- Creative coloring techniques
Unlike many modern cars with sharp angles, vintage cars feature softer lines. That makes them surprisingly beginner-friendly.
Ready to get started?
Step 1. Sketch the Basic Car Shape
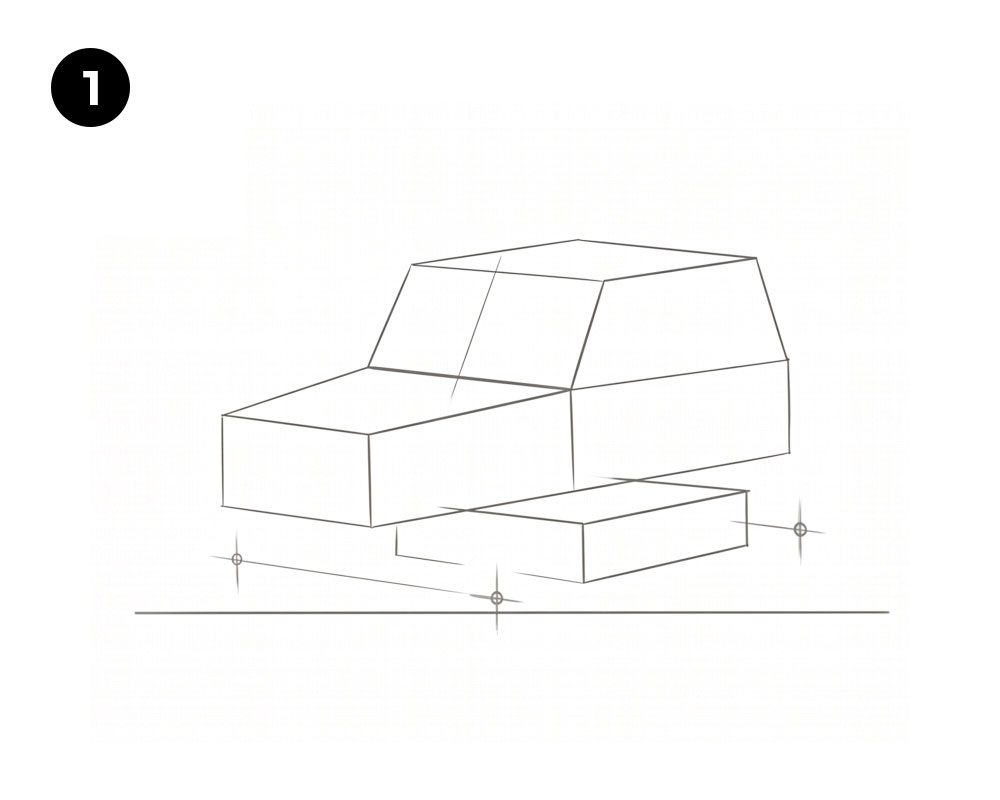
Every great drawing starts with a simple foundation.
Before you worry about headlights, windows, or fancy police markings, focus on creating the overall structure of the vehicle.
Start with Basic Shapes
Draw a rectangular shape for the lower body. Then add a smaller box-like shape on top for the cabin.
Think of it as building blocks rather than a car.
At this stage:
- Draw the main body rectangle.
- Add the upper cabin shape.
- Sketch a simple guide for the wheel area.
- Keep your lines light.
Don’t chase perfection yet. These lines act as guides.
Why This Step Matters
Many beginners rush straight to details. Then they wonder why their car looks like it survived a cartoon earthquake.
A solid foundation keeps everything balanced and proportional.
Ever notice how professional artists begin with simple shapes? They do it because it works.
Step 2. Outline the Car Body

Now comes the fun part.
Take those blocky guide shapes and transform them into a classic vintage car silhouette.
Add Rounded Curves
Vintage cars rarely feature harsh edges.
Use smooth curves to create:
- The hood
- The roof
- The rear section
- The fenders
Focus on flowing lines.
The iconic rounded body shape gives the car its nostalgic appearance.
Shape the Wheels
Draw large circular wheels beneath the body.
Vintage vehicles often featured larger-looking tires and prominent wheel arches.
Keep both wheels similar in size for a balanced look.
Check Your Proportions
Pause for a moment.
Ask yourself:
Does the car look stable?
Does the roof seem too tall or too short?
Making adjustments now saves a lot of frustration later.
Step 3. Add the Police Light
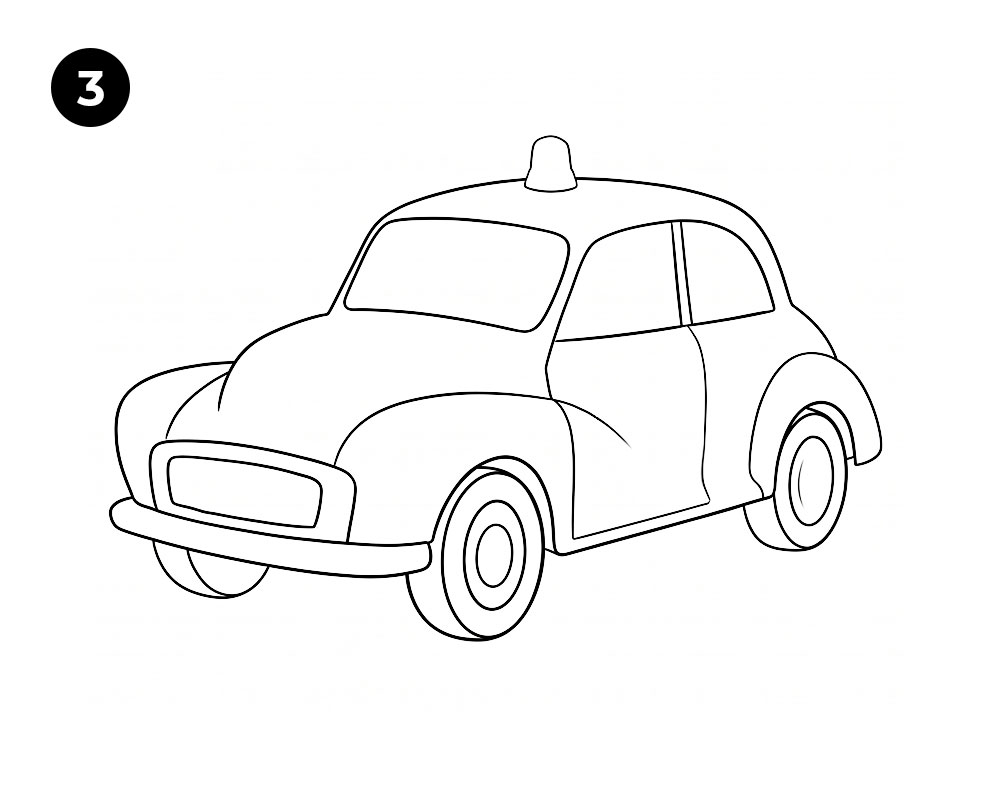
A police car isn’t much of a police car without its signature roof light.
This step instantly transforms your classic vehicle into a law enforcement icon.
Draw the Roof Beacon
Place a small rounded light on top of the roof.
Keep the shape simple:
- Small oval base
- Rounded dome
- Centered position
Older police cars typically used a single beacon rather than the elaborate light bars seen today.
Add Supporting Details
You can also sketch a small antenna behind the light.
These tiny additions make the drawing feel more authentic.
IMO, small details often create the biggest visual impact.
Funny, isn’t it? We spend ten minutes drawing a car and then get excited about a tiny antenna.
Step 4. Draw Exterior Details
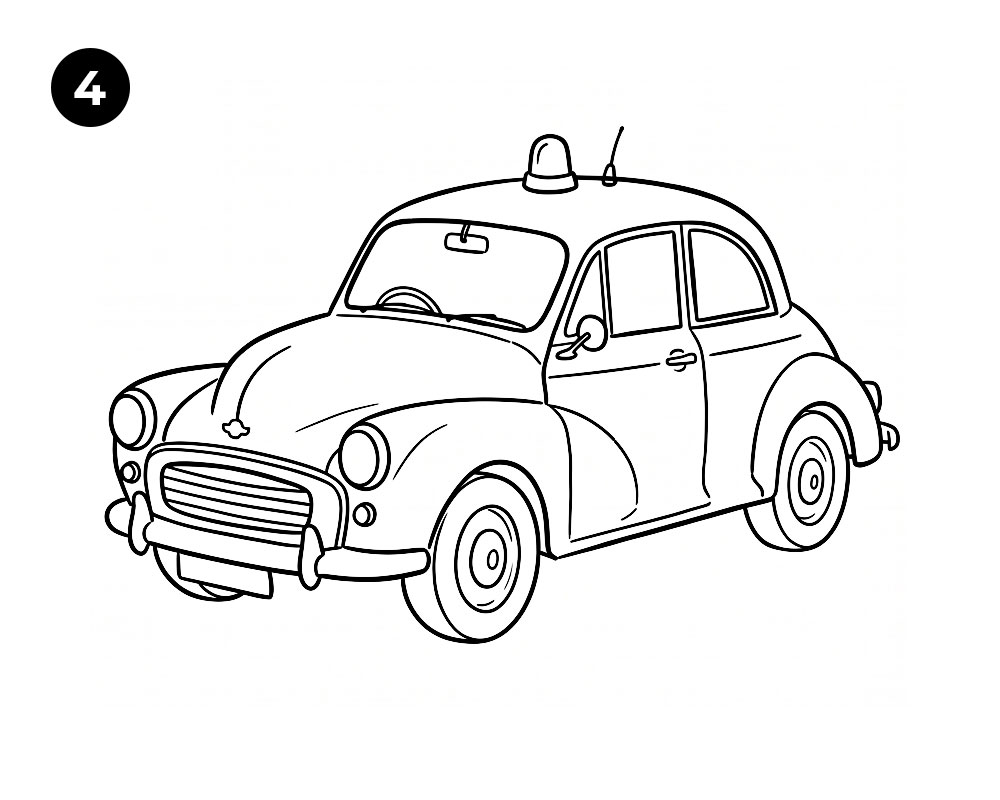
Now your vintage police car starts developing personality.
This step brings life and realism into the sketch.
Add the Front Grille
Draw a horizontal grille on the front.
Include several thin lines inside the grille to create texture.
The grille serves as a focal point, so take your time here.
Create Headlights
Add large circular headlights on both sides of the front end.
Vintage vehicles often featured prominent round headlights that stood out from the body.
Keep them symmetrical.
Draw the Bumpers
Sketch curved bumpers beneath the grille.
These bumpers help reinforce the classic look.
Include Windows and Mirrors
Add:
- Windshield
- Side windows
- Rear window
- Side mirror
These details help define the vehicle’s structure.
Refine the Wheels
Draw inner circles inside each wheel.
These circles represent the wheel rims.
The extra layer of detail makes the tires look much more realistic.
Step 5. Add Police Markings
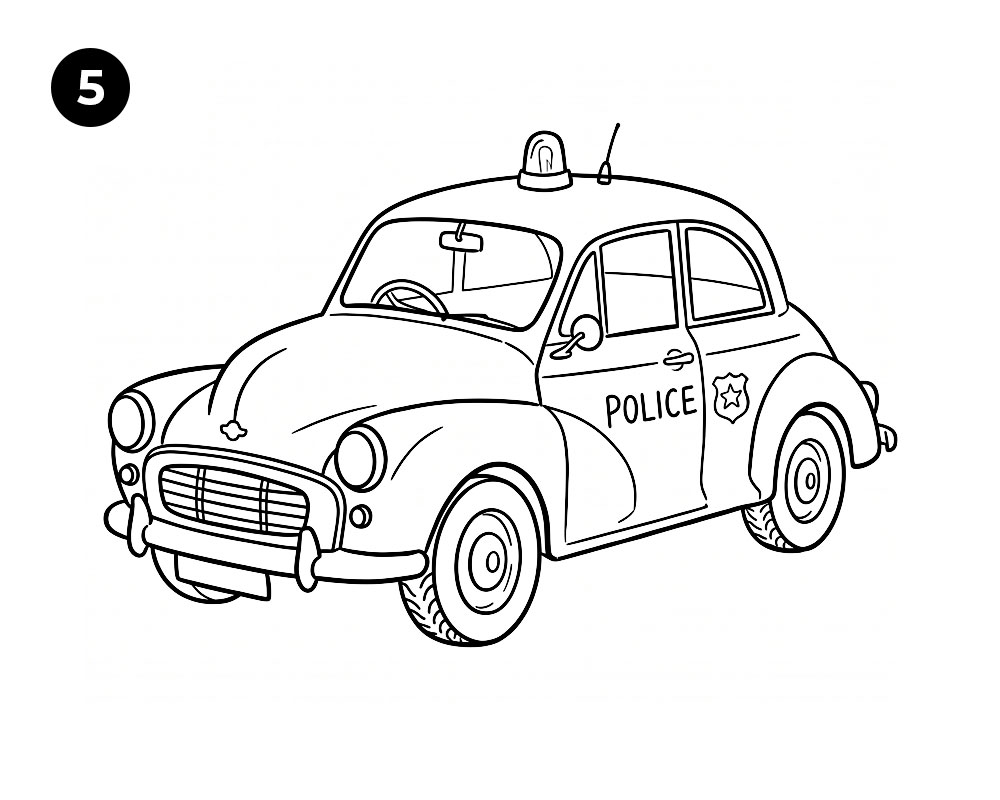
Here’s where your drawing officially joins the police force.
No academy training required 🙂
Write “POLICE” on the Door
Add the word POLICE on the side door.
Use simple block letters.
Position the text carefully so it follows the shape of the car.
Add a Badge or Emblem
Draw a small police badge near the lettering.
The badge doesn’t need complicated details.
A simple shield shape works perfectly.
Keep It Balanced
Avoid overcrowding the car with markings.
Many vintage police vehicles used relatively simple graphics compared to modern patrol cars.
Sometimes less really does look better.
Who knew restraint could make a drawing stronger?
Step 6. Complete the Final Police Car Drawing
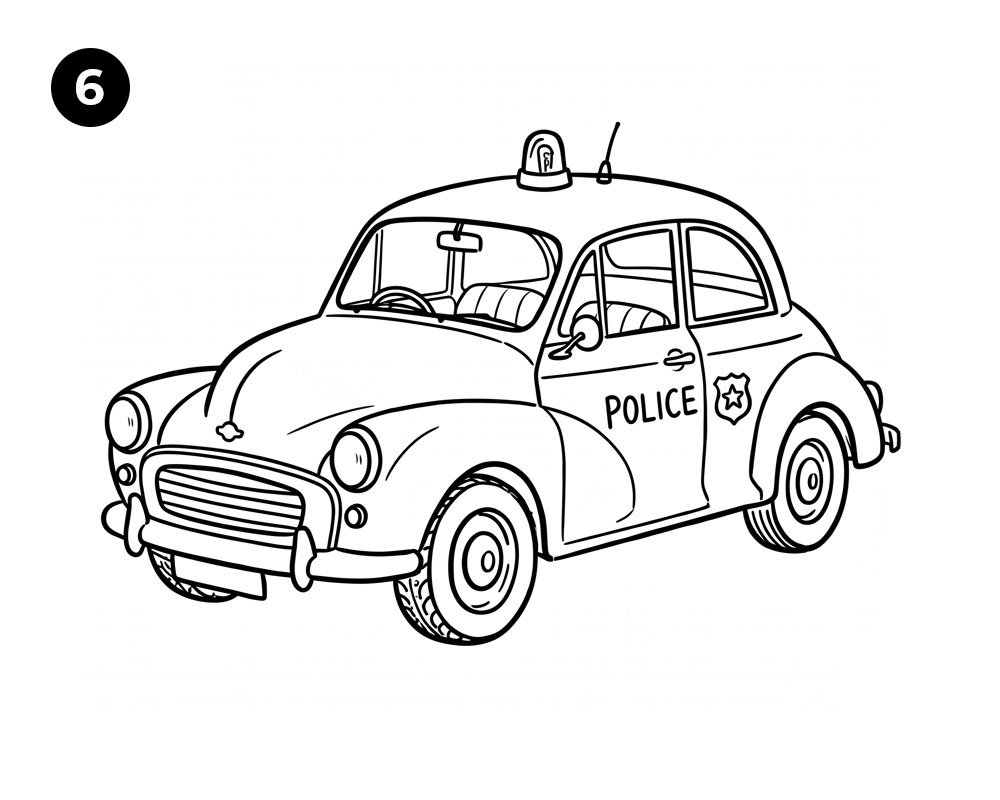
Now it’s time for the finishing touches.
This step focuses on cleaning up the artwork and making everything look polished.
Darken Important Lines
Go over your final outlines with a darker pencil or pen.
Focus on:
- Body contours
- Wheels
- Windows
- Police light
- Police markings
These bold lines help important features stand out.
Erase Construction Lines
Remove any leftover sketch marks from Step 1.
Clean artwork always looks more professional.
This single step often creates the biggest improvement in the entire drawing.
Add Interior Details
Include simple interior elements such as:
- Steering wheel
- Seats
- Dashboard outline
These small additions create depth.
Create Texture and Depth
Add subtle shading around:
- Wheel wells
- Under the bumper
- Window edges
- Lower body panels
Shading gives the drawing dimension without overwhelming the design.
Step 7. Give the Color
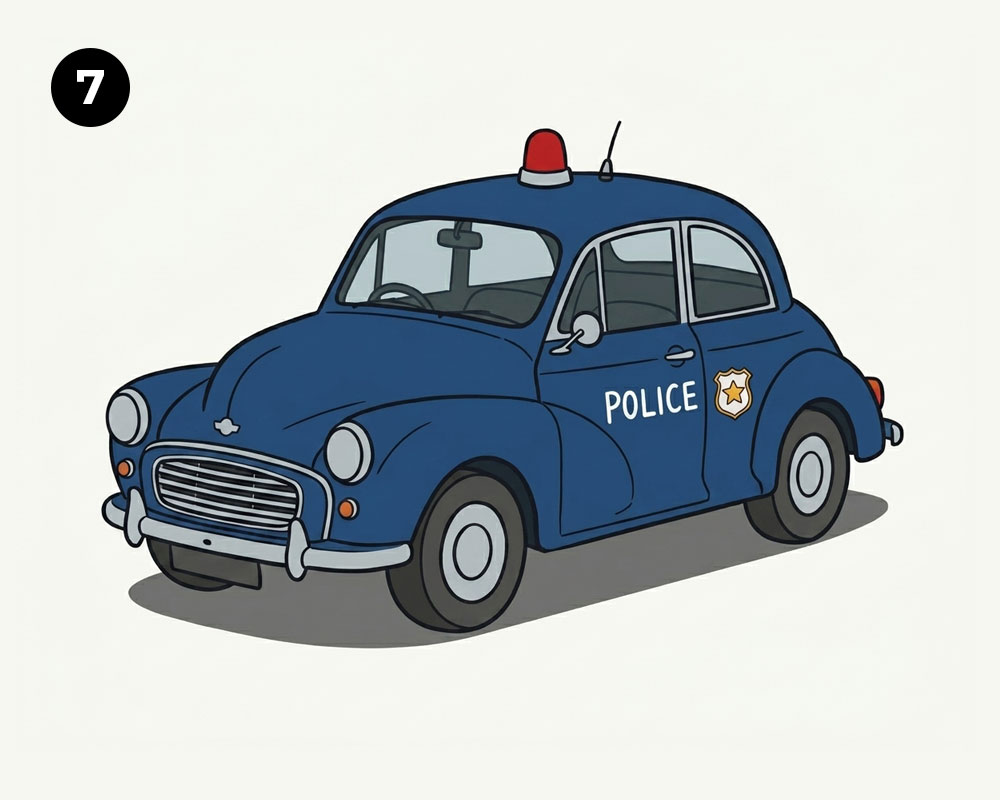
Color transforms a simple sketch into a finished piece of art.
This stage lets you add personality and style.
Traditional Vintage Police Colors
Many classic police vehicles used simple color schemes.
Popular choices include:
- Black and white
- Dark blue and white
- Gray and black
- Cream and navy blue
These combinations help create an authentic vintage appearance.
Coloring the Police Light
Use:
- Red
- Blue
- Red and blue combination
Add a small white highlight to create a shiny effect.
Wheel and Tire Colors
Color the tires dark gray or black.
Use silver or light gray for the wheel rims.
This contrast helps the wheels stand out.
Add Shadows
Place darker shades underneath:
- The vehicle body
- The bumpers
- The wheel arches
Shadows create depth and realism.
Experiment with Creative Variations
Want something unique?
Try:
- Retro sheriff colors
- Classic city police designs
- Custom vintage patrol vehicles
FYI, some of my favorite drawings started as “mistakes” that turned into creative redesigns.
Helpful Tips for Drawing Vintage Police Cars
Here are a few extra tricks that can improve your artwork quickly.
Focus on Large Shapes First
Always establish the main structure before adding details.
This approach prevents proportion problems later.
Use Light Sketch Lines
Light lines make corrections easier.
You can refine shapes without creating messy artwork.
Study Reference Images
Look at photographs of vintage police cars.
Pay attention to:
- Roof shapes
- Headlight placement
- Wheel size
- Police markings
References help you understand realistic proportions.
Practice Curves
Vintage cars rely heavily on smooth curves.
Spend a few minutes practicing curved lines before starting the drawing.
The extra practice pays off immediately.
Be Patient
Drawing improves through repetition.
Every sketch teaches something new.
Even professional artists create rough drafts before producing polished artwork.
Common Mistakes to Avoid
Many beginners make the same few mistakes.
Fortunately, they’re easy to fix.
Making the Body Too Boxy
Vintage vehicles feature rounded designs.
Soft curves create a more authentic appearance.
Drawing Tiny Wheels
Small wheels make cars look awkward.
Use larger wheels that fit the vehicle’s proportions.
Overloading Details
Too many decorations can distract from the overall design.
Focus on the most important features first.
Skipping Construction Shapes
Guide shapes save time and improve accuracy.
Never underestimate the power of simple rectangles and circles.
Final Thoughts
Learning how to draw a vintage police car becomes much easier when you break the process into manageable steps. Start with simple shapes, build the rounded body, add the police light, refine the details, include police markings, and finish with color.
The best part? Every drawing improves your skills. Your first sketch might look a little quirky, your second one will look stronger, and your tenth might surprise you.
Grab a pencil, sketch those classic curves, and create your own vintage patrol car. Who knows? Your next drawing might look ready to cruise straight out of a 1950s police station.