Cute and Minimalist Rose Drawing Ideas for Bullet Journals & Cards
Let’s be real for a second.
You don’t need to be the next Leonardo da Vinci to draw a gorgeous rose.
Seriously. I’ve spent way too many hours overcomplicating flowers with shading, layers, and details that made me want to throw my pen across the room.
Then I discovered the magic of cute and minimalist rose drawing ideas for bullet journals & cards, and everything changed.
You want something that looks adorable, fits in a tiny journal box, or dresses up a birthday card without taking three hours and a Master’s degree in art? You came to the right place.
Grab your favorite pen (or pencil—no judgment here), and let me walk you through 15 ridiculously simple rose doodles.
I’ll even share which ones I personally use for my own bullet journal when I’m feeling lazy but still want things to look cute.
Why Minimalist Roses Work So Well for Journals and Cards
Ever tried cramming a hyper-realistic rose into a 2-inch square on your weekly spread? Yeah, me too. It doesn’t end well.
Minimalist line drawings save space, time, and your sanity. They rely on clean black lines, simple shapes, and zero shading. That’s the secret sauce.
IMO, these little doodles actually look more charming than their overworked cousins because they leave room for your imagination to fill in the blanks.
Plus, they reproduce beautifully. Whether you’re photocopying a card design or scanning a journal page, those crisp black lines stay sharp. No muddy grays or smudged pencil marks to ruin your day.
The 15 Best Cute and Minimalist Rose Drawing Ideas
I’ve tested every single one of these. Some made me smile. A couple made me roll my eyes at how simple they actually are. Let’s dive in.
The One-Rose Wonders (Perfect for Tight Spaces)
Sometimes you only need a single rose. Maybe it’s for a small corner of your weekly log or a tiny accent on a thank-you card.
These solo roses deliver maximum charm with minimum effort.
The Classic Spiral Rose
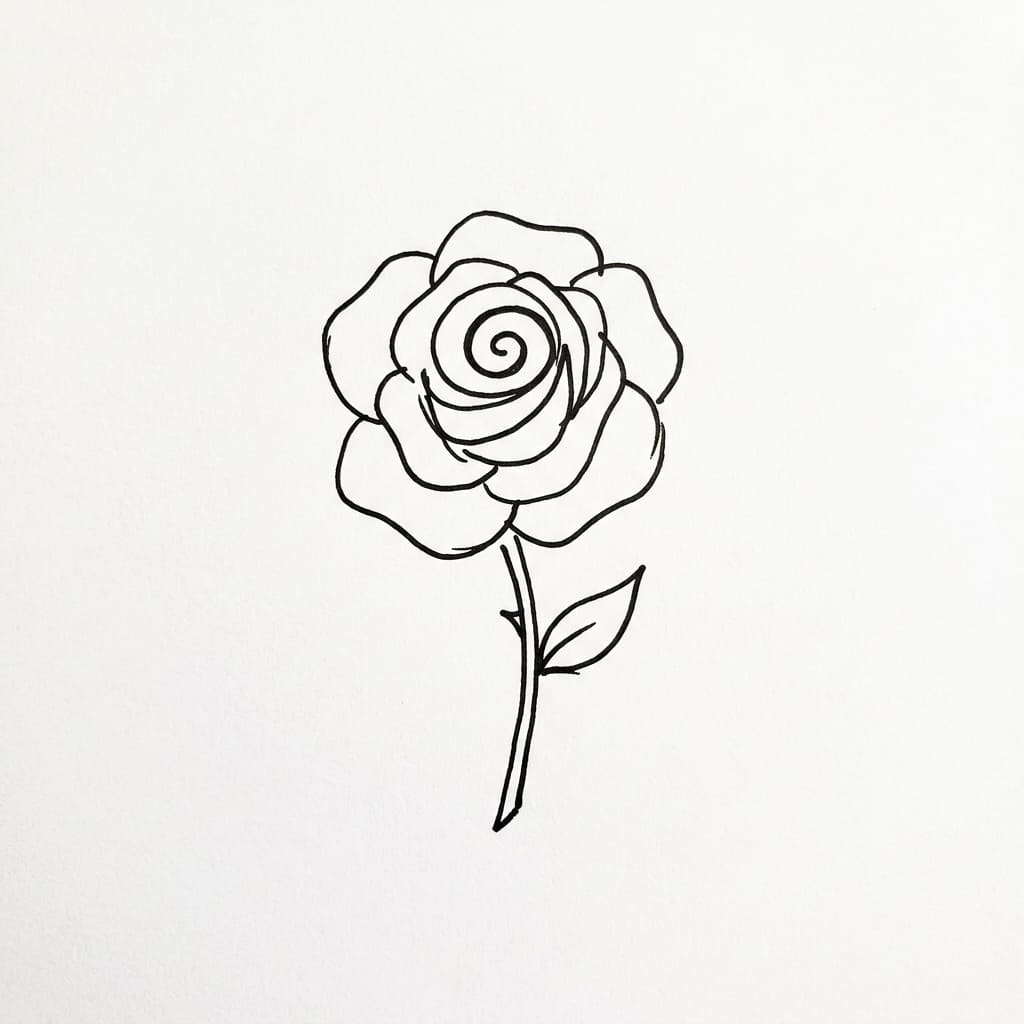
This is my go-to. I swear I draw this rose at least three times a week.
Start with a tiny spiral in the middle—just a little swirl like a cinnamon roll. Then wrap a few simple petal shapes around it.
Don’t overthink. Add a short, straight stem, and you’re done. The magic lives entirely in that spiral center. Everything else is just an outline playing a supporting role.
Ever notice how satisfying spirals feel to draw? It’s like therapy, but you end up with a flower at the end.
The Beginner’s Best Friend
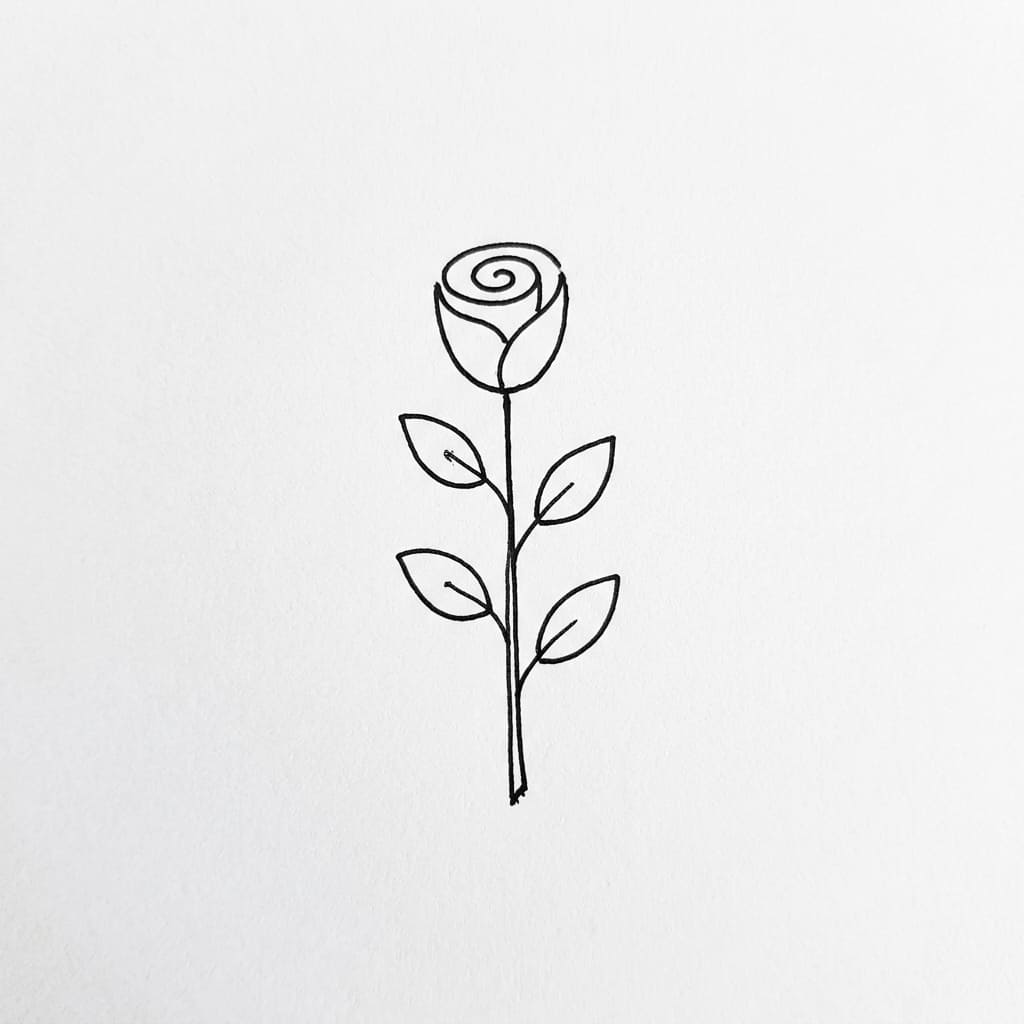
If you’ve ever said “I can’t draw,” start here. This rose practically draws itself.
Draw a small circle for the bloom. No, really—just a circle. Add a tiny swirl inside to suggest petals. Then draw a thin stem downward.
Finally, plop two oval leaves on each side, like little green ears. This doodle is impossible to mess up. I’ve taught this to my friend who still draws stick figures, and even she nailed it on the first try.
The Side-View Rose Bud
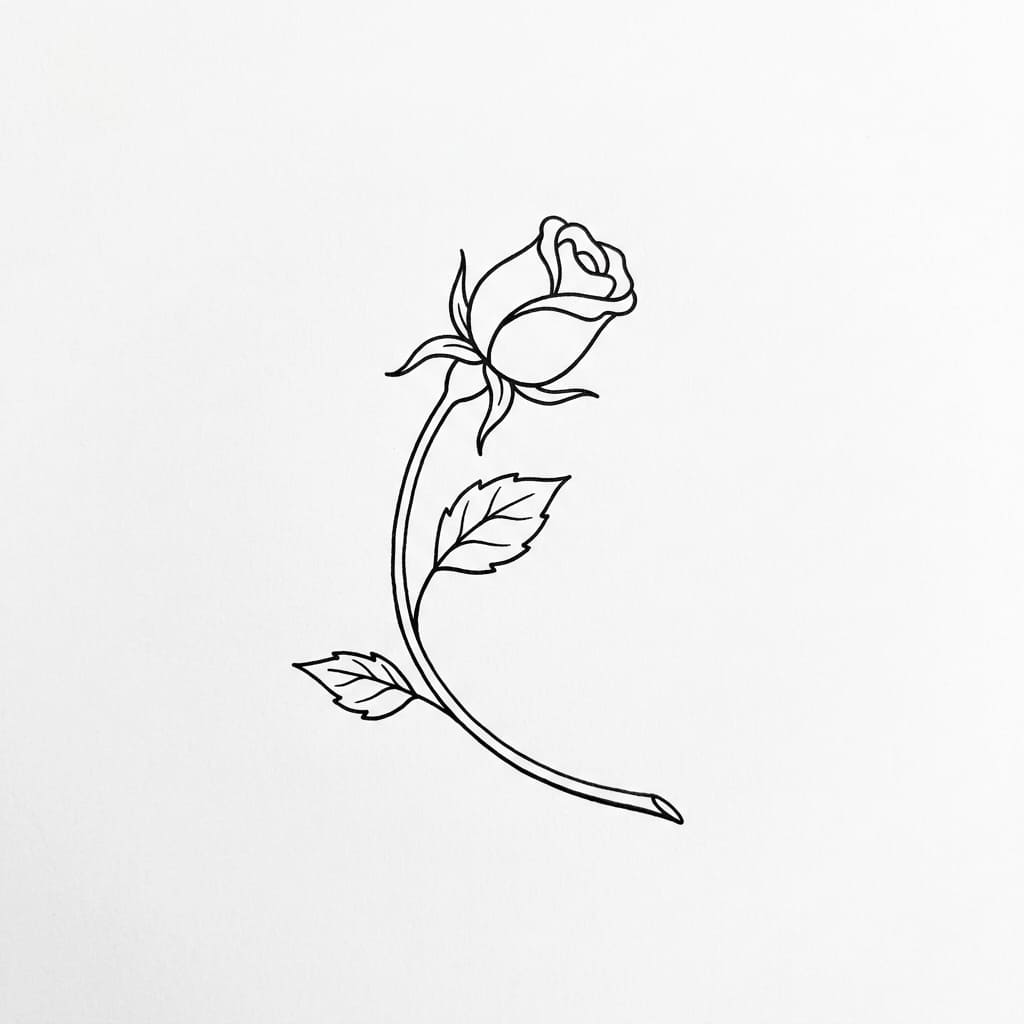
Want something elegant but still minimalist? This side-profile bud looks fancy without trying hard.
Draw a curved stem that bends slightly to the right or left. At the top, sketch a small teardrop shape for the unopened bud. Add one or two simple petal lines curving outward.
That’s literally it. This rose says “I have my life together” even when you definitely don’t. I use this one on my “bad day” journal spreads as a little reminder that growth takes time.
Cheesy? Maybe. Effective? Absolutely.
The Long-Stemmed Classic
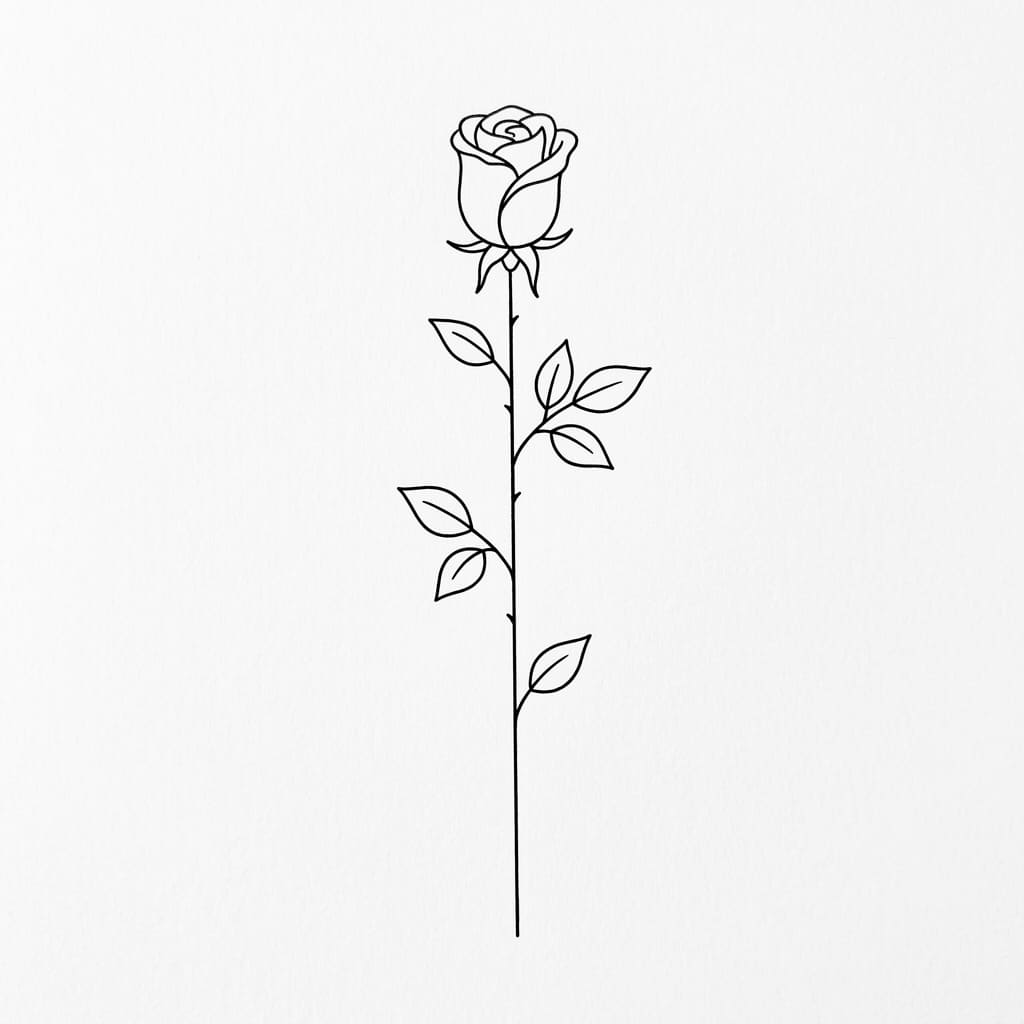
This is your Valentine’s Day card hero. One straight stem, one simple bloom on top, and two or three tiny leaves scattered along the stem.
Keep the bloom ultra-simple—just a spiral center surrounded by three or four rounded petals. No extra fluff.
The long, clean stem creates a sense of elegance that feels way more sophisticated than the five minutes it actually takes to draw.
Pro tip from someone who’s ruined too many cards: leave extra space at the bottom of the stem so you can write a message underneath. You’re welcome.
The Curved Stem Cutie

Same as above, but now the stem has a graceful S-curve. That little curve changes everything. It adds movement and softness without adding a single extra detail.
I use this one when I want a rose that feels a bit more organic and playful. Straight stems feel formal.
Curved stems feel like they’re dancing. Your choice depends entirely on the mood you want to set.
Tiny Rose Collections (For Borders and Repeated Patterns)
Why draw one rose when three are just as easy? These multi-rose ideas create rhythm and repetition that look amazing in journal borders or repeated card motifs.
The Three-in-a-Row Border
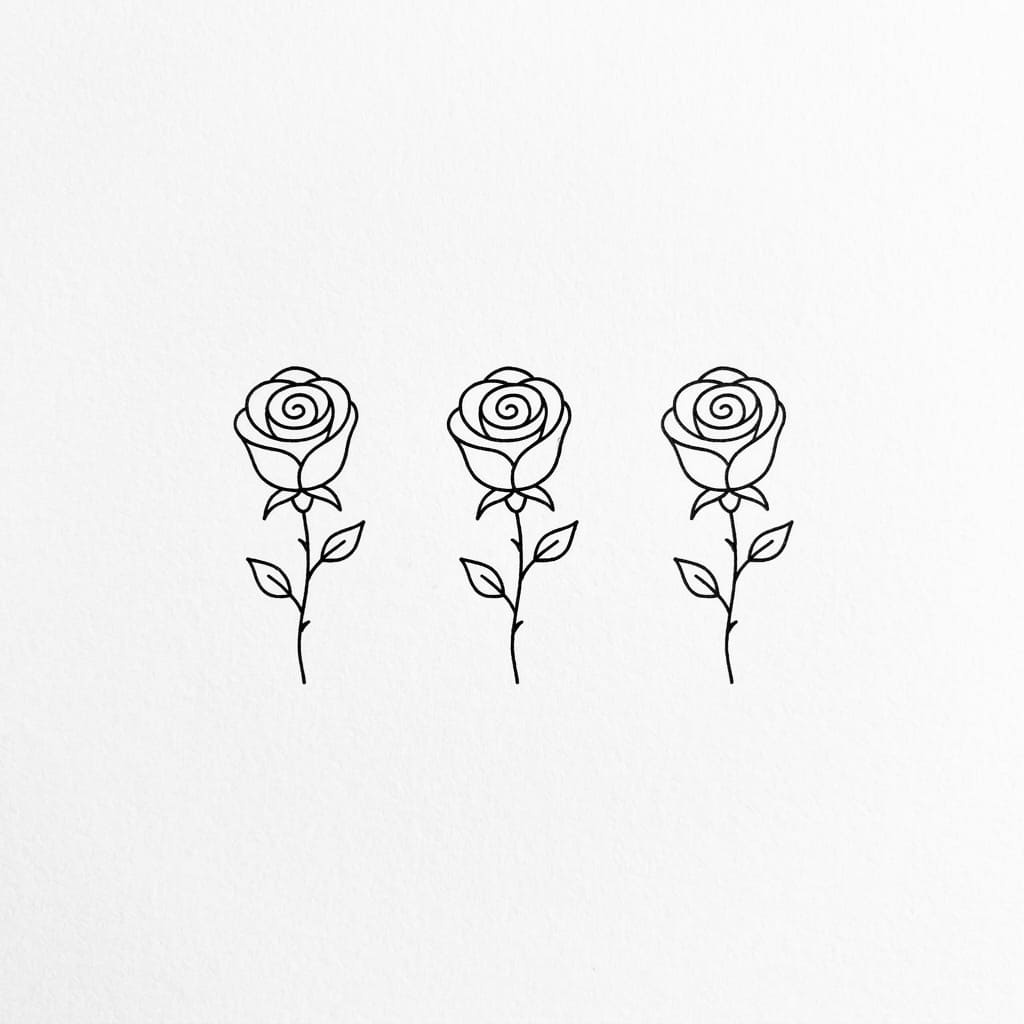
This is my secret weapon for boring to-do lists. Draw three identical mini-roses spaced evenly across the top of a page or along a divider line.
Each rose takes about ten seconds. Spiral. Two petals. Tiny stem. Next. The repetition creates a pattern that looks intentional and polished.
I’ve used this as a header decoration for my weekly spreads, and it never fails to make me smile when I flip back through old pages.
Ever notice how things look fancier when there are three of them? It’s like an optical illusion of effort.
The X Marks the Spot
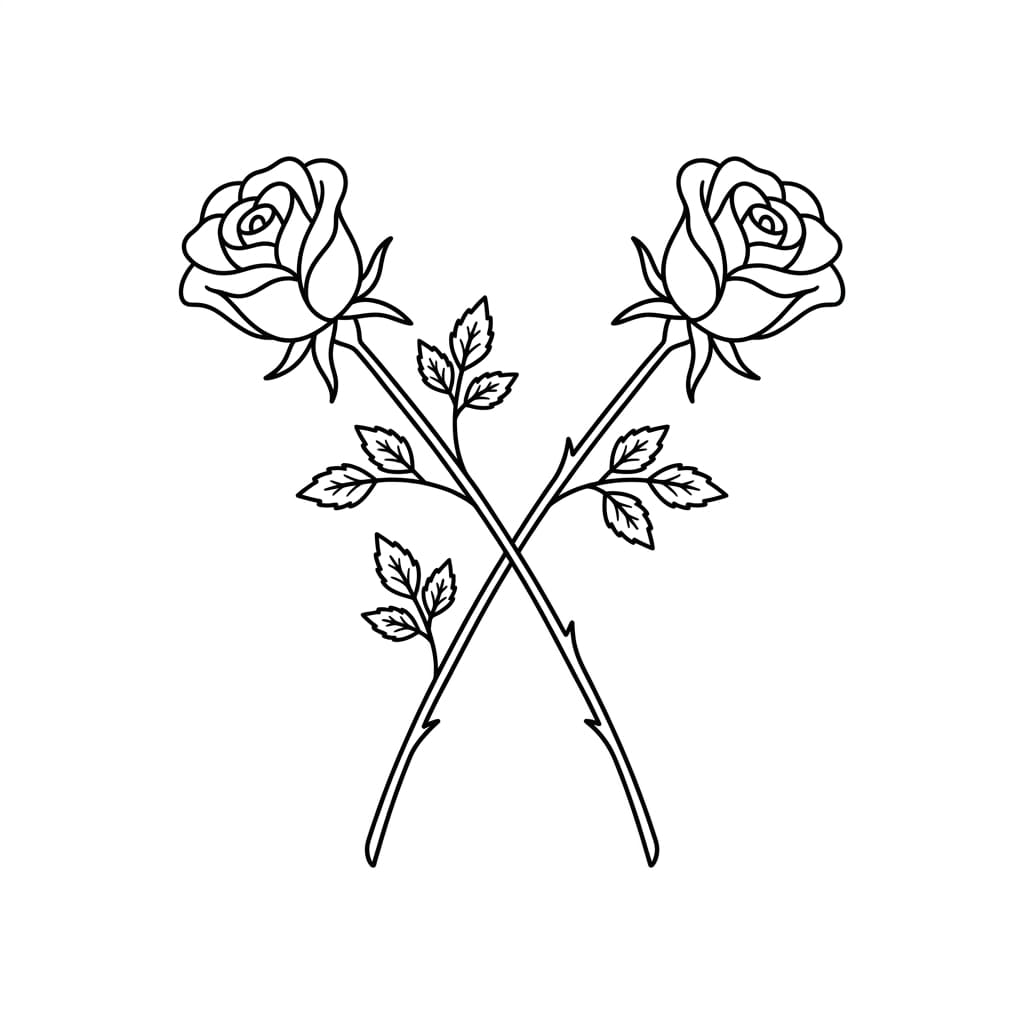
Crossed stems add instant visual interest. Draw one rose angled to the left, another angled to the right, and let their stems cross in the middle like a ribbon.
This works beautifully on the front of a small gift tag or as a corner accent on a card. The X shape naturally draws the eye to the center, so consider leaving that space empty for a name or short message.
The Tiny Tied Bouquet
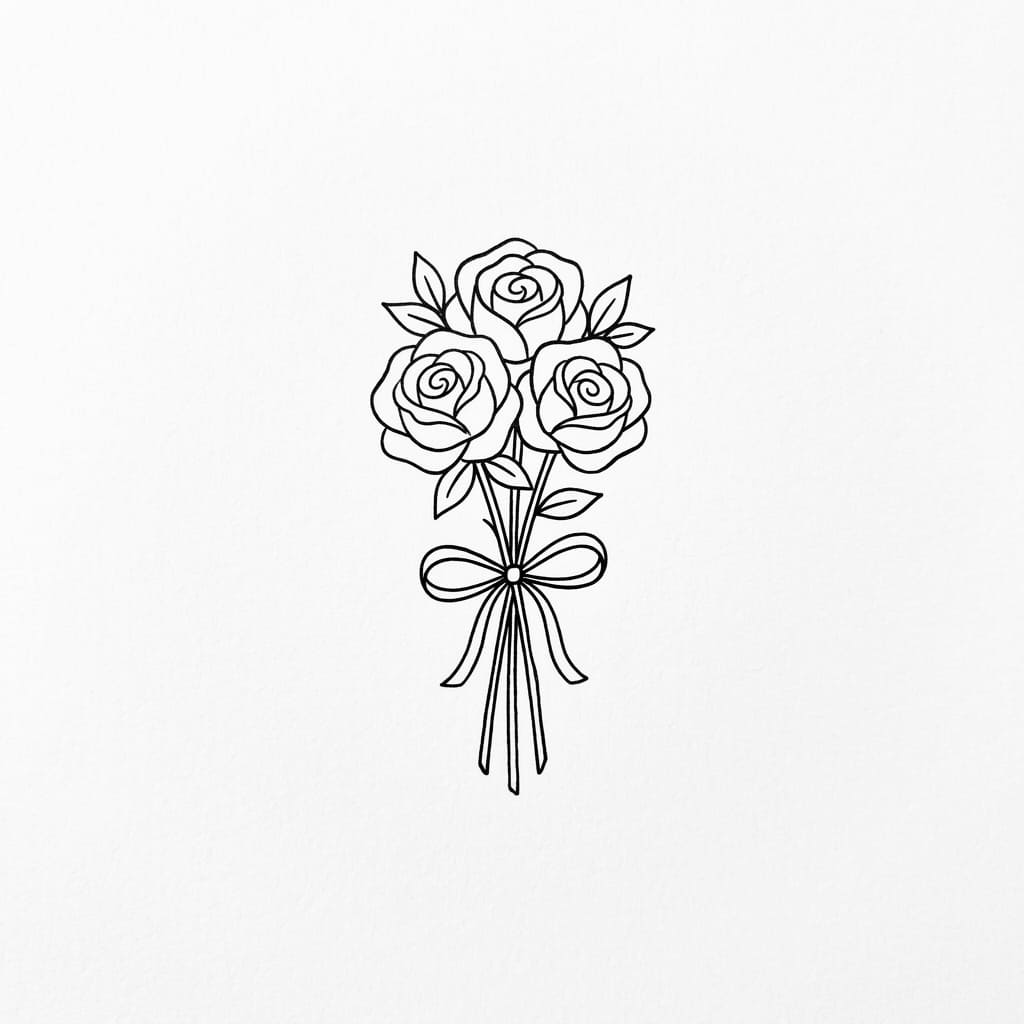
This one might be my new favorite. Draw three small roses with their stems gathering together at the bottom, then wrap a simple ribbon shape—just two small loops and a knot—around the stems.
That little ribbon instantly makes it a gift. I use this on birthday cards, thank-you notes, or any page where I want to celebrate something.
The roses don’t need leaves or extra details; the ribbon does all the emotional heavy lifting. FYI, this design fits perfectly in a 1-inch space, so you can tuck it anywhere.
The Vertical Rose Branch
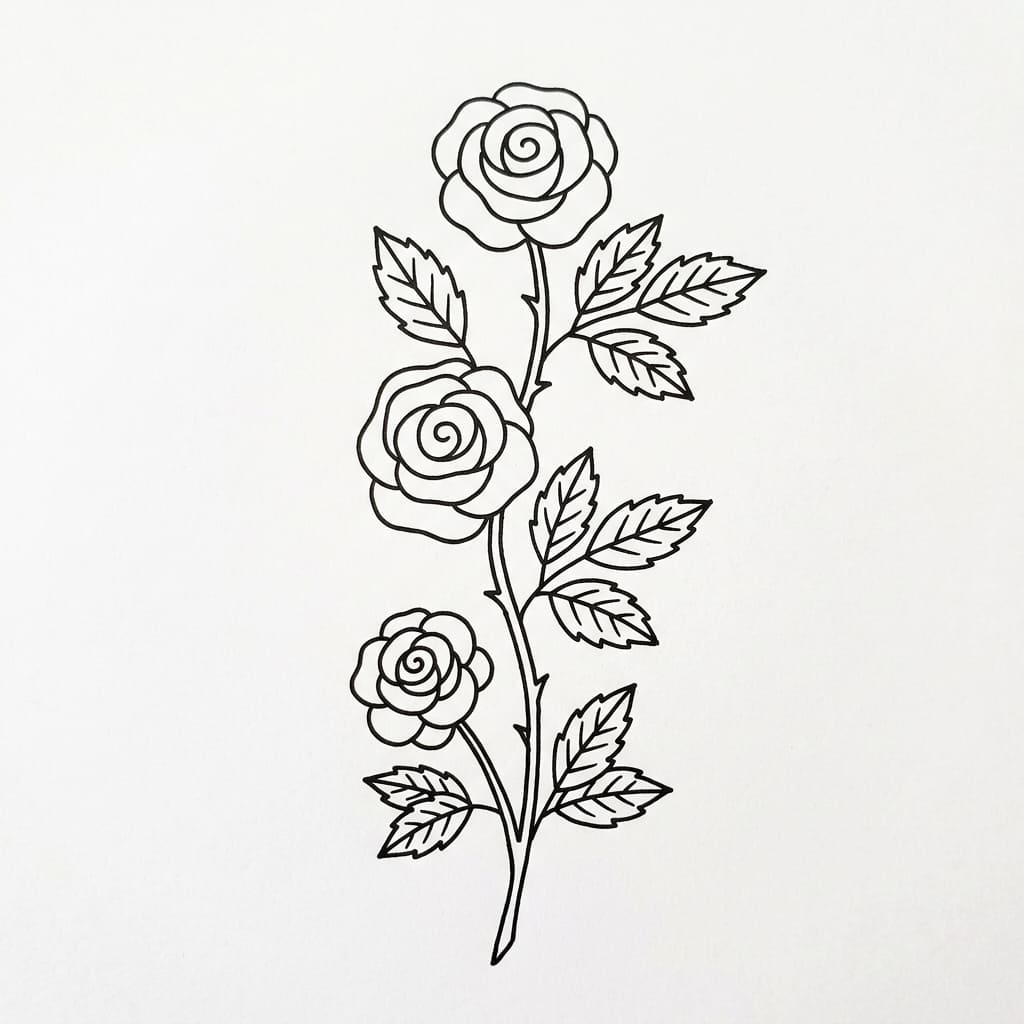
This one sounds complicated, but I promise it’s just stacking simple shapes.
Draw a vertical line for the main stem. Then add three short side branches—one near the top, one in the middle, one toward the bottom.
Place a simple spiral rose at the end of each branch. Add a few leaves along the main stem with one quick vein line down the center of each leaf.
The result looks like a proper botanical illustration, but each rose takes the same five-second spiral method.
FYI, this design fits perfectly on the spine of a bullet journal cover or as a tall, narrow card decoration.
Roses in Vessels (Next-Level Cute)
Putting roses in containers instantly makes them feel like completed illustrations rather than random doodles. These are my favorites for card fronts and monthly cover pages.
The Tiny Flower Pot
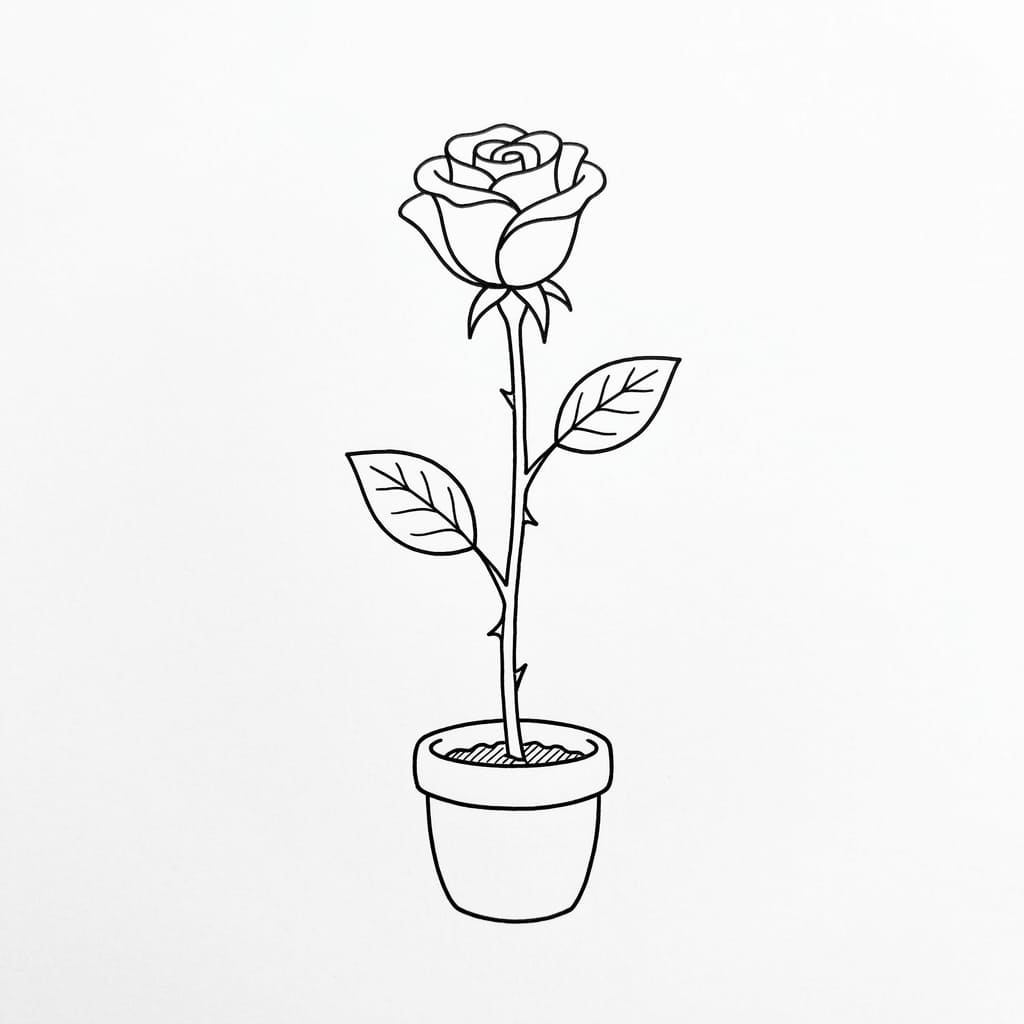
Draw a small pot—just a simple trapezoid shape with a flat bottom. Add a stem coming out of the pot. Top it with one spiral rose and two leaves.
This is embarrassingly cute. I use this one for plant lover friends’ birthday cards, and they always ask where I bought the card. They never believe I drew it in two minutes. 🙂
The Classic Vase Arrangement
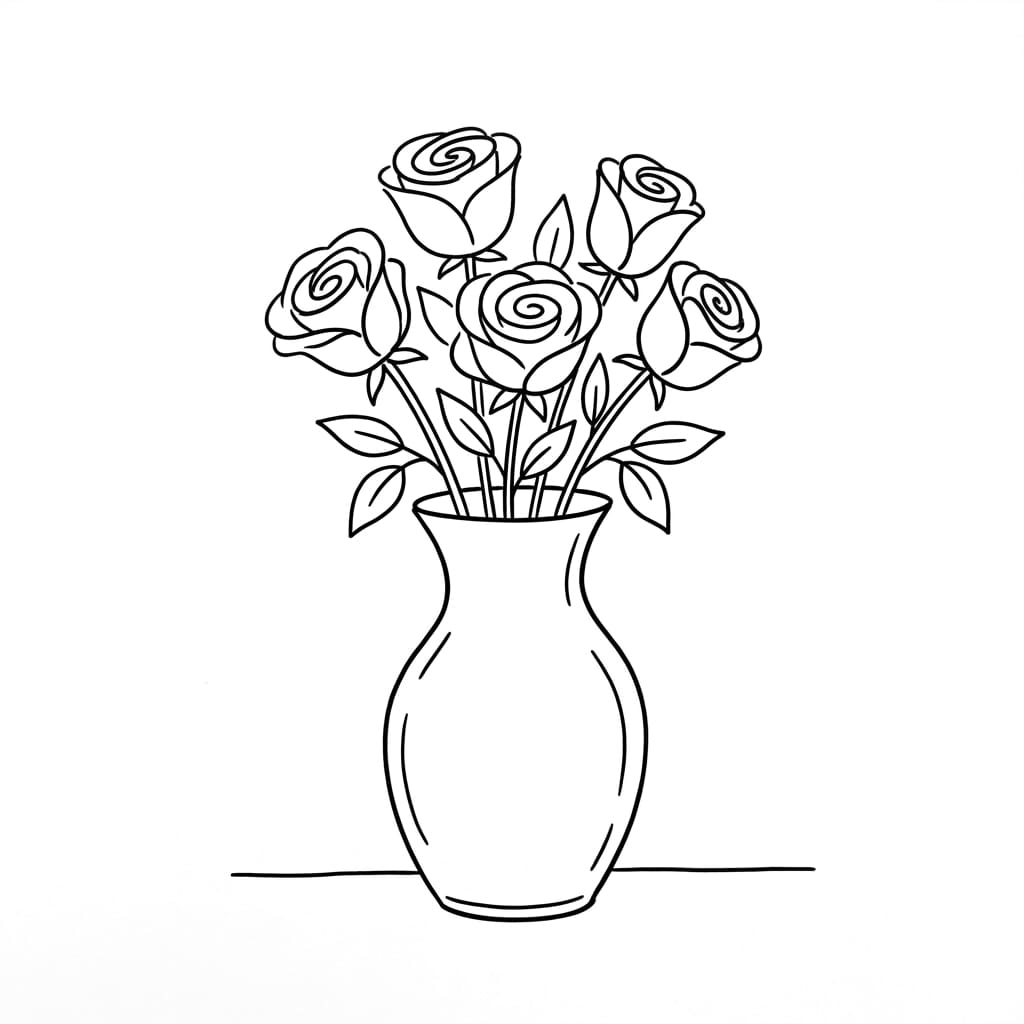
Draw a basic vase shape—think a rounded bottom with a narrow neck. Then draw three or four stems disappearing into the vase opening. Add a simple rose bloom at the top of each stem.
Don’t draw the parts of the stems inside the vase. The viewer’s brain fills that in automatically. This trick saves you time and keeps the drawing clean.
I learned this from an artist friend, and it blew my mind how obvious yet brilliant it is.
The Glass Bottle Vase
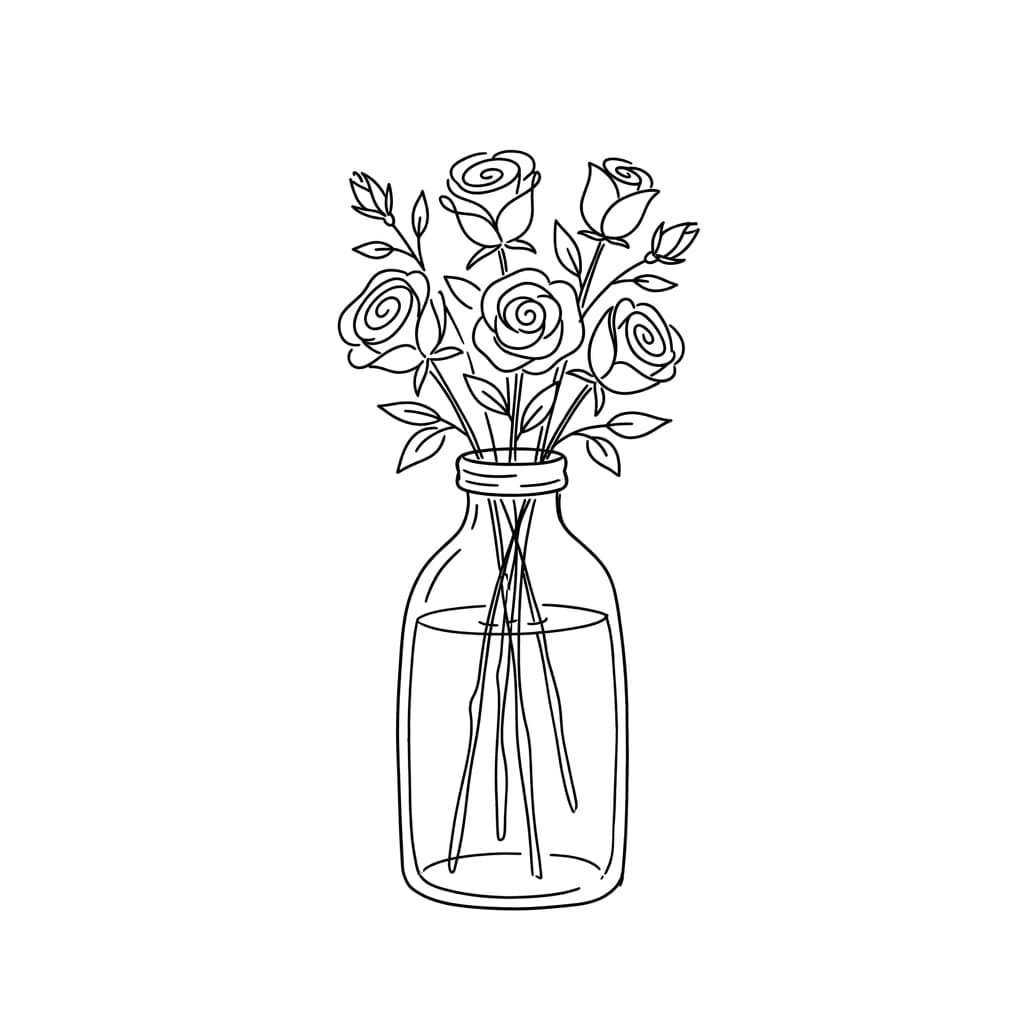
Same as above, but now the vase is a bottle, and you do draw the stems inside. Why? Because the transparent glass means you’d see them in real life.
Draw a simple bottle silhouette (a narrow neck, wider body, flat bottom). Then draw the rose stems continuing all the way down inside the bottle. Add the blooms at the top.
This one looks surprisingly artsy for how simple it is. I save this for when I want to impress someone without actually trying hard. Don’t tell anyone my secret.
The Rose Bucket
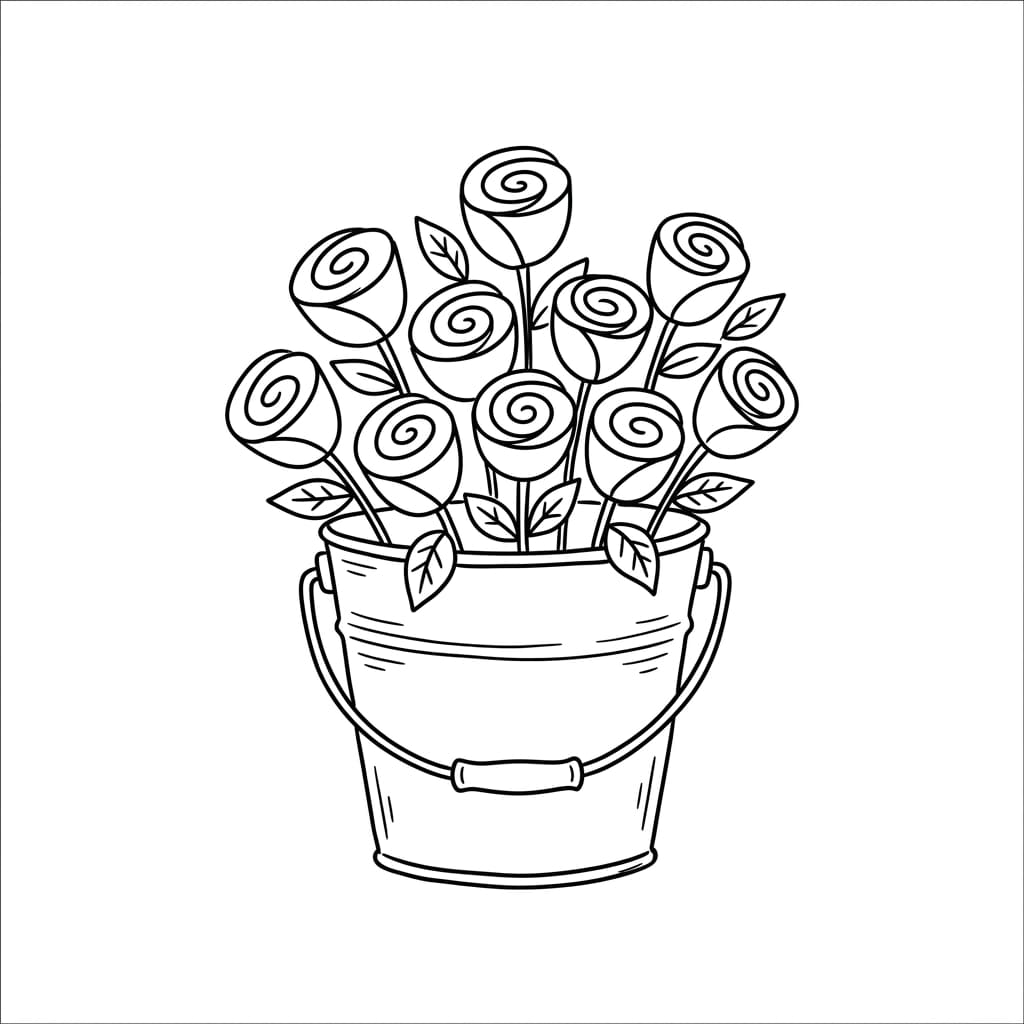
A bucket shape is easier than a vase—literally just a rectangle with a slightly curved bottom. Draw a bunch of stems piling out of the bucket. Top each stem with a quick spiral rose.
This gives a casual, “just picked from the garden” vibe. I use this for summer-themed journal pages or get-well cards.
The bucket shape also hides any mistakes you make with stem placement, so it’s very forgiving for beginners.
Roses With a Little Extra Drama
These final ideas add a tiny twist to the basic formula. They’re still minimalist, but they tell a slightly different story.
The Falling Petals Effect
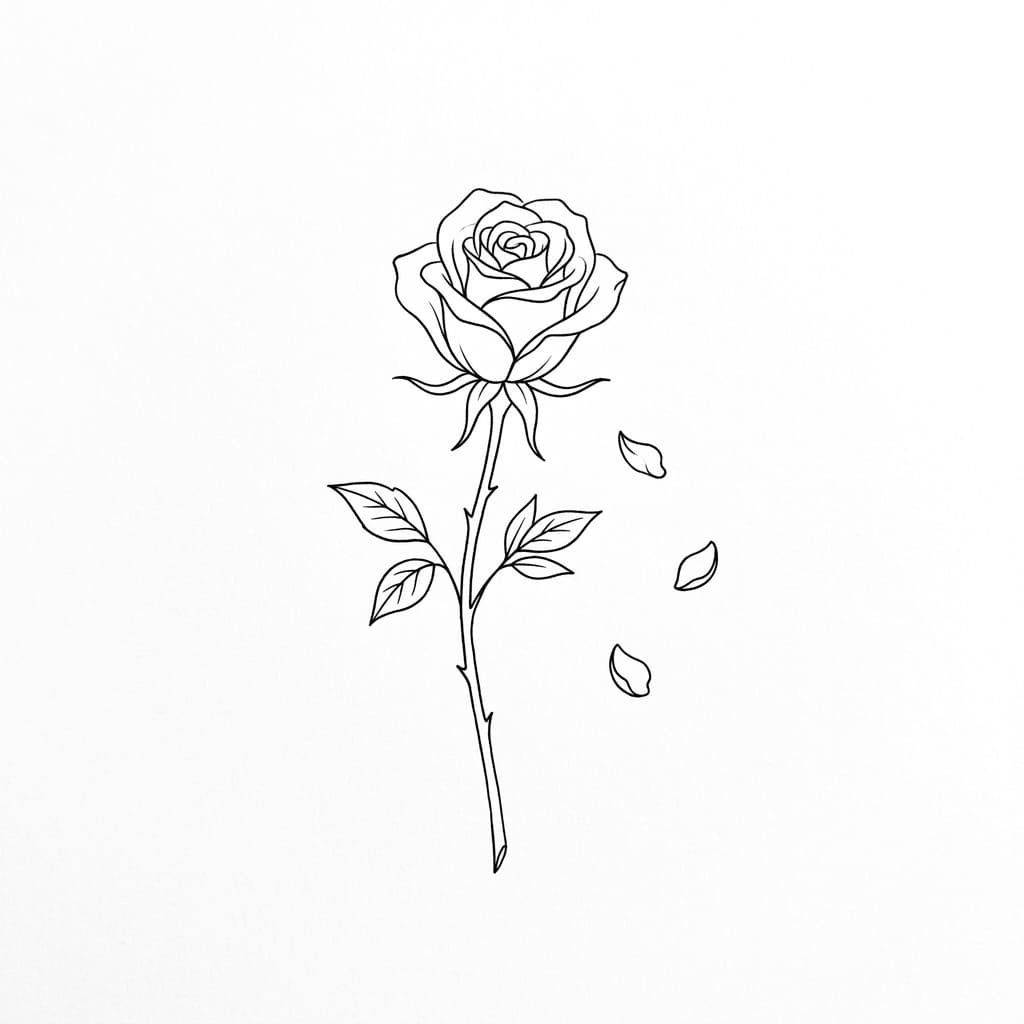
Draw one simple rose. Then draw two or three tiny petal shapes floating downward next to it, like they just drifted off the bloom.
Those falling petals add so much emotion. A rose with falling petals suggests a passing moment, a gentle breeze, or even a bit of melancholy.
I use this one on journal pages where I’m processing a tough week. It feels honest without being heavy-handed.
The Top-Down Spiral
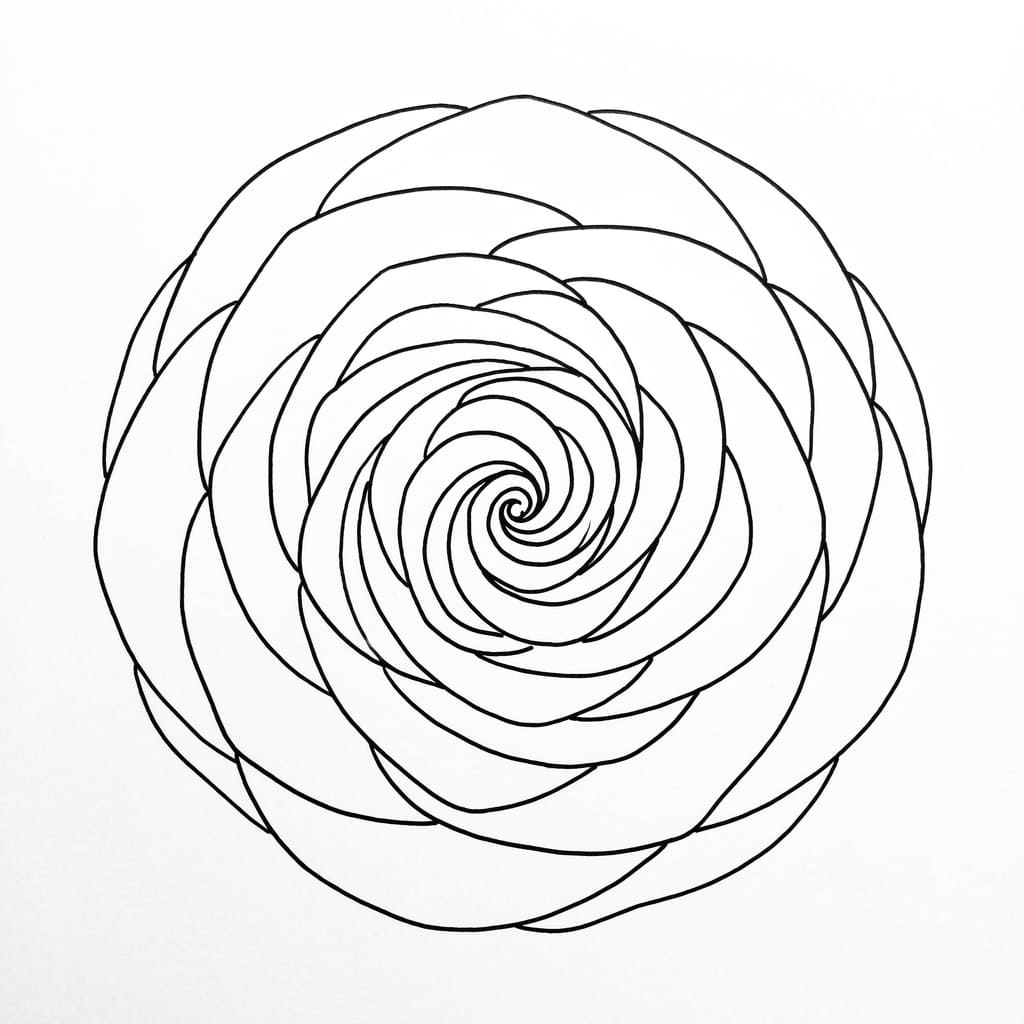
Forget the stem entirely. Draw a circle. Inside that circle, draw a continuous spiral that gets wider and wider until it reaches the edge.
This is the ultimate minimalist rose. From above, a rose looks like a beautiful spiral. No petals to mess up, no stem to keep straight. Just one continuous line.
IMO, this is the perfect doodle for when you want a rose but you have approximately twelve seconds to draw it.
How to Use These Ideas in Your Bullet Journal and Cards
Alright, you’ve got fifteen ideas. Now what?
For bullet journals:
- Use single roses as bullet points instead of boring dots
- Line up three roses as a weekly spread header
- Draw a top-down spiral in the corner of a habit tracker
- Add a falling-petals rose next to a tough day’s entry
For cards:
- Place an X-shaped crossed stems design in the center of a small gift tag
- Use the glass bottle vase for a friend’s housewarming card
- Draw the vertical branch along the left edge of a thank-you card
- Cluster a few different roses together for a custom birthday card
Ever notice how handmade cards always feel more meaningful than store-bought ones? Even a simple doodle tells someone you took the time. And that matters way more than artistic skill.
A Few Quick Tips Before You Start Drawing
Let me save you some frustration.
Tip 1. Use a fine-liner pen
Ballpoint pens smear. Pencils smudge. A cheap felt-tip pen with a 0.5mm tip gives you those clean black lines that make minimalist drawings pop.
Tip 2. Don’t erase
Seriously. Leave the little wobbles. They make your drawing look human and handmade. Perfect lines look like a computer made them, and that’s the opposite of what we want here.
Tip 3. Practice the spiral first
Fill half a page with nothing but spirals of different sizes. Once that spiral feels natural under your hand, the roses will follow automatically.
Tip 4. Start tiny
A small drawing hides small mistakes. A big drawing magnifies them. Draw your roses the size of a coin, and you’ll be amazed how professional they look.
Conclusion: You’re Ready to Draw Some Roses
There you have it—fifteen cute and minimalist rose drawing ideas for bullet journals & cards that anyone can draw, even if your last artistic triumph was a second-grade finger painting.
Remember: the goal isn’t perfection. The goal is a charming little rose that makes you smile when you flip open your journal or sign your name on a card.
Those simple black lines carry more warmth than any hyper-realistic drawing ever could.
So grab that pen. Find a blank corner on today’s journal page. Draw a spiral. Add a stem. Maybe toss in a falling petal or two.
You’ve got this. And honestly? I can’t wait to see what you create.


One Comment