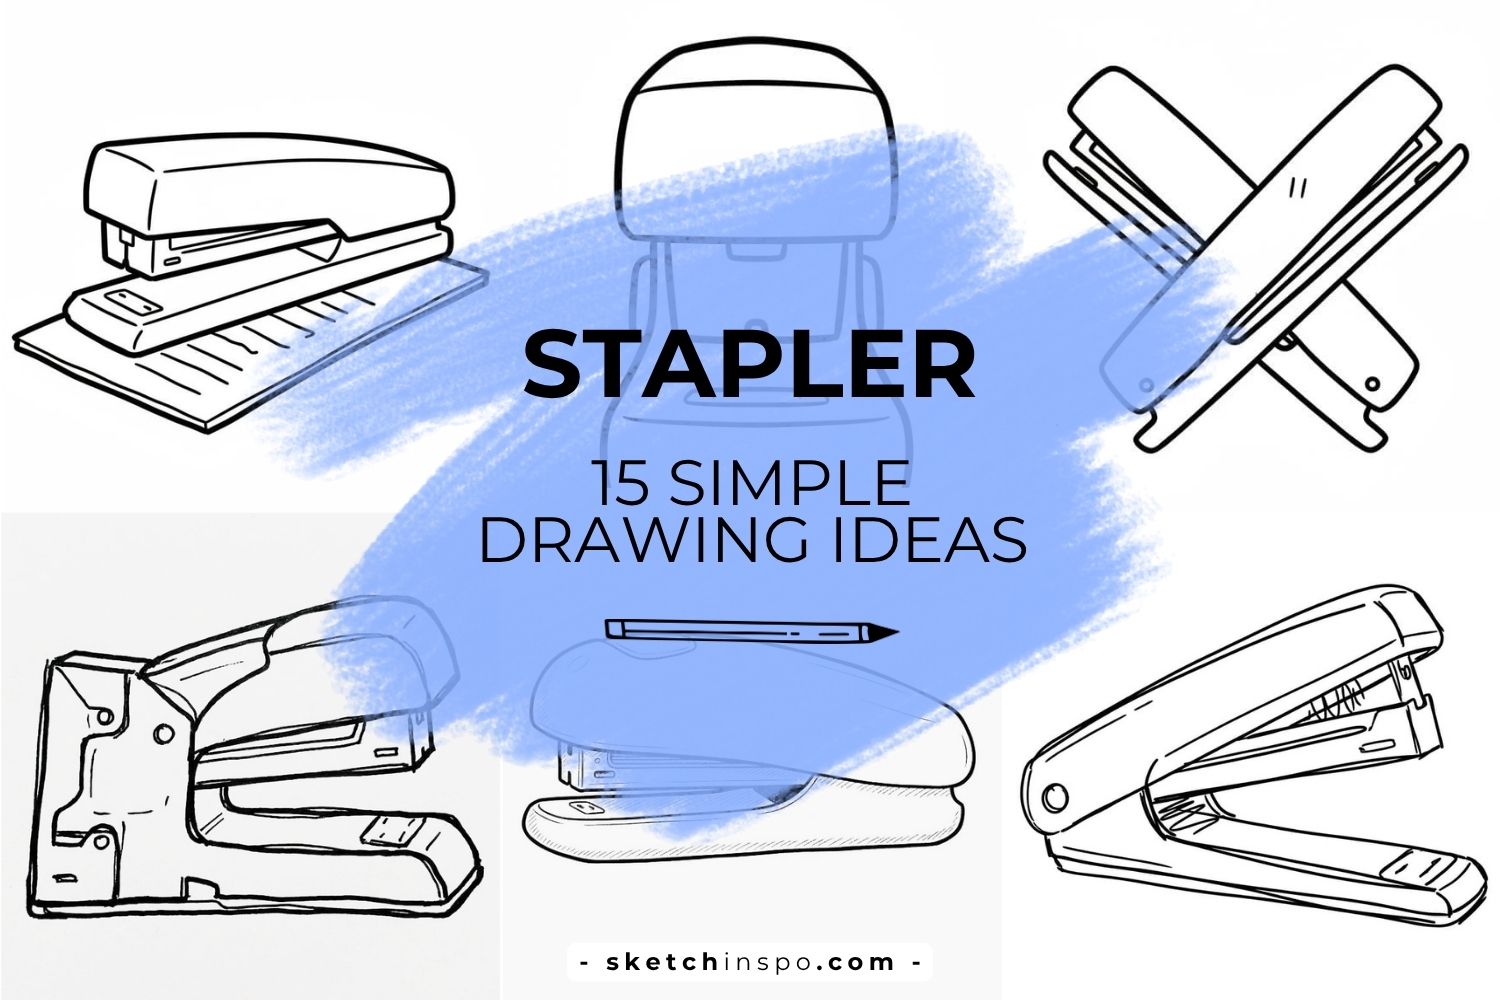
Everyday Inspiration: 15 Stapler Drawing Ideas for Your Sketchbook
Let’s be honest. When was the last time you looked at a stapler and thought, “Wow, I really need to draw you right now”? Exactly. Never.
But here’s the thing: staplers make fantastic drawing practice. They sit on desks worldwide, totally ignored, while we doodle the same old flowers, coffee cups, and anime eyes. Boring, right?
I fell into that trap myself. Then one rainy afternoon, stuck with artist’s block, I grabbed the nearest office supply—a sad, dusty stapler—and started sketching. Best decision ever.
So grab your pen, open your sketchbook, and let me walk you through 15 stapler drawing ideas that turn everyday boredom into everyday inspiration. FYI, no fancy art supplies needed. Just you, a black pen, and a willingness to draw something a little weird. 🙂
Ready? Let’s go.
Why Draw a Stapler? (Seriously, Hear Me Out)
Before we jump into the list, you might wonder: Why waste time drawing office supplies?
Great question. I asked myself the same thing.
Drawing everyday objects like staplers forces you to focus on basic shapes, angles, and proportions—without the pressure of making something “beautiful.” You mess up a stapler drawing? Who cares. It’s just a stapler.
Plus, these little sketches build your hand-eye coordination faster than you think. I personally improved my line confidence after just one week of drawing random desk items. Try it, and you’ll see what I mean.
Alright, enough talking. Here are 15 stapler drawing ideas you can start right now.
15 Simple Stapler Drawing Ideas (Beginner-Friendly)
Each idea below follows the same style: black line drawing, white background, no shading, no color. Perfect for doodlers, beginners, or anyone who loves clean outlines.
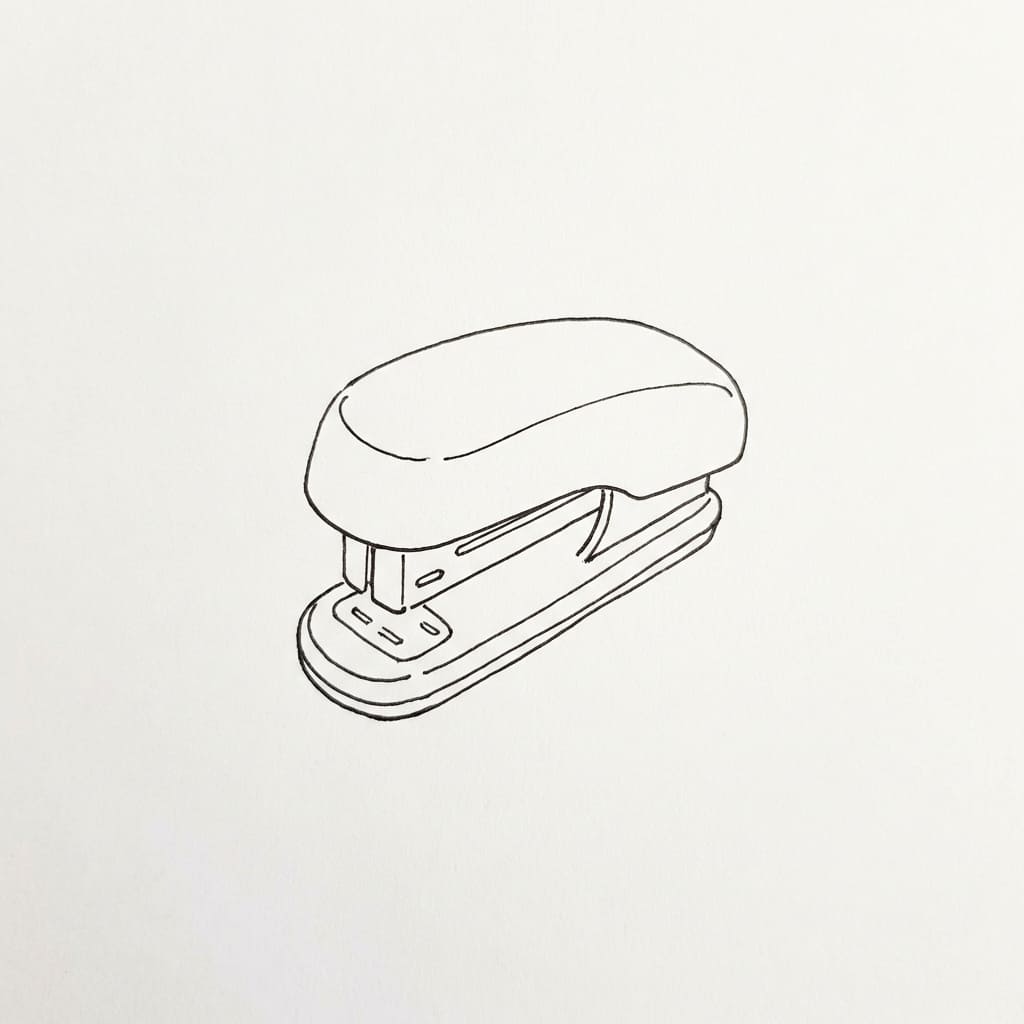
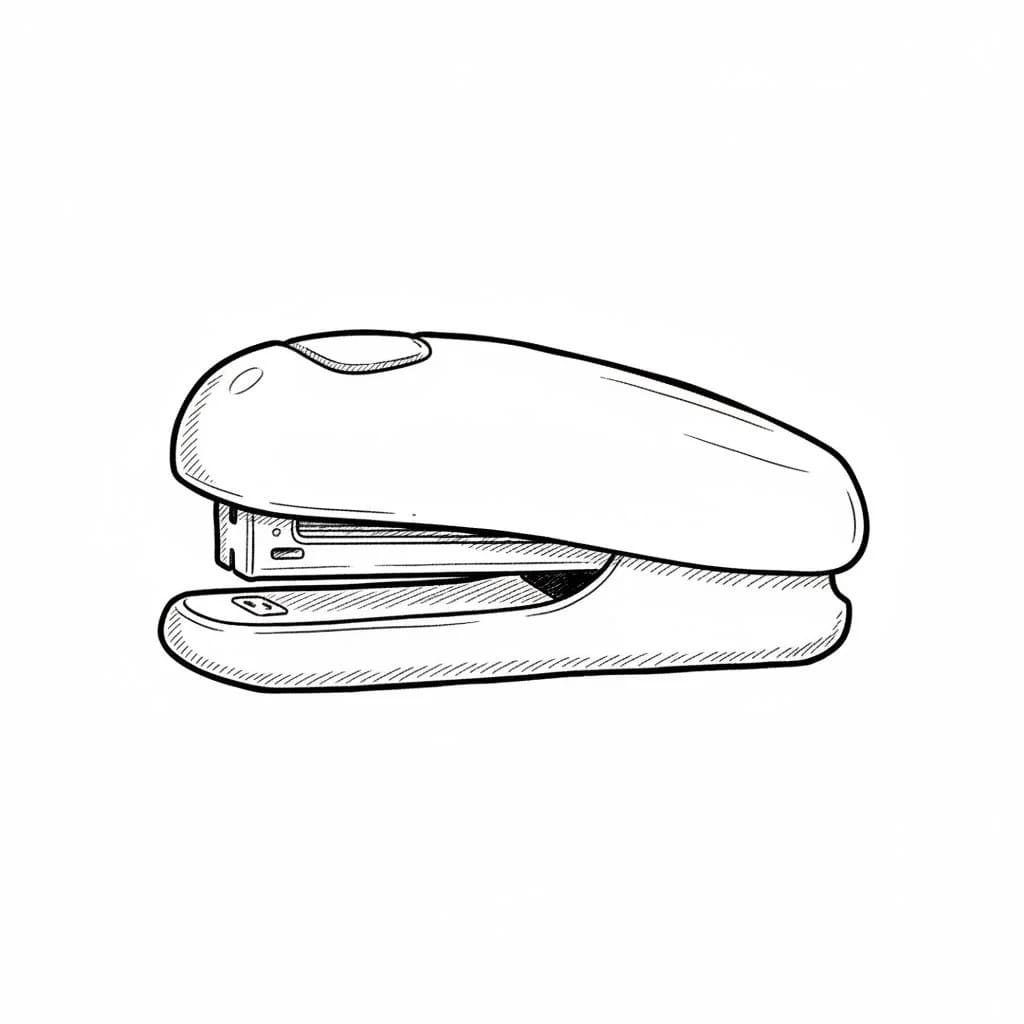
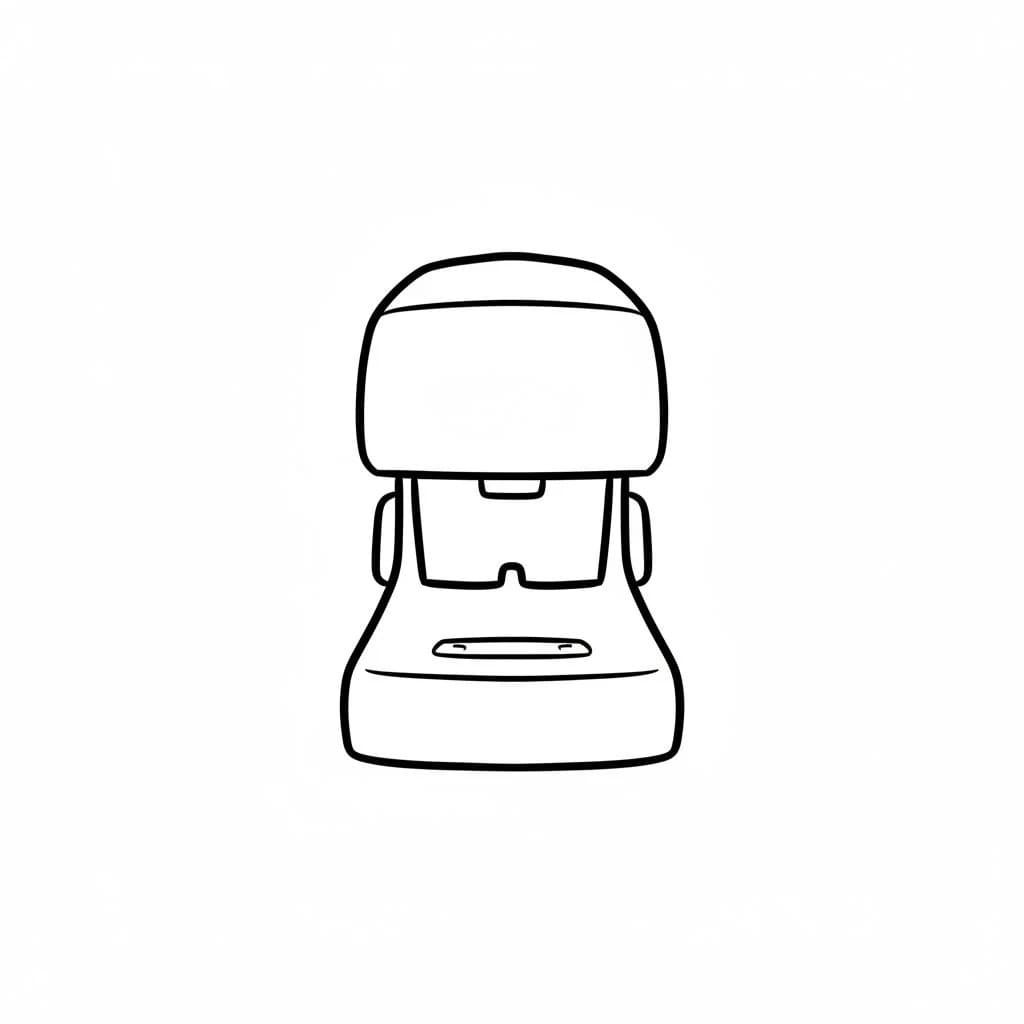
1. The Classic Stapler – Closed Position
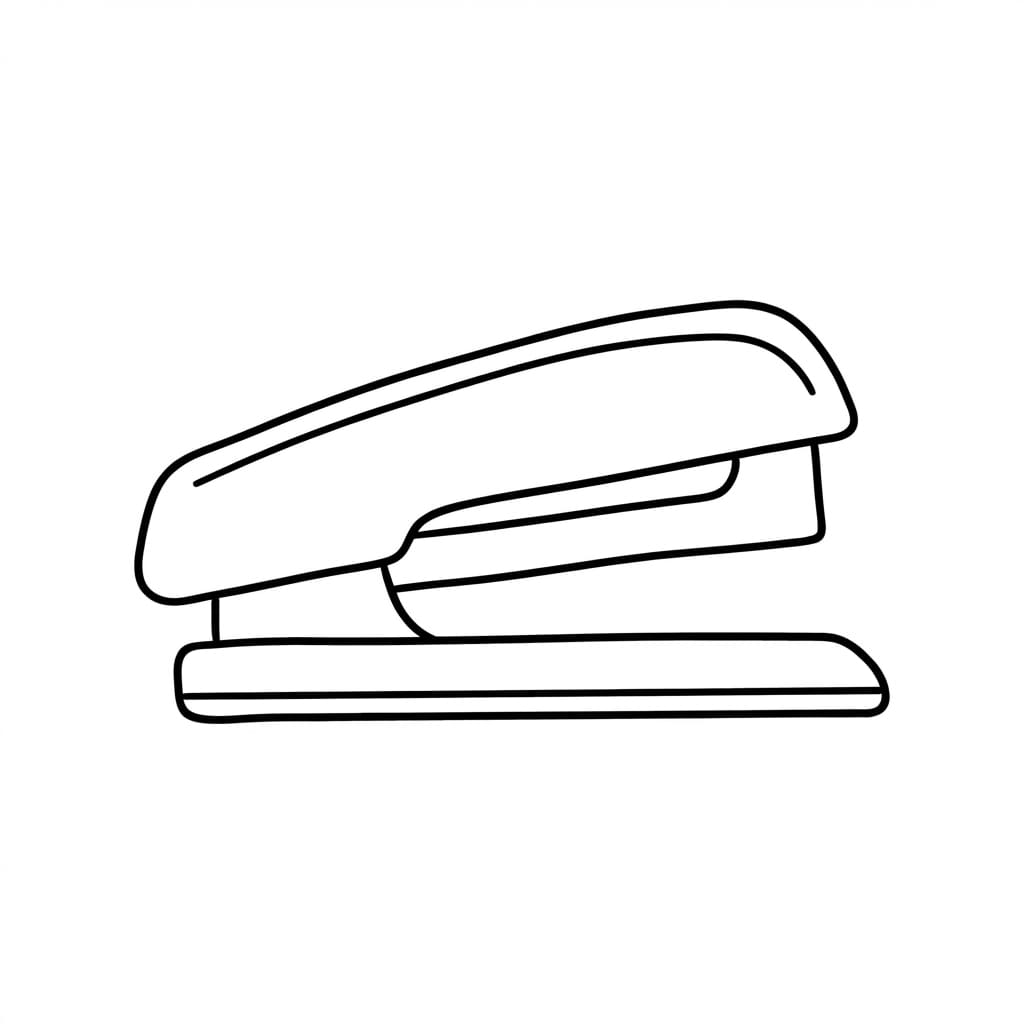
Start with the easiest one. Draw a simple side view of a classic office stapler in closed position. Keep your lines clean and minimal. Think hand-drawn doodle style, not architectural blueprint.
I love this as a warm-up. It takes under two minutes, and you immediately feel productive.
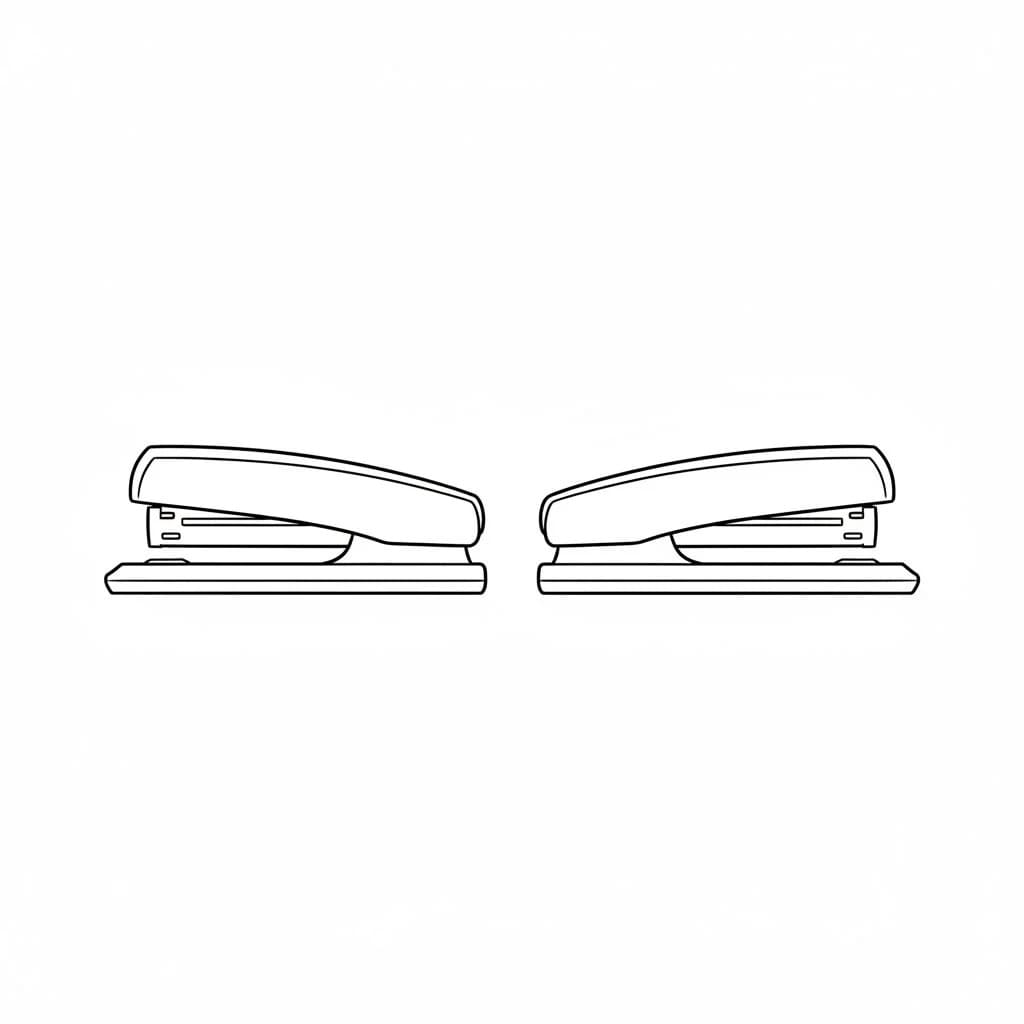
2. Two Staplers Side by Side
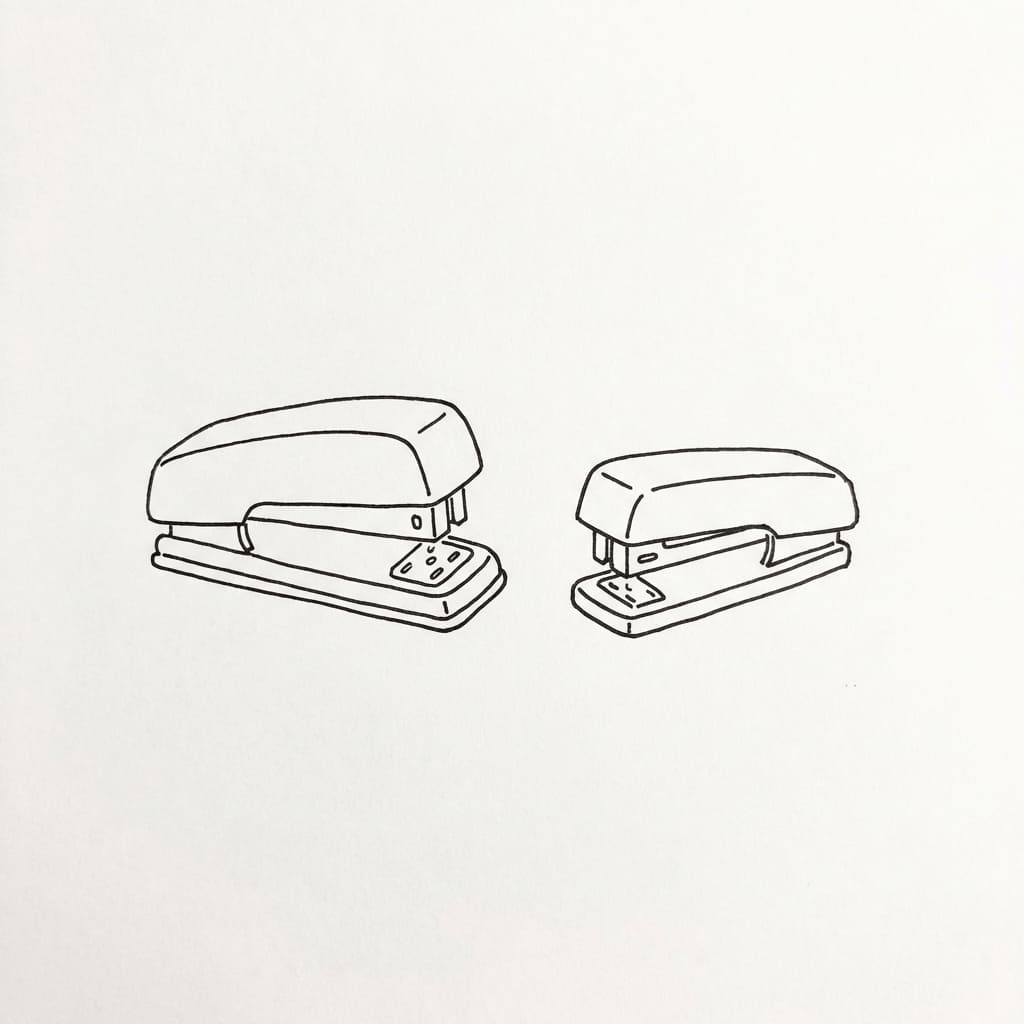
Place two small staplers side by side. Make one slightly larger than the other. Draw them from the front view with simple sketch lines.
Why two? Because symmetry practice helps train your eye. Plus, it looks oddly cute.
3. Stapler Open at a Slight Angle
Here’s where things get a little technical. Draw a stapler open at a slight angle, with the hinge visible. Keep your line work minimal—just enough to suggest the mechanism.
Don’t overthink the hinge. A few simple lines do the job perfectly. I messed up my first three attempts, but by the fourth try, it clicked.
4. Mini Stapler
Switch your perspective. Draw a mini stapler from the top view. Focus on those rounded edges and the very simple overall shape.
This angle tricks your brain because you rarely see staplers from above. That’s exactly why you should draw it.
5. Heavy-Duty Stapler
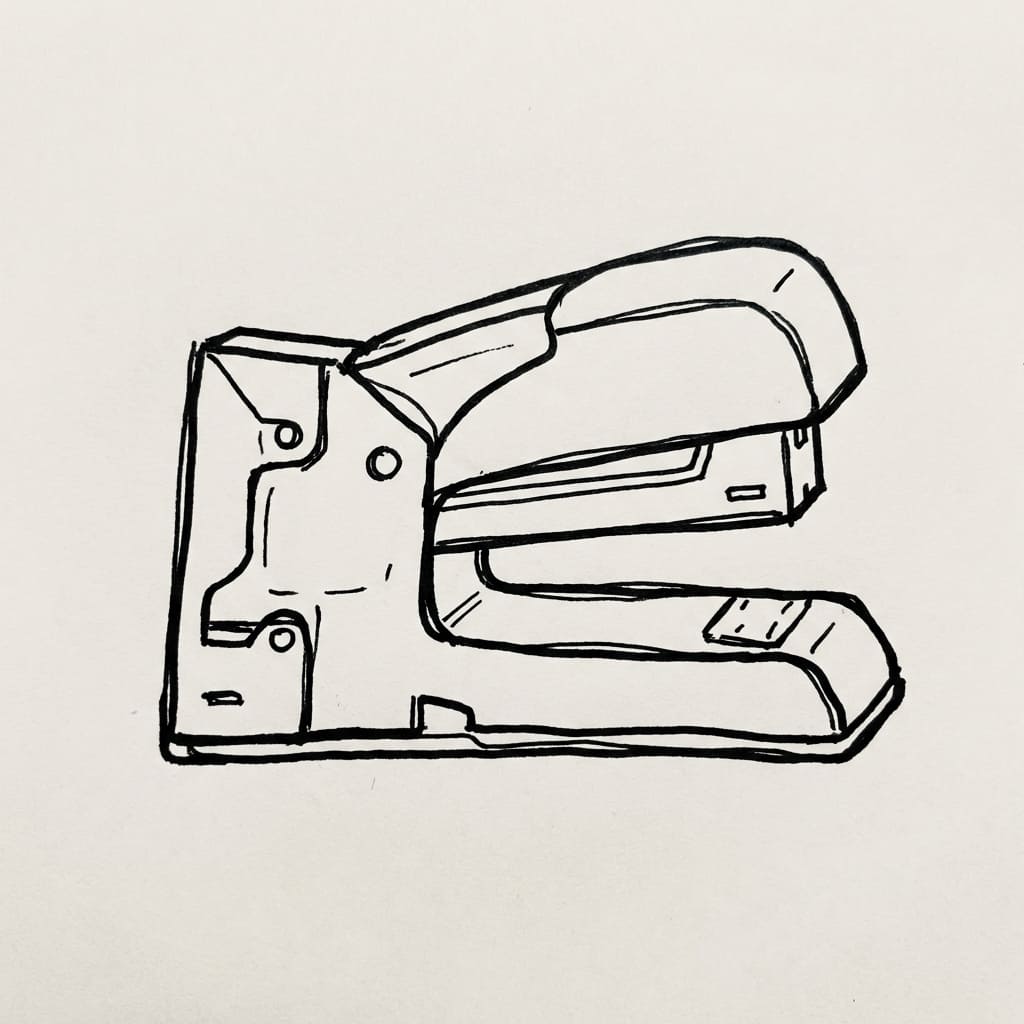
Time to size up. Draw a heavy-duty stapler with a slightly larger body. Keep the shape simplified, with only minimal detail lines.
Heavy-duty staplers look chunkier and more industrial. I personally find them more satisfying to draw than the flimsy plastic ones.
6. Three Tiny Staplers in a Row – Identical Design
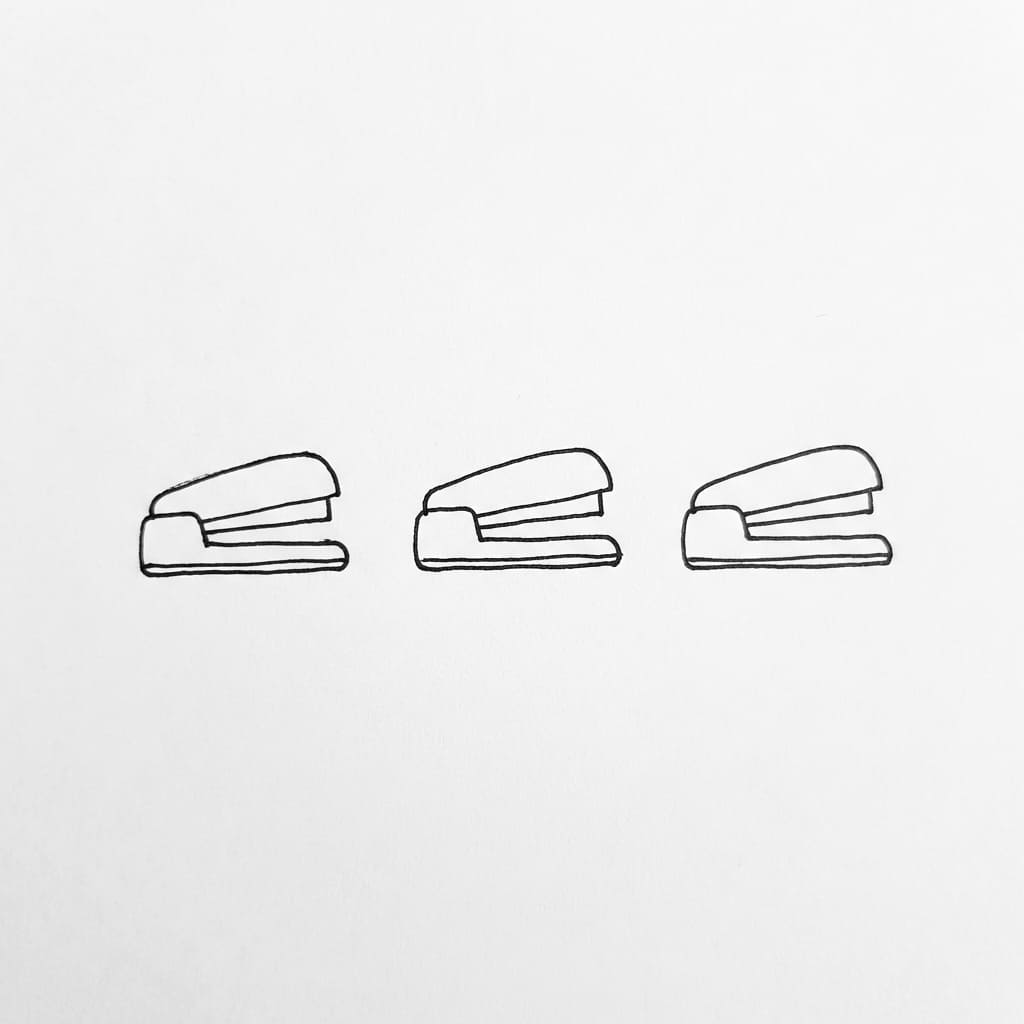
Repetition builds muscle memory. Draw three tiny staplers in a row, all identical. Space them evenly and use simple outlines.
This exercise feels meditative. You’ll notice your third stapler looks better than the first. That’s the magic of practice.
7. Tilted Stapler – Diagonal Position
Break the boring horizontal habit. Draw a stapler placed diagonally (tilted position). Basic outline only, no extra details.
Ever wondered why tilted objects look more dynamic? Your brain finds diagonal lines more interesting than straight ones. Science, baby.
8. Two Staplers Crossed in an X Shape
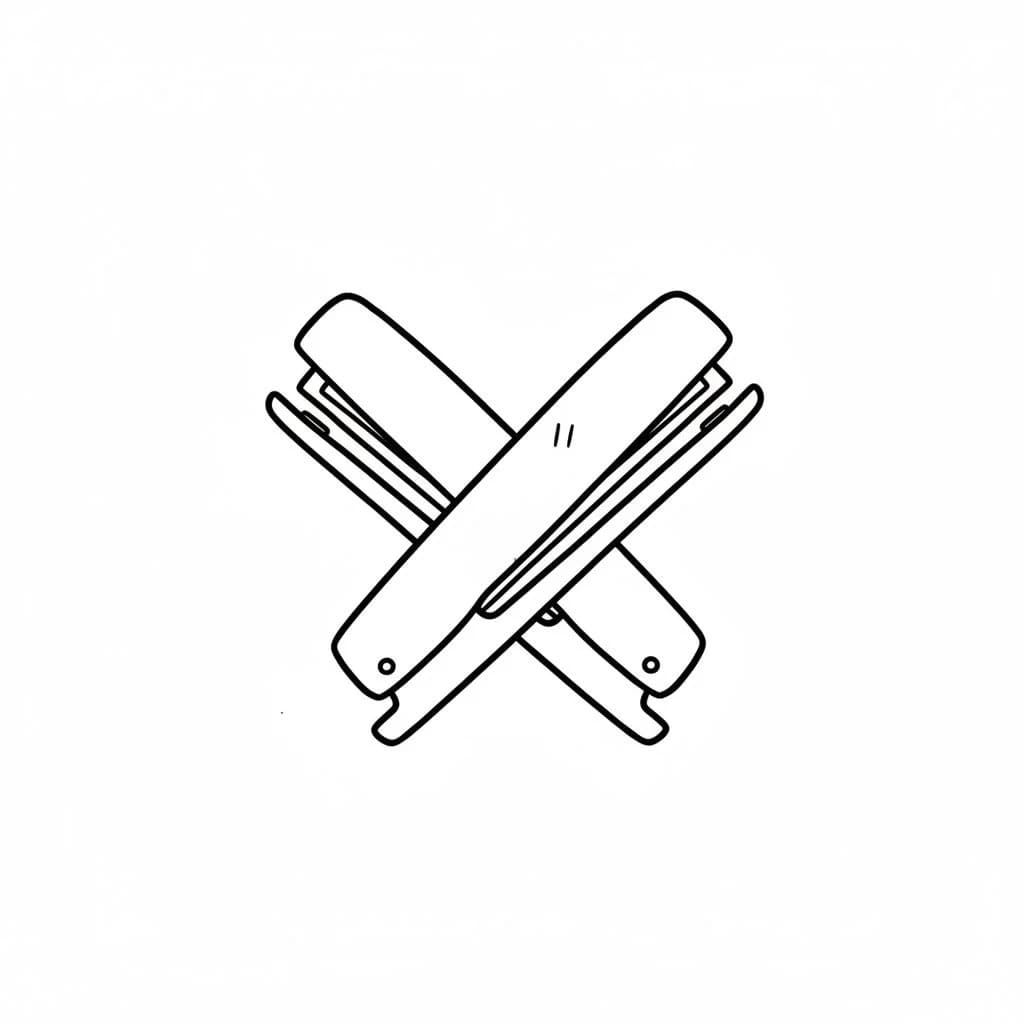
Feeling bold? Draw two staplers crossed in an X shape. Keep the outlines simple and the composition balanced.
I’ll be honest—this one took me a few tries to get right. The trick is to overlap the lines lightly, not force them. Let the shapes breathe.
9. Compact Travel Stapler
Travel staplers are short and rounded. Draw one from the side view with very simple design lines. No need to add the little slide-out mechanism unless you’re feeling fancy.
I keep a travel stapler in my bag, and sketching it during boring meetings saves my sanity. True story.
10. Two Staplers Facing Opposite Directions – Mirrored Layout
Here’s a fun challenge. Draw two staplers facing opposite directions in a mirrored layout. Simple outlines only.
This teaches you to draw the same object from two perspectives without moving your reference. It’s harder than it looks, but that’s the point.
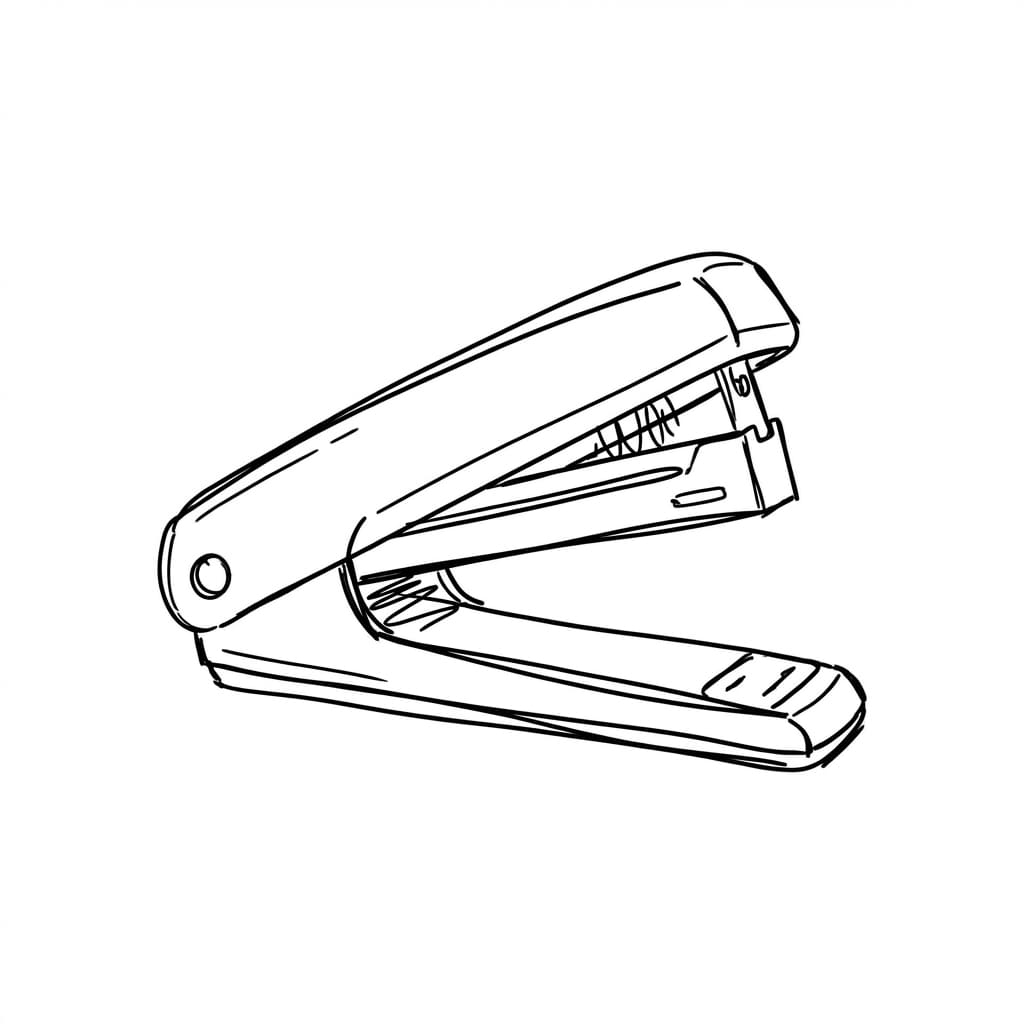
11. Stapler Partially Open
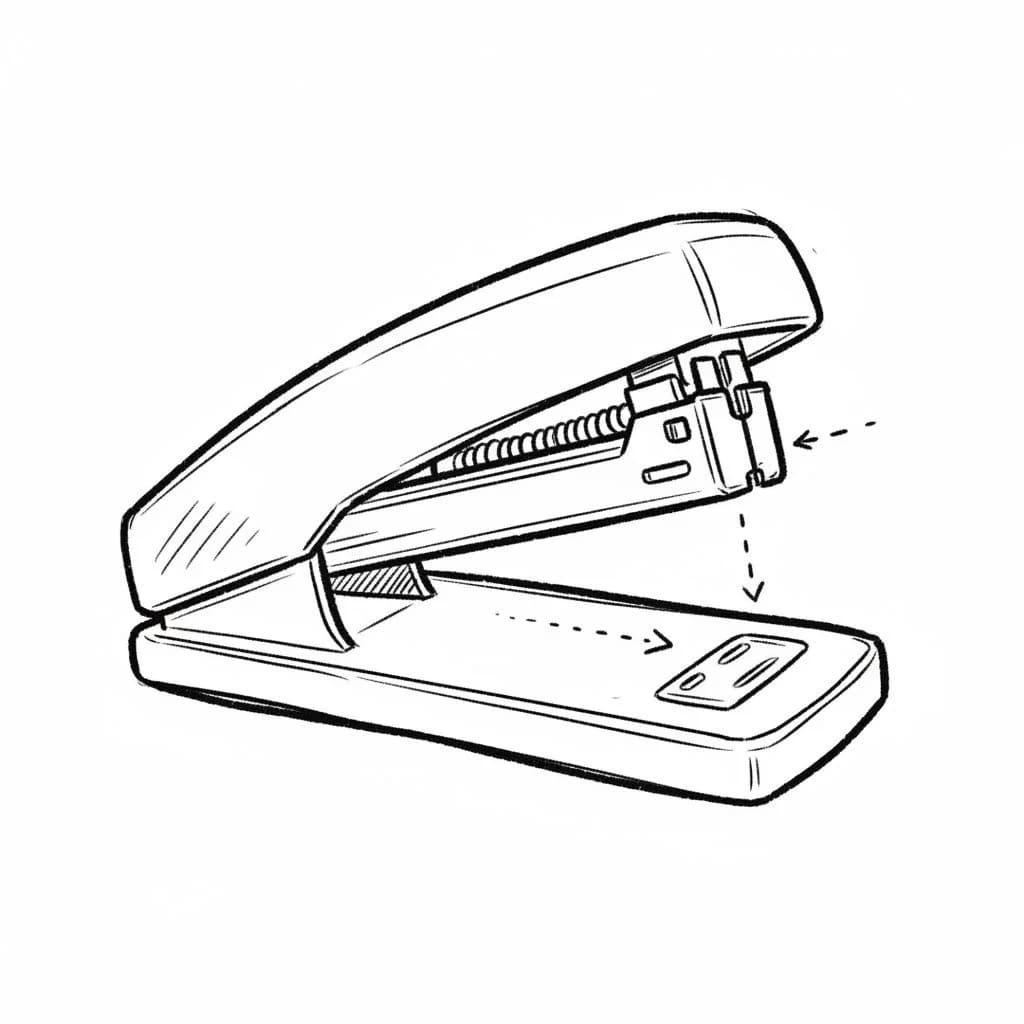
Time to peek inside. Draw a stapler partially open from the top view, with a basic internal line suggesting the inner mechanism. Minimal details only.
You don’t need to draw actual staples. A single curved line works wonders to suggest depth.
12. Three Staplers in Different Orientations
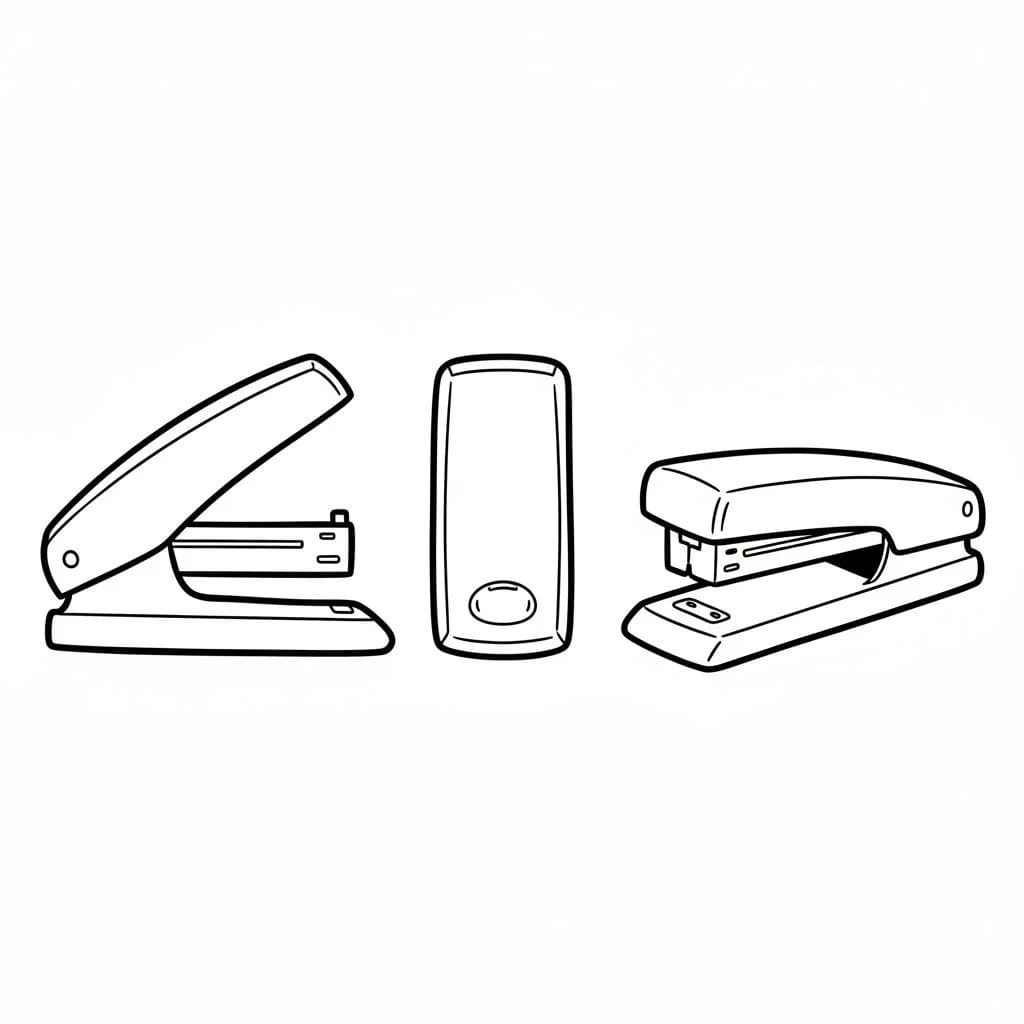
This one builds real confidence. Draw three staplers in different orientations: one side view, one top view, and one angled. Keep the style consistent across all three.
I recommend drawing this on a larger page so each stapler has room to breathe. My first attempt looked crowded. Learn from my mistake.
13. Stapler with a Single Sheet of Paper Underneath
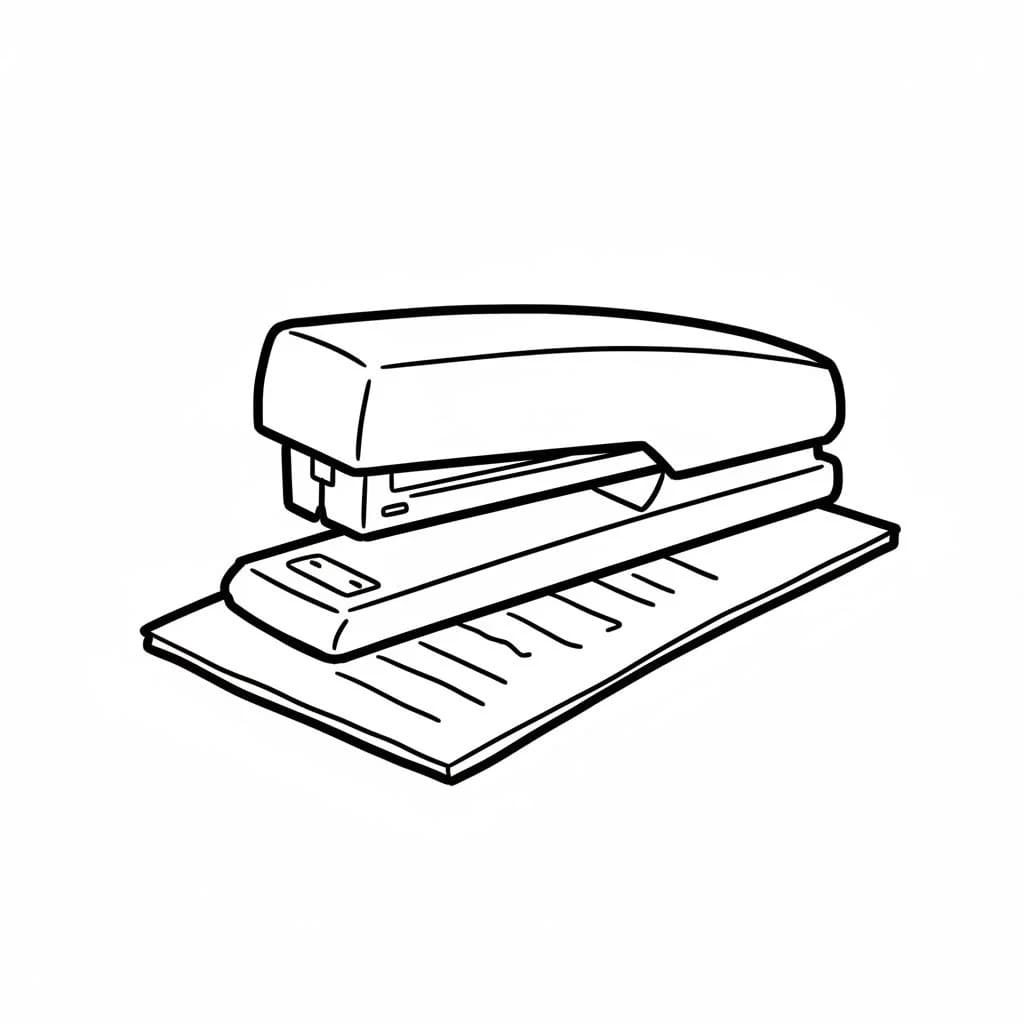
Add a tiny storytelling element. Draw a stapler with one sheet of paper underneath. Show the paper as a simple rectangle with minimal lines.
This small addition transforms a boring object into a “moment.” It implies action without actually drawing the stapling process. Clever, right?
14. Front View – Symmetrical and Simplified
Challenge your sense of balance. Draw a stapler from the front view, keeping the shape symmetrical and simplified. Minimal line work only.
Symmetry is tricky because even a tiny wobble stands out. But don’t stress—slightly imperfect lines give hand-drawn doodles their charm.
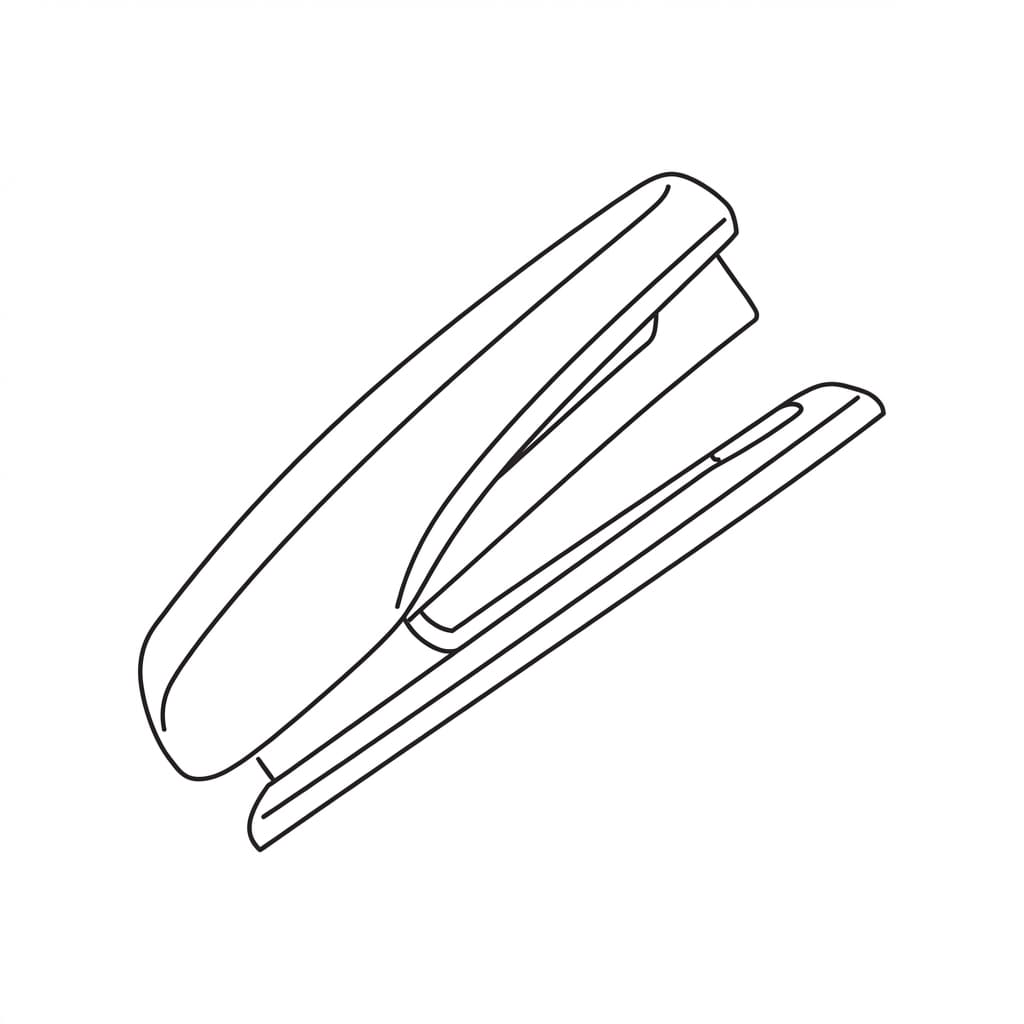
15. Open Position – Hinge Slightly Lifted
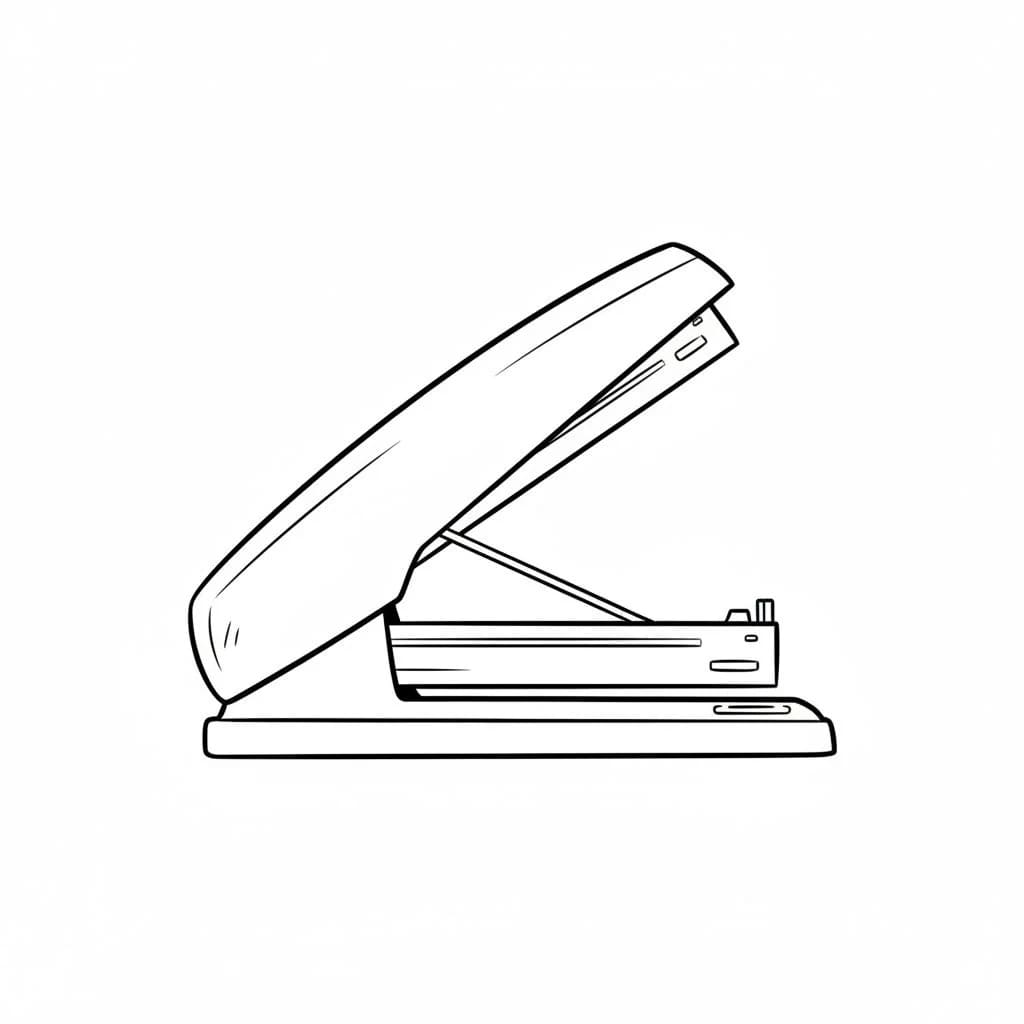
End your drawing session where you started—but better. Draw a basic stapler in open position, showing the hinge slightly lifted. Simple lines, beginner-friendly.
Compare this to your first stapler sketch. See the improvement? That’s the whole point of this list.
How to Make These Stapler Drawings Part of Your Daily Routine
You don’t need a fancy setup. Keep a small sketchbook and a black pen on your desk. Every time you wait for something—a file to download, coffee to brew, or a meeting to start—draw one stapler.
Set a timer for two minutes per drawing. No erasing. No stressing. Just lines on paper.
IMO, this works better than scrolling social media. You actually make something instead of consuming something. Try it for one week and see how your hand relaxes.
Common Mistakes (And Why They Don’t Matter)
Let me save you some frustration.
Mistake #1: You draw the stapler too small. Solution? Fill the page. Bigger lines force you to commit.
Mistake #2: You obsess over perfect proportions. Solution? Remember—it’s a doodle, not a blueprint. Wobbly lines look human and fun.
Mistake #3: You skip the “boring” angles. Solution? Draw them anyway. The angles you avoid are exactly the ones you need to practice.
I made every single one of these mistakes. My first crossed staplers looked like two dead bugs. But I kept going, and now they actually look like staplers. Progress, not perfection.
Final Thoughts – Grab Your Pen and Start
You now have 15 stapler drawing ideas sitting right in front of you. No excuses left.
Pick number one. Draw it in two minutes. Then pick number two. Before you know it, you’ve filled an entire sketchbook page with clean, simple, satisfying doodles.
Will you become the next Picasso? Probably not. But you will build drawing confidence, beat creative block, and see everyday objects in a completely new way.
And hey, that’s pretty good for a desk stapler.
Now go grab your pen. Your sketchbook misses you.