12 Easy Eraser Drawing Ideas for Simple Doodle Practice
Ever sit down with a pencil, stare at your sketchbook, and suddenly forget how to draw… literally anything? Yeah, same here.
When that happens, I grab the simplest object on my desk and start doodling. And guess what sits on my desk 99% of the time? An eraser.
Not glamorous. Not dramatic. Just a small block that quietly fixes mistakes and somehow becomes the perfect drawing subject.
Eraser drawing ideas work incredibly well for beginners because they’re simple shapes. Rectangles, circles, triangles—nothing complicated.
You focus on clean lines, basic forms, and quick sketch practice instead of stressing about details.
So if you want simple doodle practice that actually improves your drawing skills, these 12 eraser ideas will keep your pencil moving. Ready? Let’s sketch.
You Might Also Like: 25 Drawing on Eraser Ideas for Beginners (Simple & Fun)
Why Erasers Make Perfect Doodle Subjects
Before we jump into the list, let me share something I learned the hard way.
When beginners try to practice drawing, they often start with complex things—animals, faces, landscapes.
That’s like trying to bench press 200 pounds on your first gym visit. Ambitious? Sure. Smart? Not really.
Simple objects build skill faster.
Erasers work great because they offer:
- Basic geometric shapes that train your observation skills
- Small subjects that fit anywhere on a sketchbook page
- Quick drawing sessions (most sketches take under a minute)
- Low pressure practice—no one expects dramatic eraser portraits
Plus, let’s be honest. If you mess up an eraser drawing… you can literally erase it. That feels poetic somehow.
Now grab your pencil and try these ideas.
12 Easy Eraser Doodle Ideas
Each idea uses simple black line doodles with minimal detail. No shading, no complicated textures, just clean sketch lines.
Perfect for beginners or anyone who wants relaxed doodle practice.
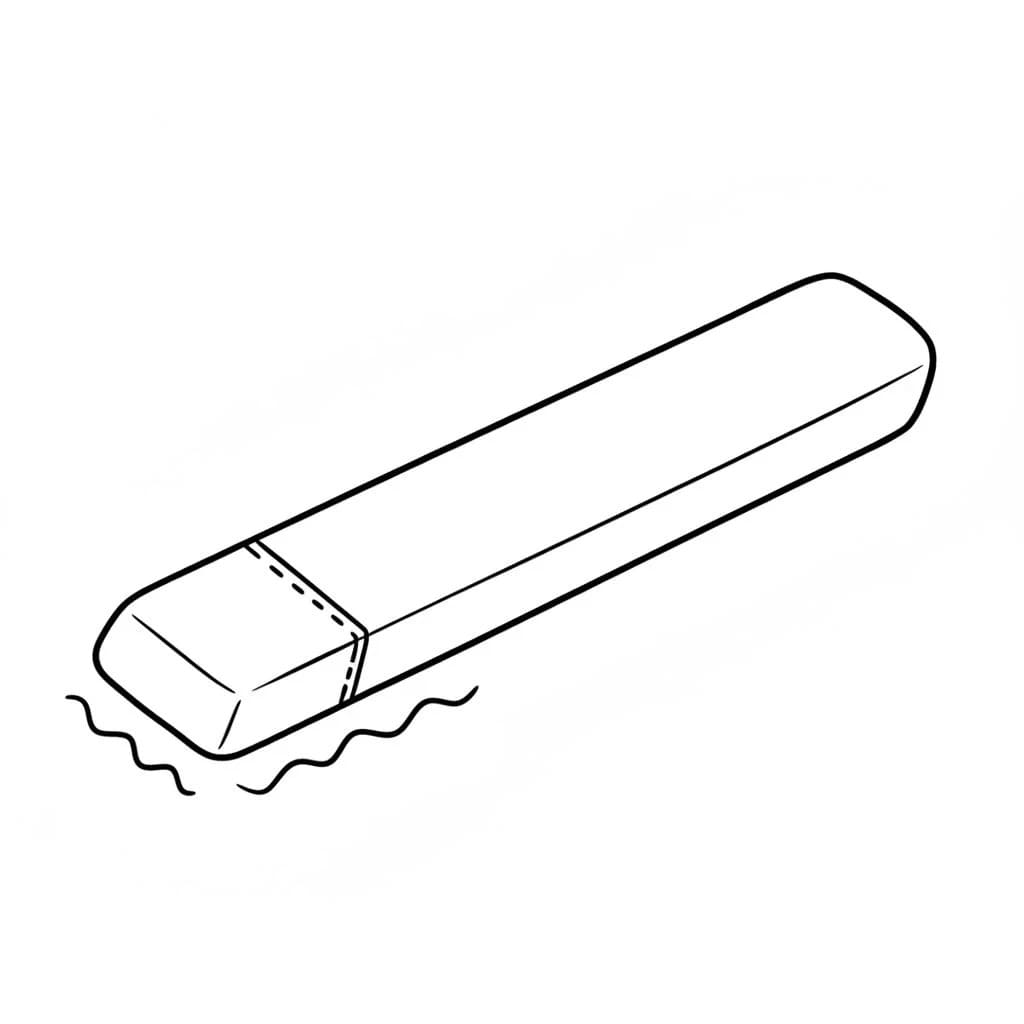
1. Classic School Eraser
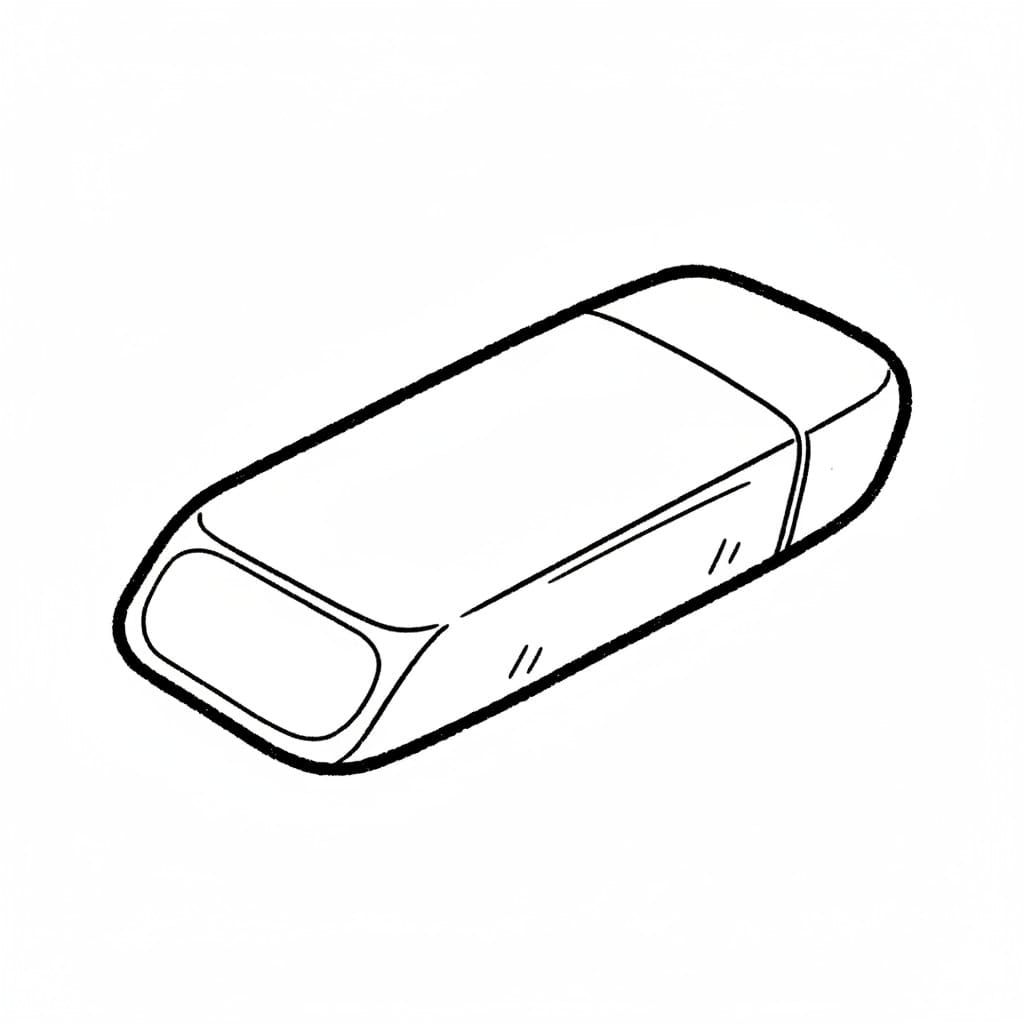
Start with the most familiar one.
Draw a simple rectangular school eraser with slightly rounded edges, minimal hand-drawn sketch style, bold black line drawing, no shading, white background, simple doodle illustration.
This drawing focuses on clean proportions.
Keep it simple:
- Draw a rectangle
- Round the corners slightly
- Add a tiny edge line to show thickness
That’s it. Easy win.
2. Eraser Next to a Pencil
This one adds a little storytelling.
Draw a simple eraser placed next to a basic wooden pencil, minimal hand-drawn doodle style, black line drawing, no shading, white background.
The pencil introduces contrast in shapes.
You’ll practice:
- Long straight lines (pencil)
- Short block shapes (eraser)
Ever notice how tiny details suddenly make a doodle look intentional? Funny how that works.
3. Stacked Erasers
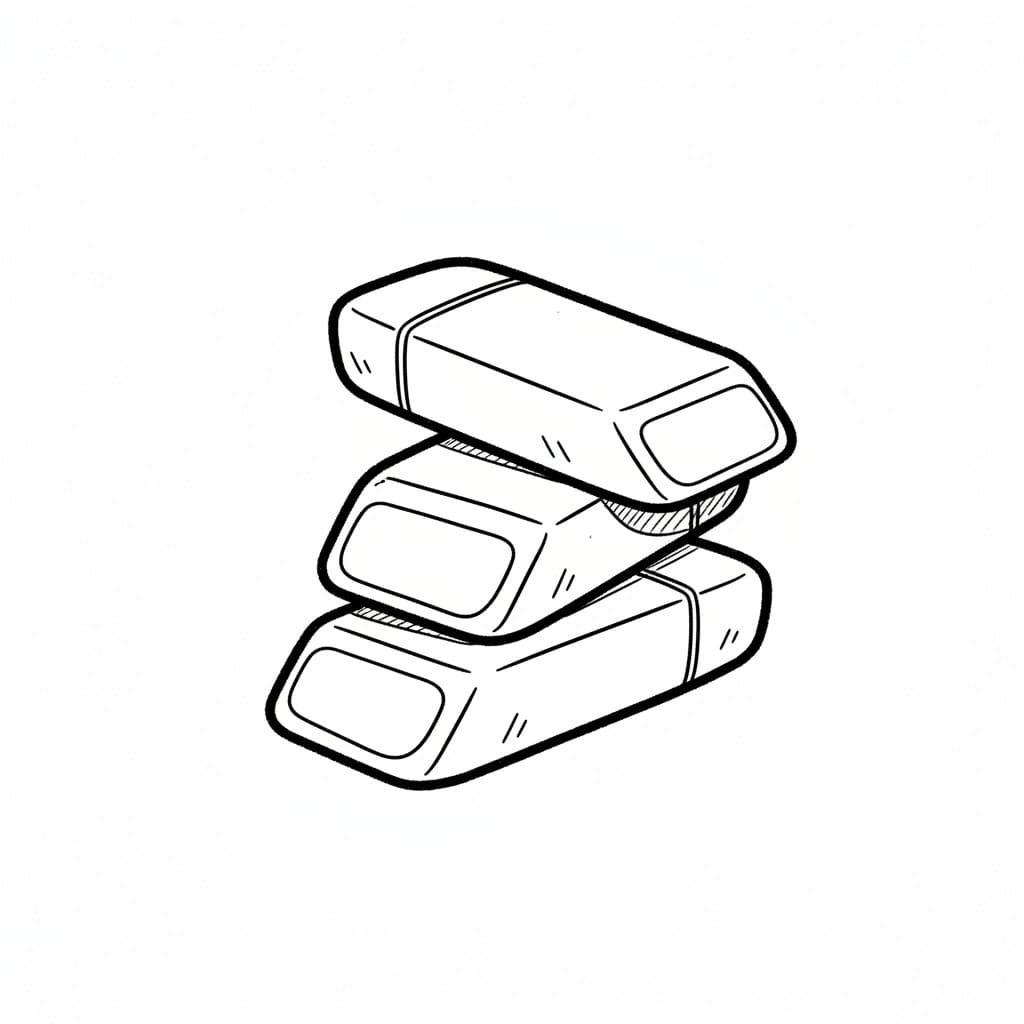
Time to play with depth.
Draw three rectangular erasers stacked unevenly like small blocks, simple sketch doodle style, bold black line drawing, minimal detail, white background.
Stacking objects helps you practice overlapping forms.
Try this trick:
- Draw the bottom eraser first
- Overlap the second slightly
- Tilt the top one for a casual look
IMO, this sketch instantly makes your page feel more dynamic.
4. Triangular Eraser
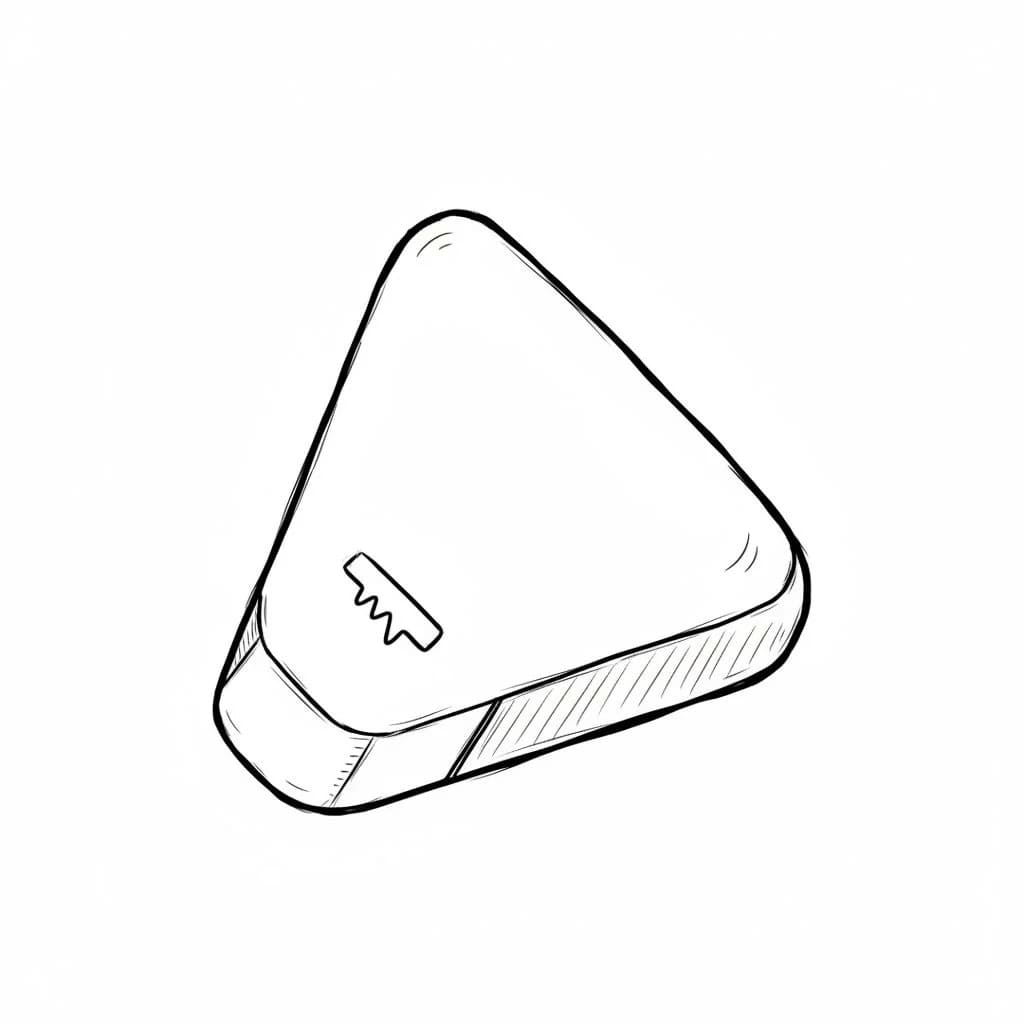
Not every eraser sticks to rectangles.
Draw a triangular eraser shape with slightly rounded corners, simple hand-drawn sketch style, black line drawing, minimal detail, white background.
This shape appears in many precision erasers used for art.
Focus on:
- Equal sides
- Soft corners
- Balanced proportions
Simple geometry improves drawing accuracy faster than complicated sketches ever will.
5. Two Different Erasers
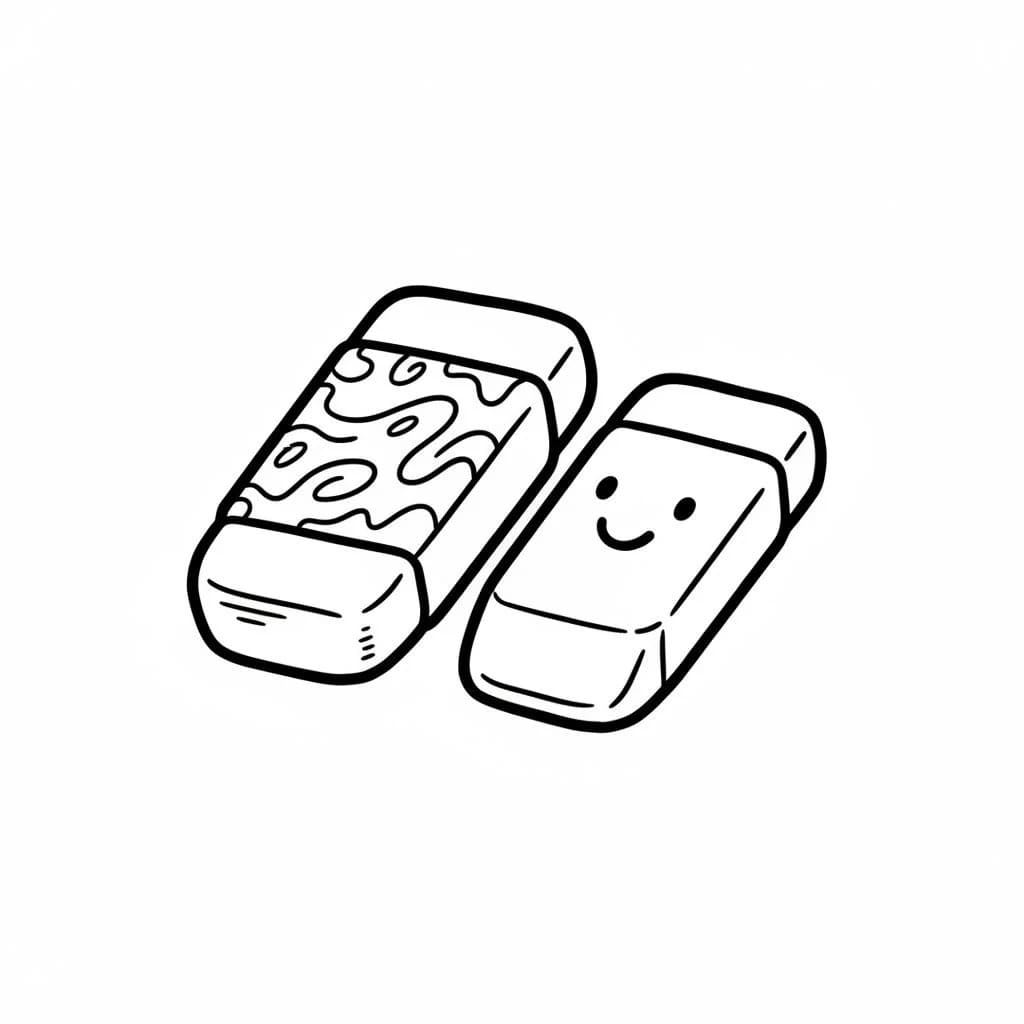
Now introduce variation.
Draw two different rectangular erasers placed next to each other, one slightly larger, simple doodle sketch style, bold black line drawing, no shading.
Size contrast makes doodles feel more interesting.
Small trick:
- Tilt one eraser slightly
- Keep the other straight
That tiny difference adds personality to the drawing.
6. Small Cluster of Erasers
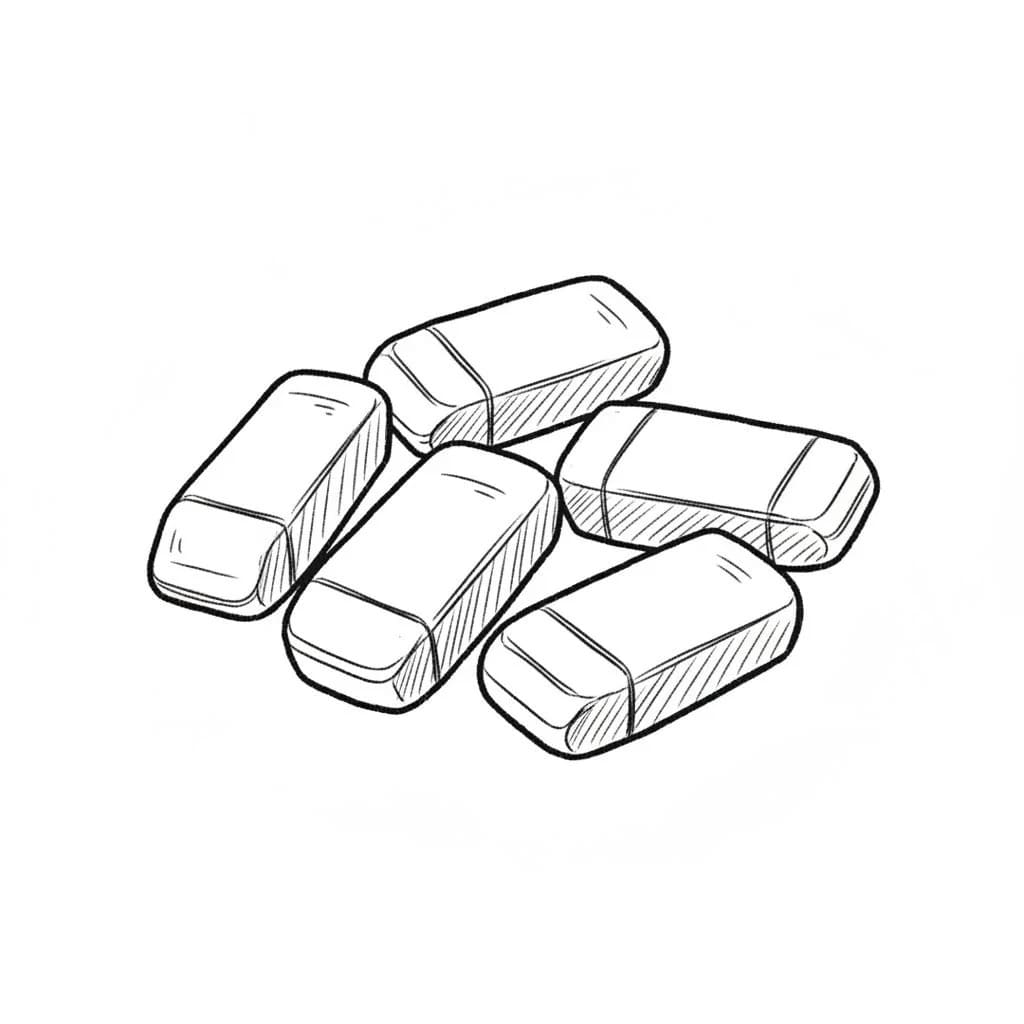
Let’s fill the page a little.
Draw five small rectangular erasers arranged in a loose cluster, simple sketch doodle style, black line drawing, minimal detail, white background.
Clusters help you practice composition.
Avoid perfect spacing. Natural placement works better.
Ask yourself: Would these erasers actually land like this on a desk?
If the answer feels yes, your doodle looks believable.
7. Eraser Near a Notebook Page
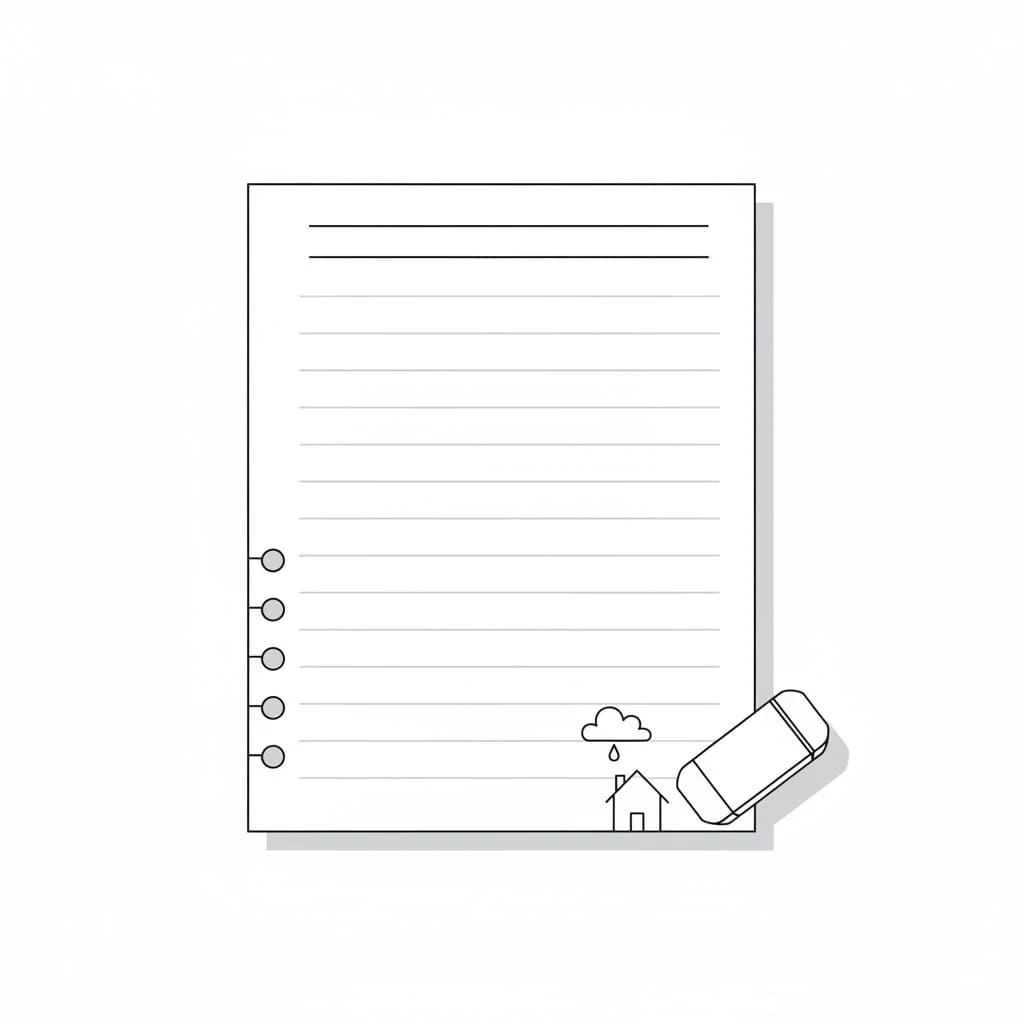
This one creates a mini scene.
Draw a small eraser placed near the corner of a simple notebook page outline, minimal doodle illustration, black line drawing, no shading, white background.
The notebook corner adds context.
Suddenly your drawing tells a story:
Someone studied here.
Someone made mistakes.
Someone erased them.
Okay, maybe I read too much into doodles :/
Still, scenes always look more interesting than isolated objects.
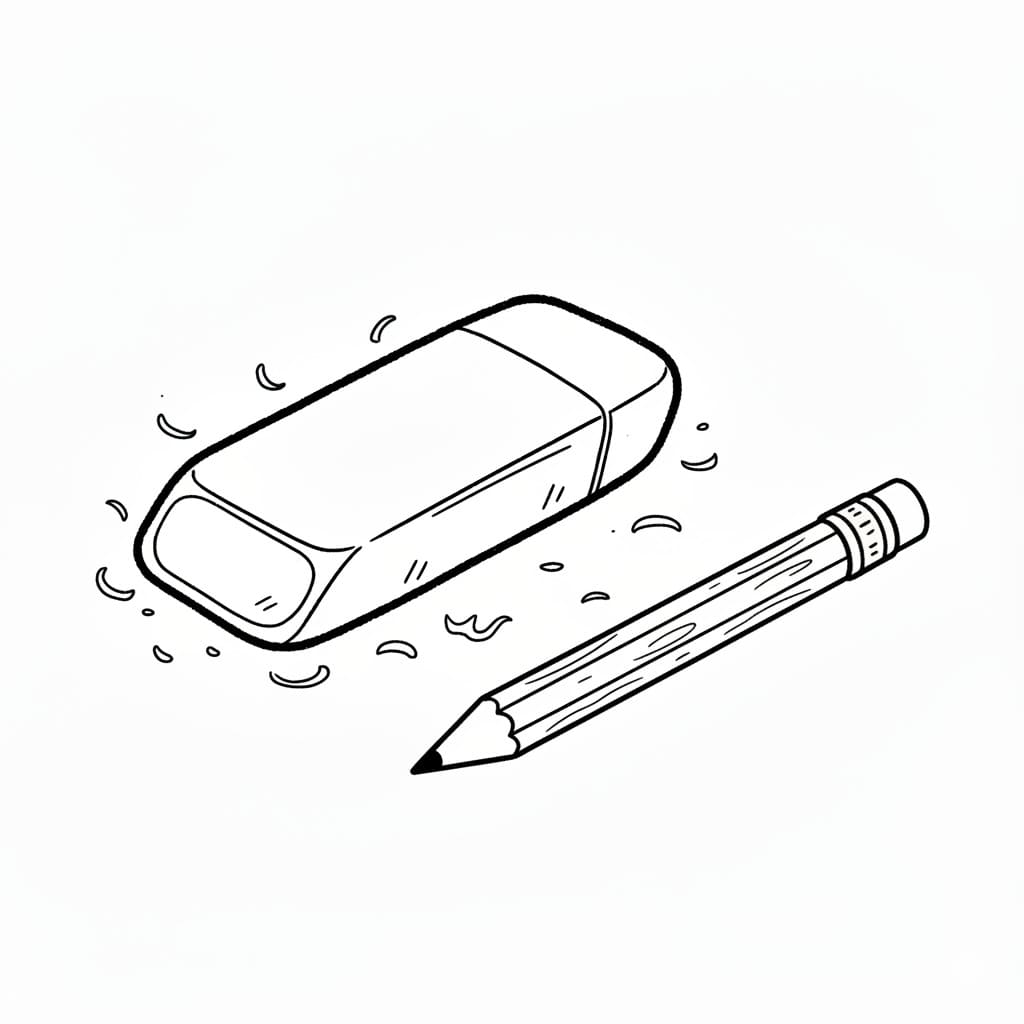
8. Long Narrow Eraser Stick
Not every eraser looks chunky.
Draw a long narrow eraser stick drawn horizontally, minimal hand-drawn doodle style, black line drawing, simple outline, white background.
These appear in mechanical erasers or refill sticks.
Focus on:
- Straight lines
- Even width
- Clean ends
Simple shapes train hand control surprisingly well.
9. Rectangle and Circle Eraser
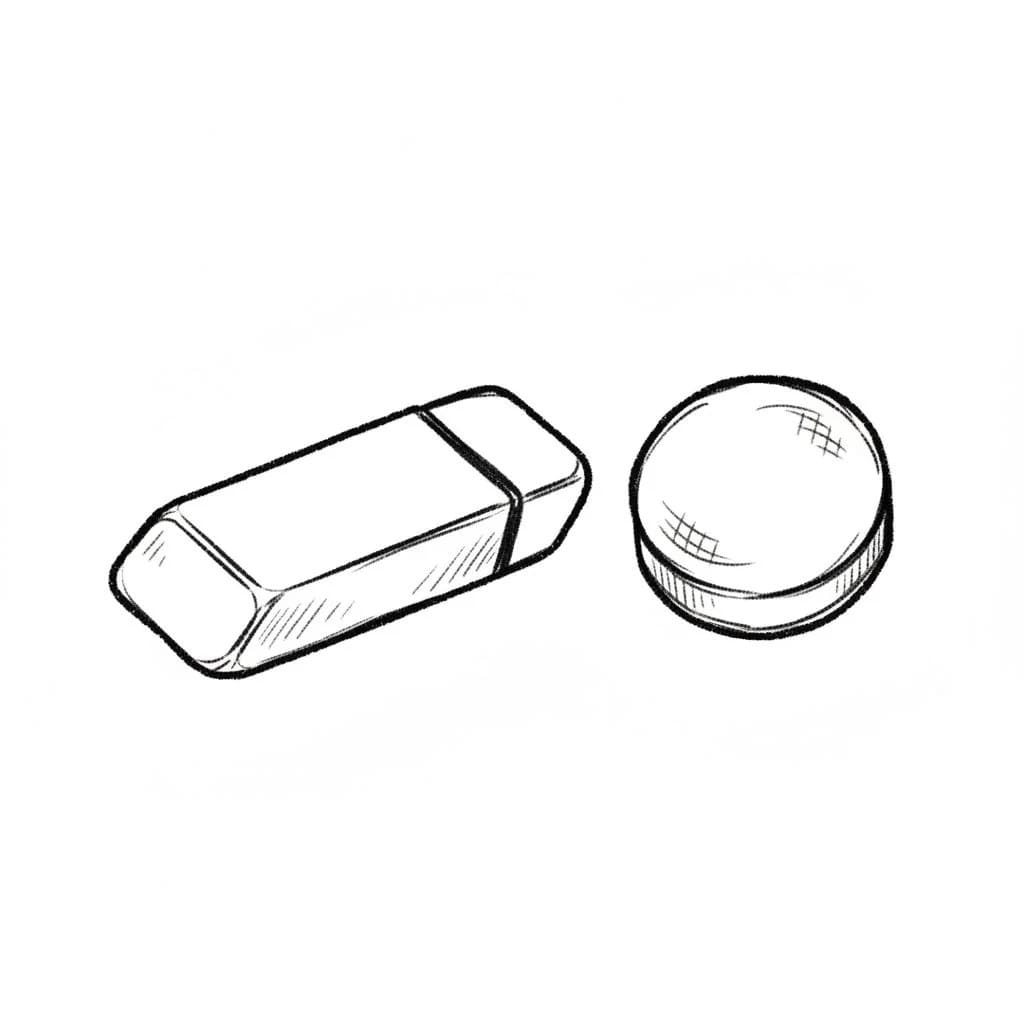
Let’s mix shapes again.
Draw one rectangular eraser and one circular eraser placed side by side, simple hand-drawn sketch style, black line drawing, minimal detail, white background.
Circles challenge beginners more than rectangles.
Why?
Because perfect curves require steady motion.
Try this trick:
- Draw the circle quickly
- Avoid sketching tiny corrections
Your line confidence improves instantly.
10. Eraser with Paper Sleeve
Some erasers come wrapped.
Draw a rectangular eraser partially wrapped in a simple paper sleeve label, minimal hand-drawn doodle style, black line drawing, white background.
The sleeve adds simple structural detail.
Add:
- Two vertical sleeve edges
- A small fold line
That’s enough to suggest packaging without cluttering the drawing.
11. Eraser and Ruler
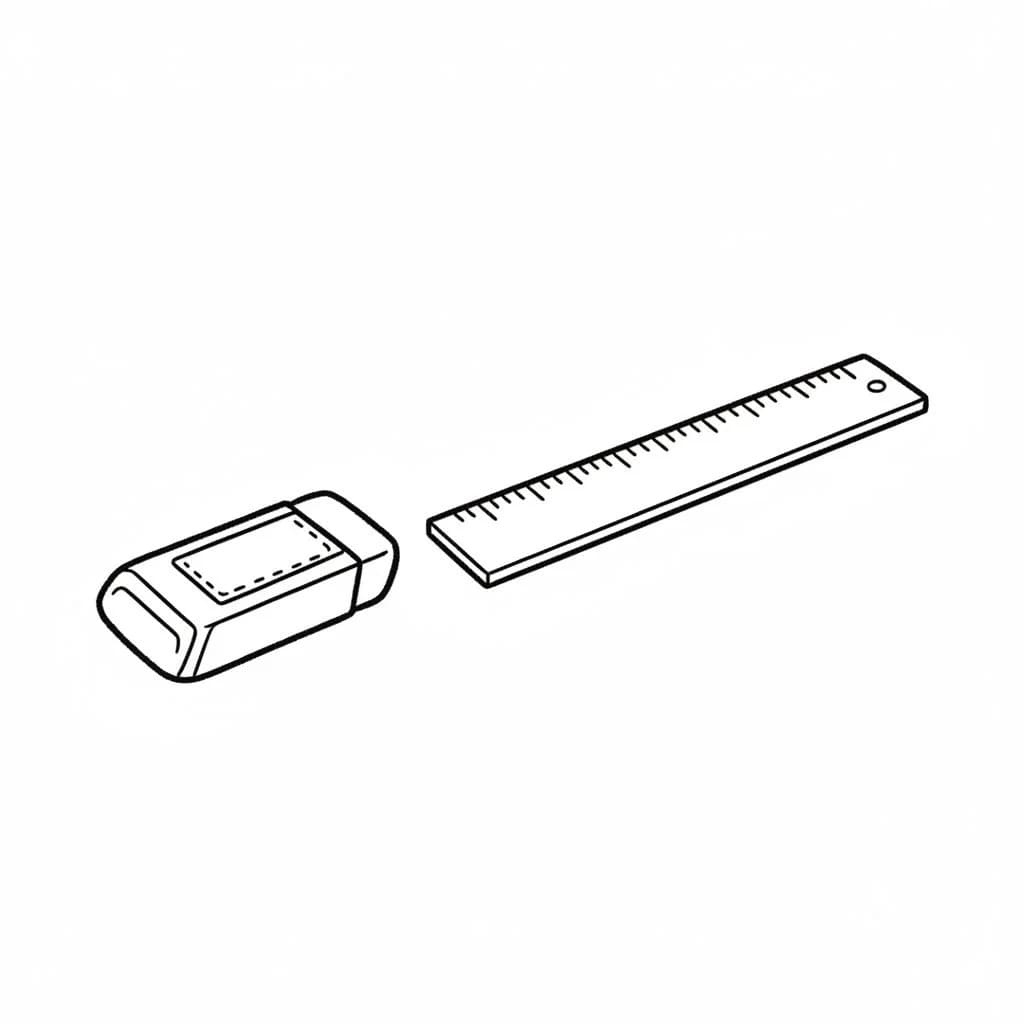
Now add another desk tool.
Draw a small rectangular eraser placed next to a simple straight ruler, minimal doodle sketch style, black line drawing, no shading, white background.
Rulers introduce long horizontal lines.
You can include tiny measurement marks if you want, but keep them simple.
Honestly, I sometimes skip them because… well… laziness counts as artistic style too..
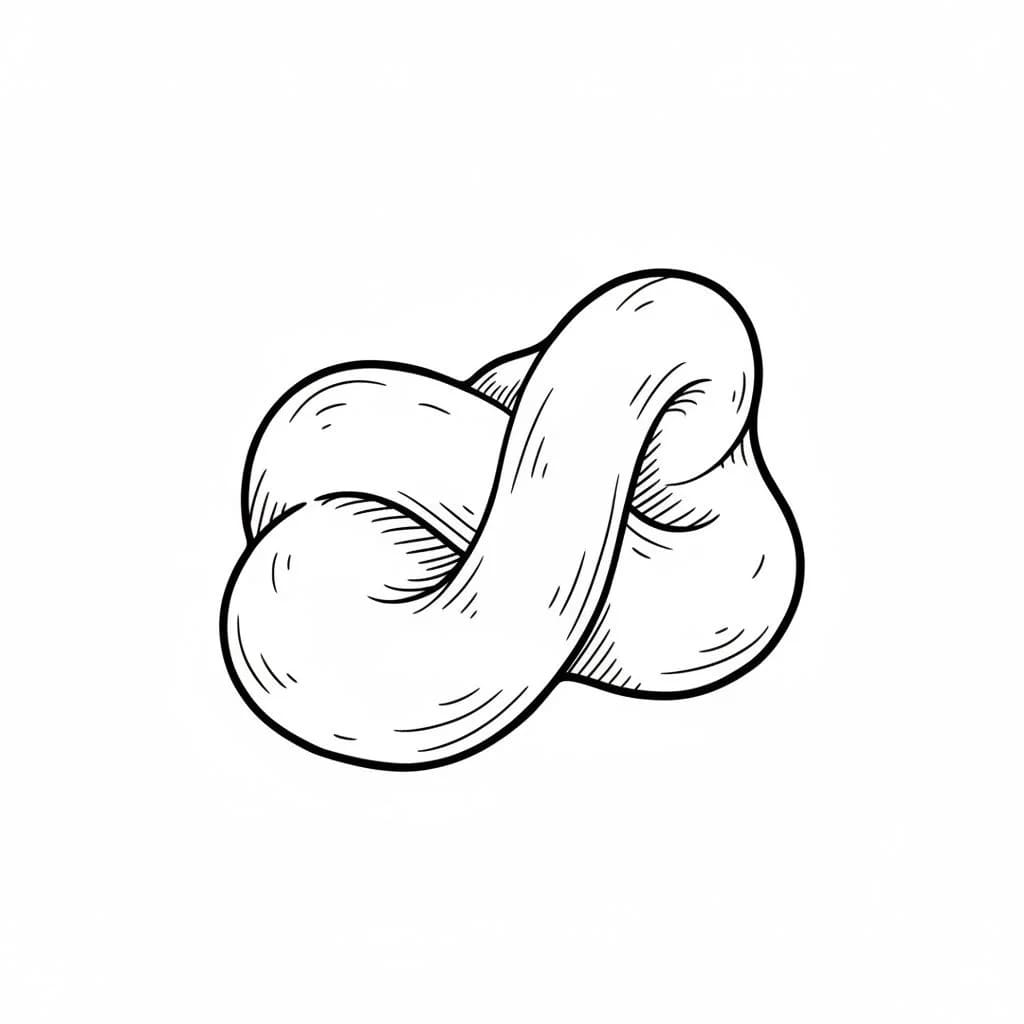
12. Kneaded Eraser
This one breaks the geometric pattern.
Draw a soft kneaded eraser shaped into a simple twisted lump with a few gentle folds and bends, resembling pliable putty, easy hand-drawn doodle style, bold black line drawing, minimal detail, simple curved contour lines, no faces, no expressions, no shading, clean white background.
Kneaded erasers look organic.
Use soft curved lines instead of straight edges.
Think of it like sketching:
- Clay
- Dough
- A tiny twisted blob
It’s oddly satisfying to draw.
Love these ideas? Grab 12 free eraser SVG files to use in your own designs!
Tips for Better Eraser Doodles
Want your sketches to look cleaner instantly? Try these habits.
Tip 1. Keep Your Lines Confident
Draw shapes in one smooth motion.
Avoid tiny repeated strokes.
Confident lines make even simple doodles look intentional.
Tip 2. Don’t Overthink Details
Remember the goal:
Simple doodle practice.
Stick to:
- Basic outlines
- Minimal line work
- Clear shapes
Your sketchbook doesn’t need museum-level masterpieces.
Tip 3. Fill a Whole Page
Instead of drawing one eraser, draw twenty.
Fill the page with small variations:
- Different angles
- Different sizes
- Different placements
FYI, repetition improves drawing faster than complicated exercises.
Tip 4. Use Everyday Objects
Once you finish erasers, look around your desk.
Try drawing:
- Pencil sharpeners
- Paper clips
- Sticky notes
- Pens
Simple objects train observation skills incredibly well.
Final Thoughts
Simple doodles often teach the most.
These eraser drawing ideas prove that you don’t need complicated subjects to practice drawing. A tiny object on your desk can turn into 12 different sketch ideas with just a few lines.
Grab a pencil. Sketch a rectangle. Add a corner. Maybe draw a few crumbs beside it.
Boom—instant doodle.
And who knows? Your sketchbook might fill with dozens of tiny erasers before you notice…
Honestly, that sounds like a pretty relaxing drawing session to me.
2 Comments