
Sketch Your First Hat Today: 17 Simple Hat Drawing Ideas
Ever stare at a blank page and feel your brain freeze up like a cheap computer?
Yeah, me too.
You want to draw something cool, but every idea feels either too complicated or just plain boring.
Here’s the good news: hats are basically the cheat code for beginner drawing. They sit there nicely, don’t complain about proportions, and forgive wobbly lines like a patient art teacher.
I’ve put together 17 hat drawing ideas that won’t make you want to throw your pencil across the room.
Each one uses simple black outlines, no shading, no color, and definitely no stressful details. Sound good? Let’s grab that pencil and get started.
Why Hats Make Perfect Drawing Practice for Beginners
Before we jump into the ideas, let me ask you something: Have you ever tried drawing a face and ended up with something that looked like a potato with eyes? We’ve all been there.
Hats skip all that people-drawing anxiety. You don’t need perfect anatomy or realistic shading.
A hat is just shapes—curves, brims, and cute little details that come together without demanding five years of art school.
IMO, hats are the secret weapon for building drawing confidence. You finish one in five minutes, feel genuinely proud, and suddenly want to draw another. That’s the cycle we want here.
1. Floppy Sun Hat Resting on a Small Table
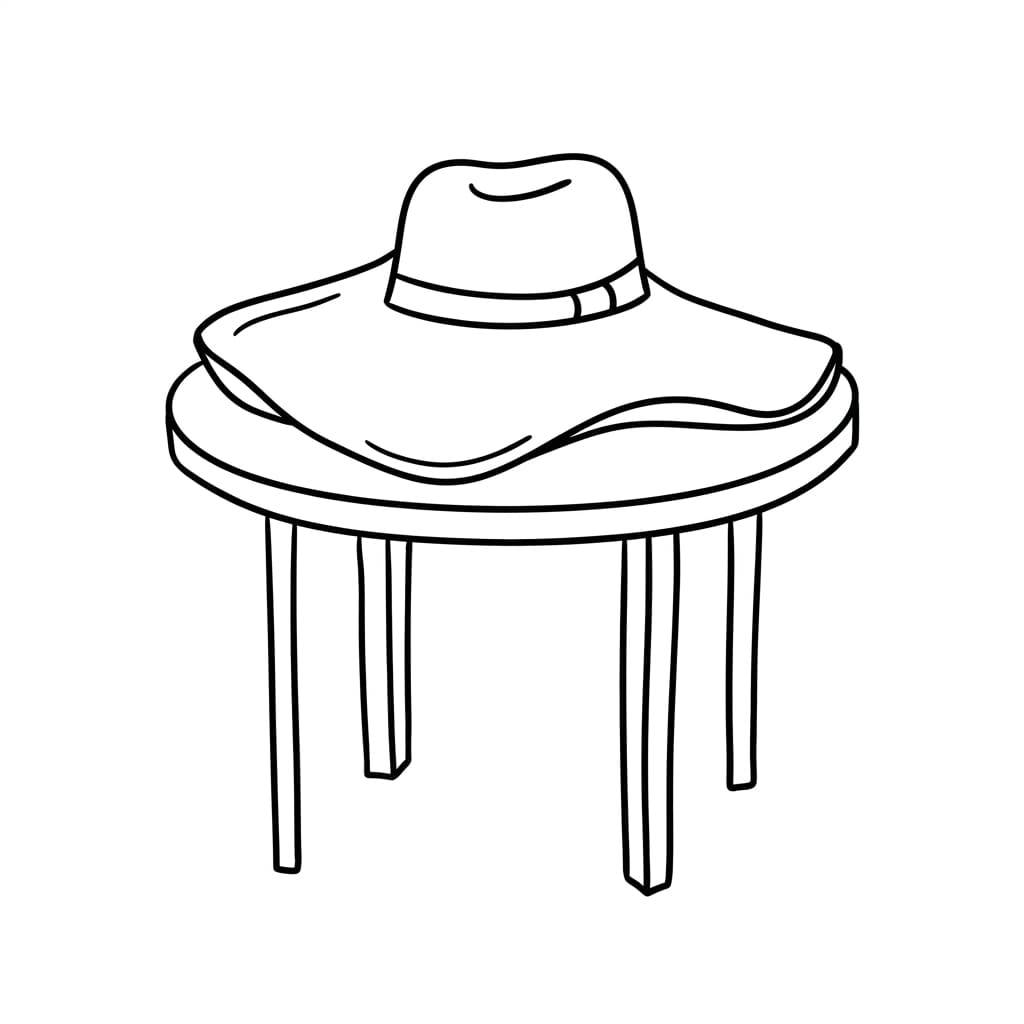
Let’s start with something so easy you’ll laugh.
Picture a wide, floppy brim casually relaxing on a tiny table. Draw a large oval for the brim edge, add a slightly smaller oval inside for the crown base, then connect them with soft curved lines.
No face, no shading, no color—just a friendly little hat taking a break.
Why this works for beginners: The table grounds your drawing, so you don’t worry about the hat floating awkwardly in space. Plus, wide brims hide any shaky lines beautifully.
2. Winter Beanie with a Pom-Pom (Side Angle)
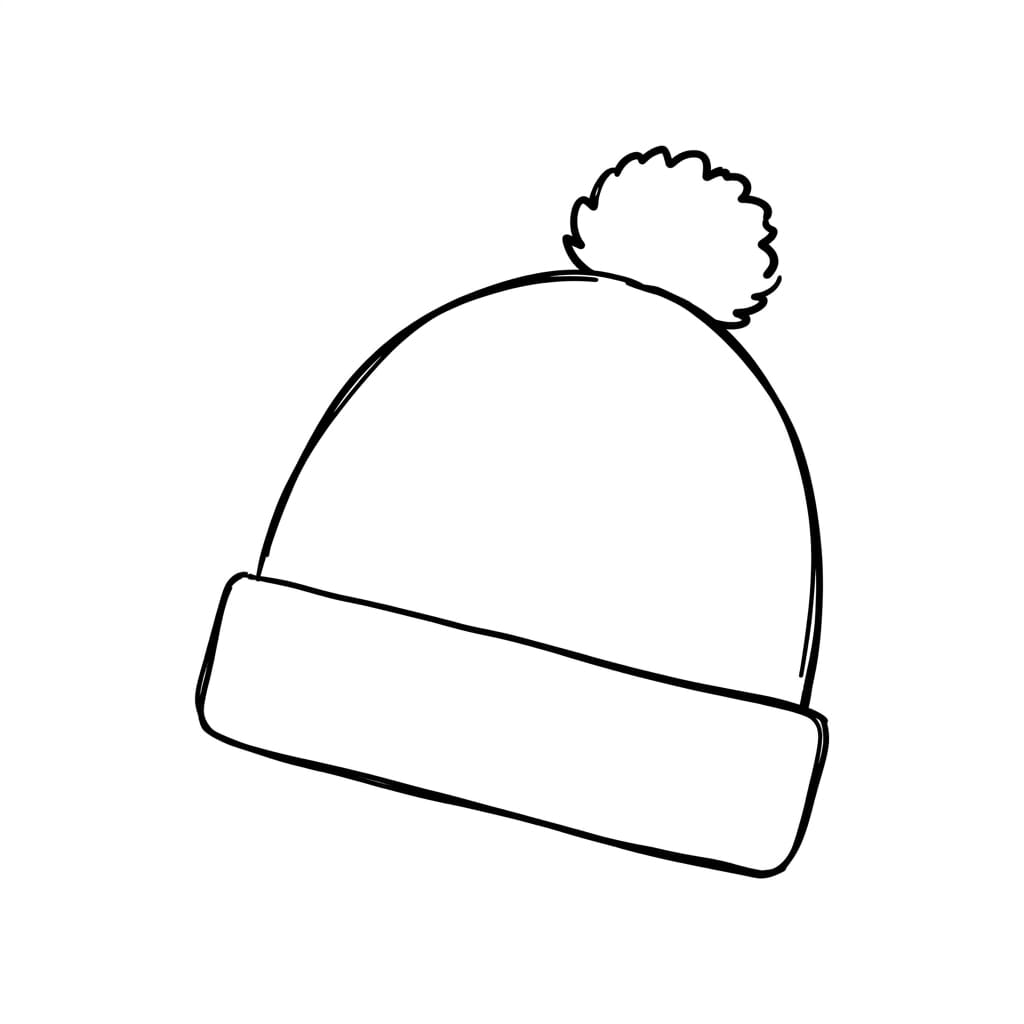
Who doesn’t love a cozy beanie?
Draw a half-circle shape for the main body, add a curved bottom line where the ribbing hits the forehead, then slap a little circle on top for the pom-pom.
That’s literally it. View it from the side so you only deal with one simple silhouette.
Pro tip: Make the pom-pom slightly imperfect. A perfectly round pom-pom looks fake anyway. :/
3. Classic Cowboy Hat Floating Alone
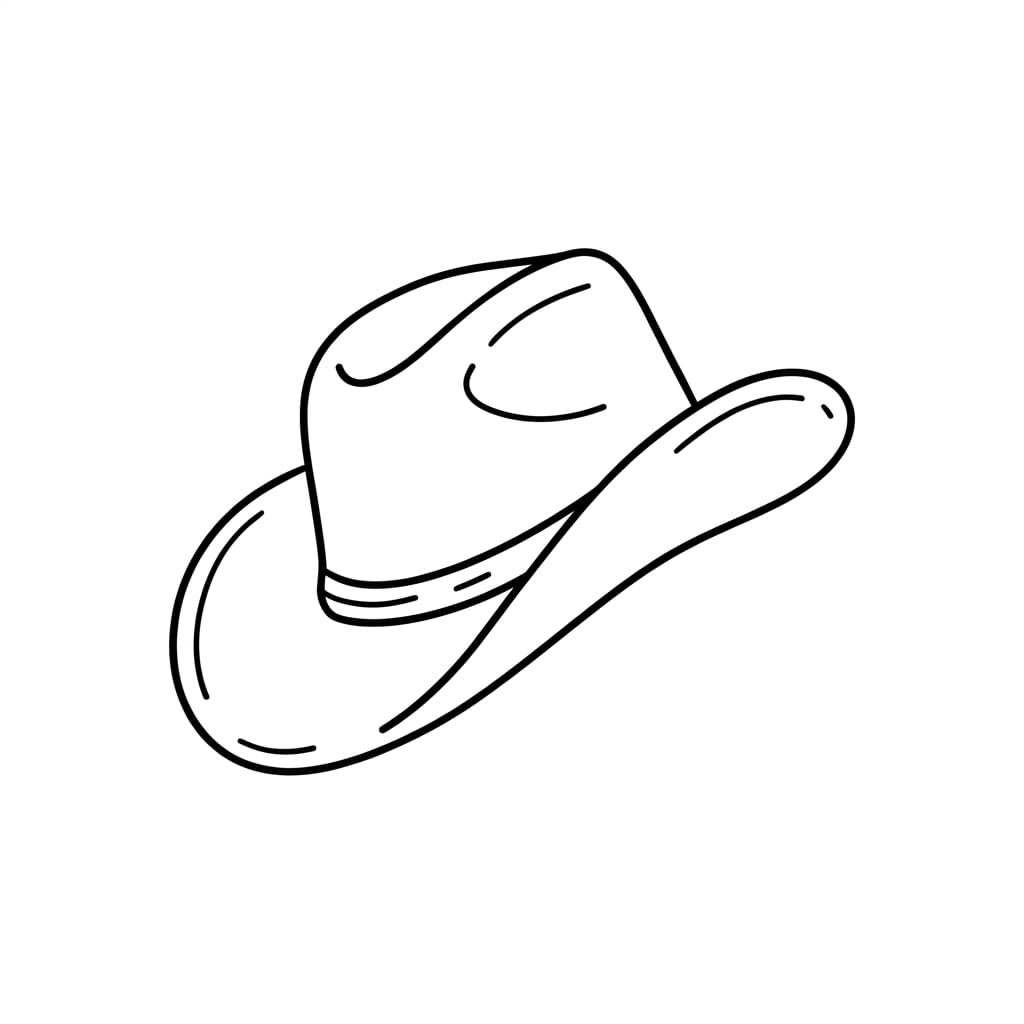
This one feels surprisingly satisfying.
Start with a wide curved line for the brim front, add a large dome for the crown, then draw the back brim curving upward behind it.
Keep everything in simple black outlines. No floating in space anxiety—just let it hover there like a confident hat with zero attachment issues.
Ever notice how cowboy hats always look like they’re about to tell you a story? This sketch captures that vibe without needing a single facial expression.
4. Chef Hat with Soft Rounded Folds
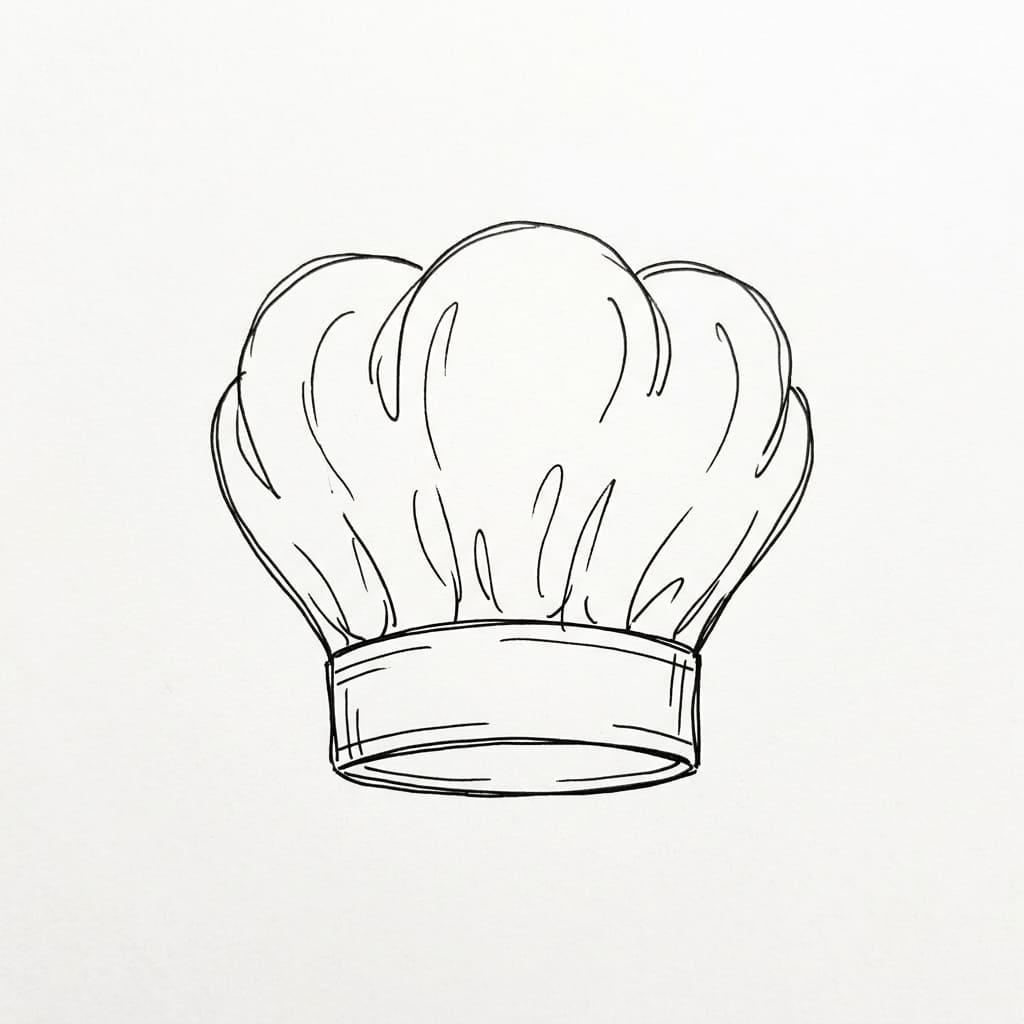
Kitchen vibes coming right up.
Draw a tall puff shape—kind of like a cloud that decided to become a hat—then add a few vertical curved lines to suggest the classic folded fabric. Keep the bottom edge simple with a straight band line.
Why beginners love this: Chef hats don’t demand perfect symmetry. Each fold can look completely different, and your drawing still reads clearly as a chef hat. I call that artistic freedom.
5. Graduation Cap with Tassel (Viewed Slightly From Above)

This one looks impressive but takes about 90 seconds.
Draw a flat square with slightly curved corners, attach a small rectangle on top for the button, then add the cap board underneath.
The tassel? Just a curved line dropping from the center button with a tiny diamond shape at the end.
FYI: Viewing it from above makes the perspective forgiving. You don’t need to figure out how the cap looks from the side—just float above it like a proud parent at graduation.
6. Bucket Hat Hanging on a Small Wall Hook
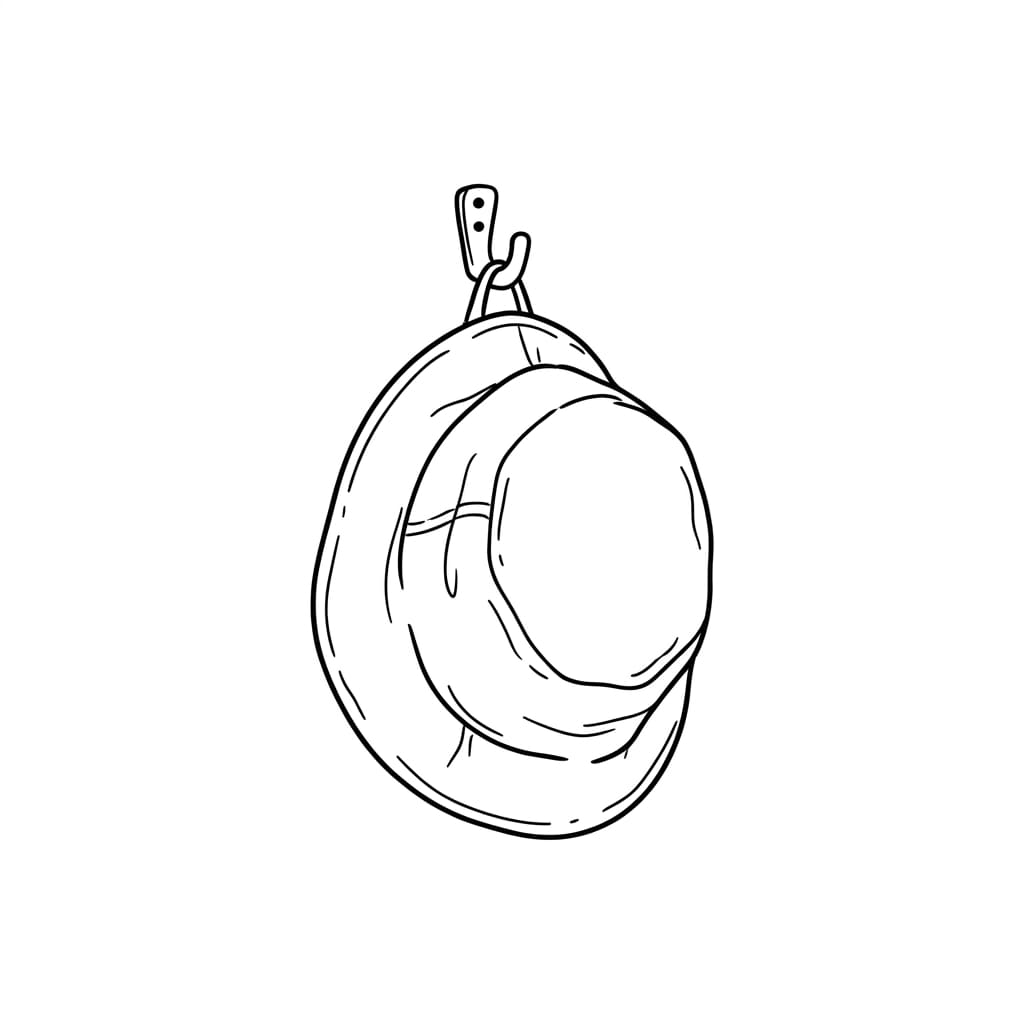
This idea adds a little storytelling to your sketch.
Draw a simple hook shape first—just a curved line coming out from the left side.
Then hang a bucket hat upside-down style: a soft oval brim, a droopy crown that hangs down, and a chin strap if you’re feeling fancy.
The hook solves the floating problem I mentioned earlier. Plus, hanging hats look effortlessly cool.
7. Pirate Hat with Curved Edges and a Simple Feather
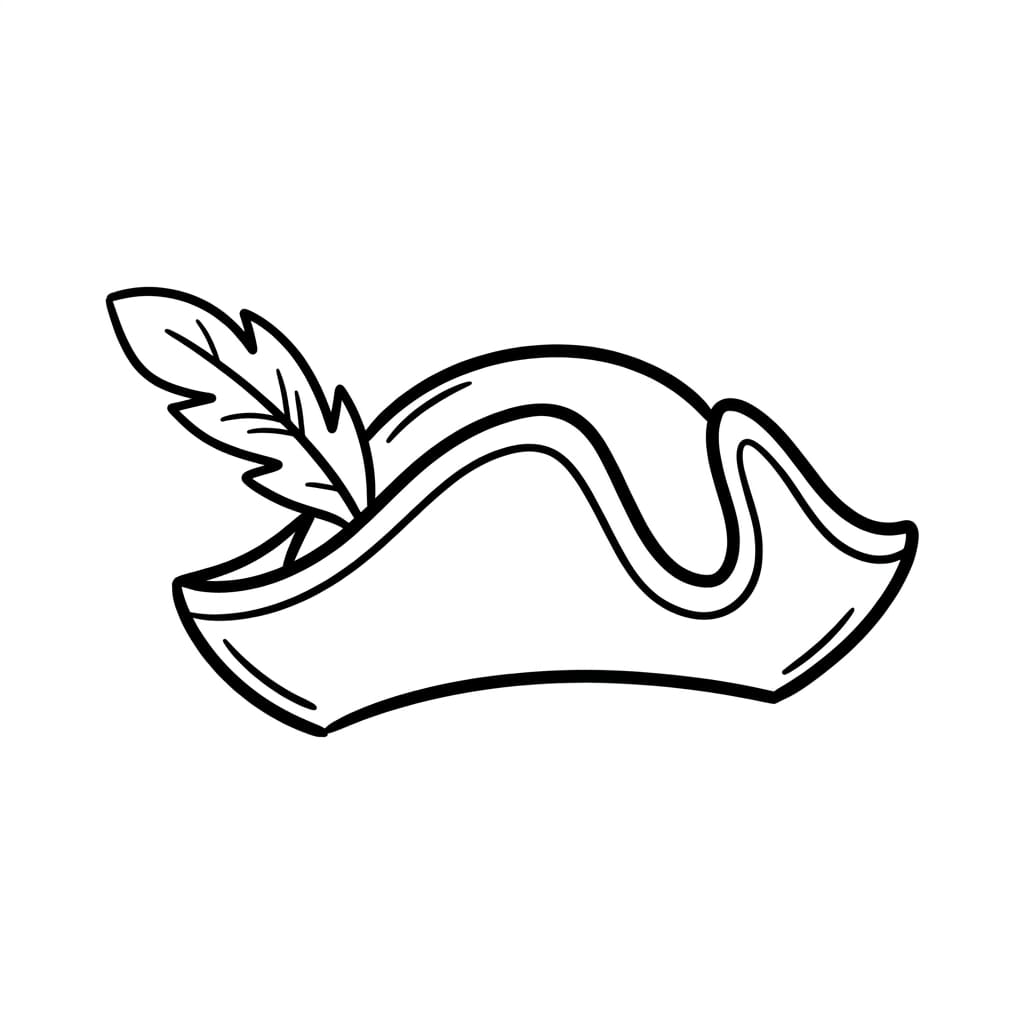
Avast, ye artistic beginner!
Draw a classic tricorn shape: a wide curved base, two pointed ends that curve upward like a crescent moon on its side, and a rounded middle section.
Add one simple feather shape sticking out the side—literally just an elongated oval with a line through the middle.
No skulls, no crossbones, no intense detail. Just a friendly pirate hat that won’t make you walk the plank.
8. Straw Gardening Hat Beside a Tiny Watering Can
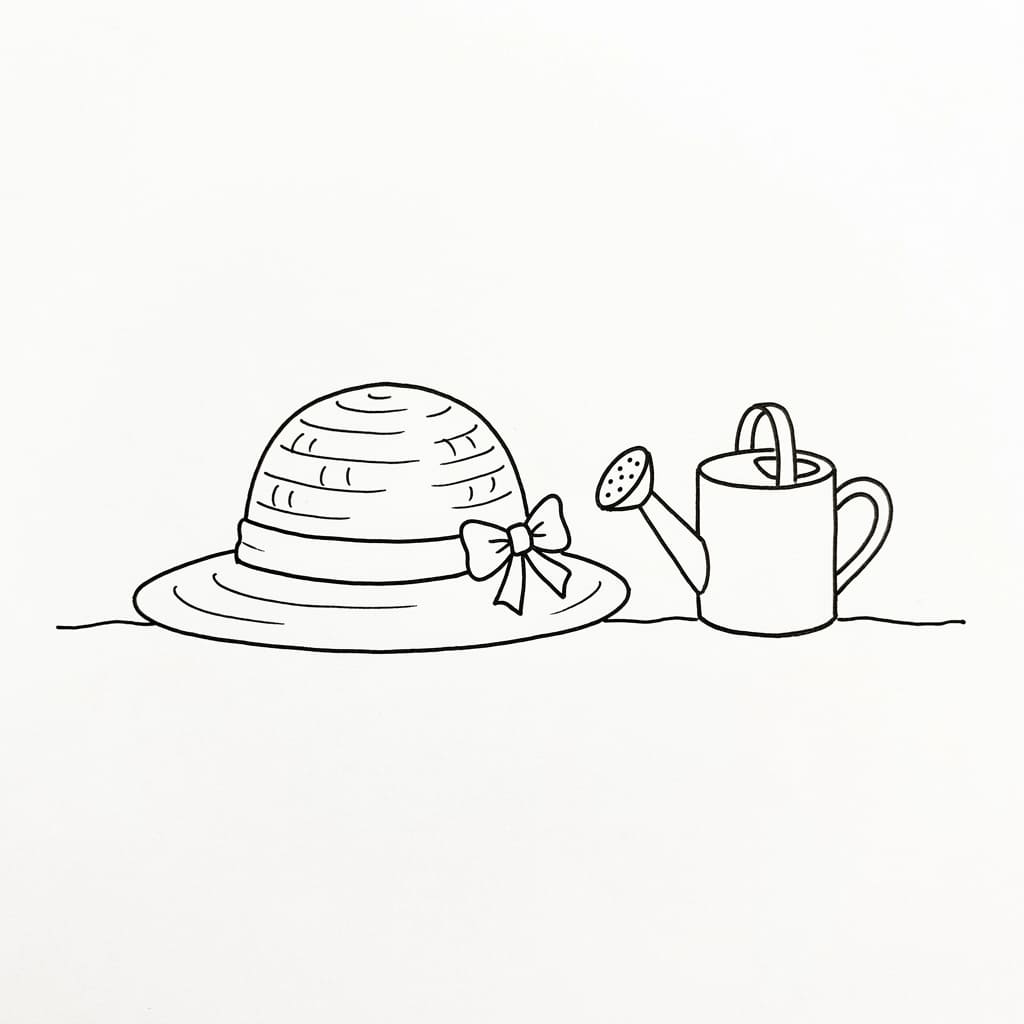
Now we’re adding a friend to the party.
Draw the straw hat first: a wide flat brim with a low, rounded crown. Keep the lines slightly wobbly—straw hats aren’t supposed to look machine-made anyway.
Then add a tiny watering can beside it: a cylinder body, a curved handle, and a little spout.
Personal confession: I messed up the watering can three times when I first tried this. You know what? It still looked adorable. Beginners, take note—perfection is overrated.
9. Top Hat Sitting on Stacked Books
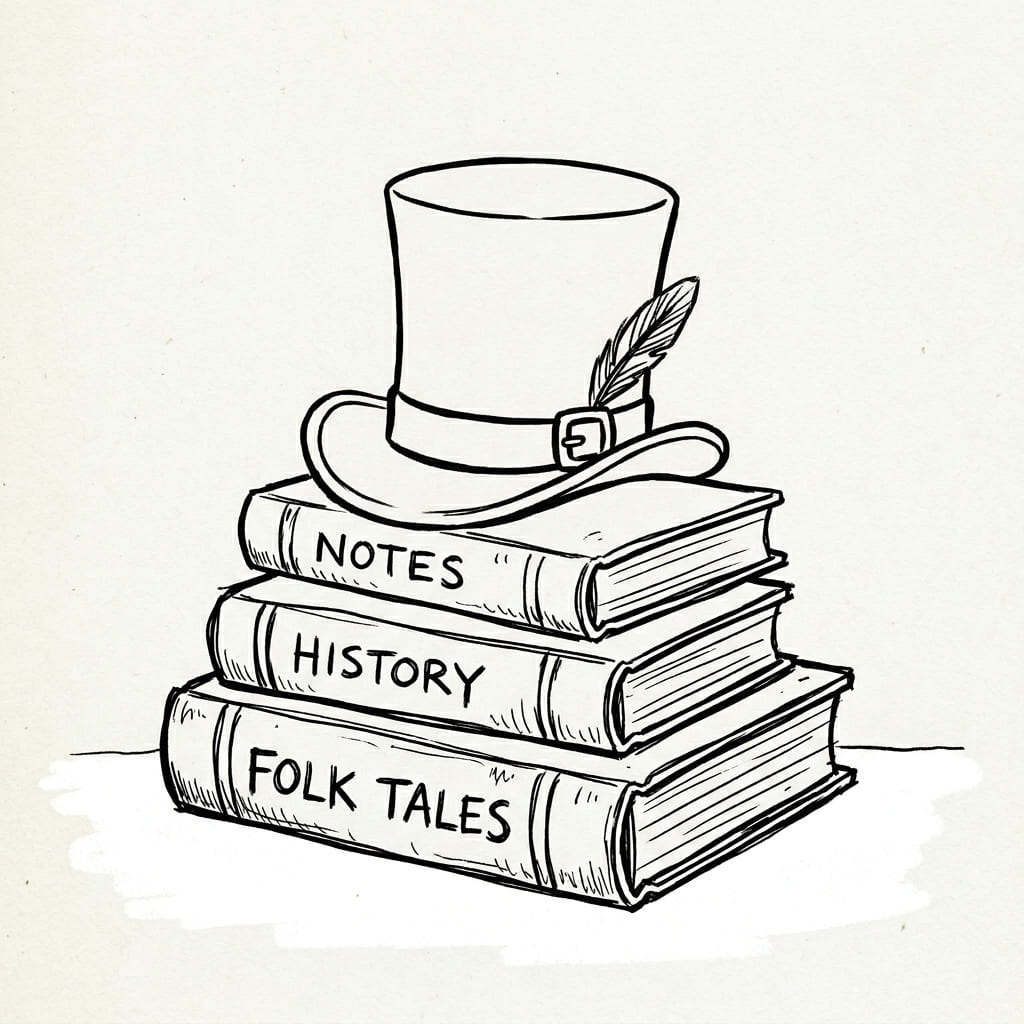
This one screams “fancy doodle energy.”
Draw two or three rectangles stacked unevenly for the books. Add a few horizontal lines on the book spines to suggest pages.
Then balance a classic top hat on top: tall rectangle for the crown, wide oval for the brim, and a small curved indent where the crown meets the brim.
Ever wonder why top hats always look so serious? Stacking them on books makes the whole composition feel playful instead of stuffy.
10. Safari Explorer Hat with Chin Strap (Three-Quarter Angle)
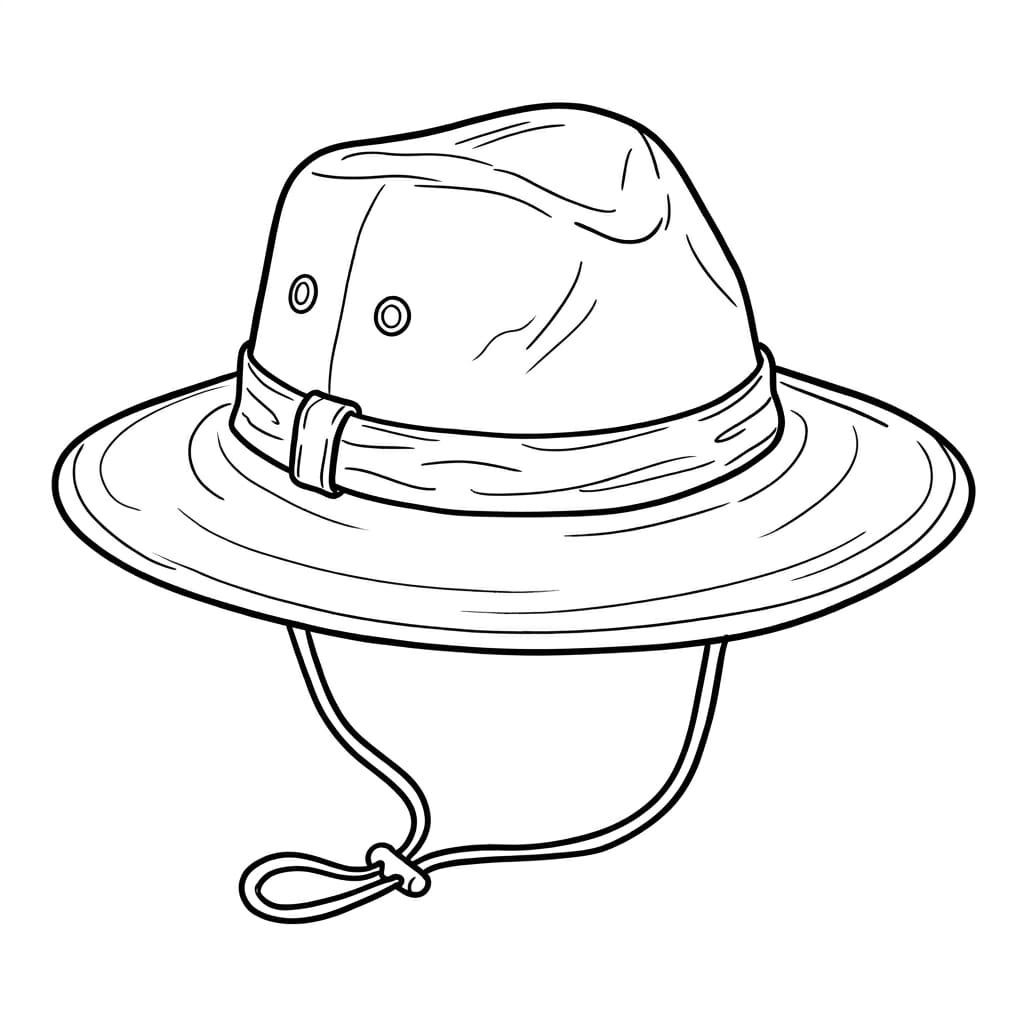
Okay, this angle sounds scary, but hear me out.
Draw a rounded dome crown, add a wide brim that dips lower in the front than the back, then draw two small lines hanging down from the sides for the chin strap.
That’s the three-quarter angle trick—you’re really just drawing the front and one side clearly while the other side hides.
IMO, this hat looks way harder than it actually is. Once you draw it once, you’ll wonder why you ever hesitated.
11. Knitted Winter Trapper Hat with Ear Flaps
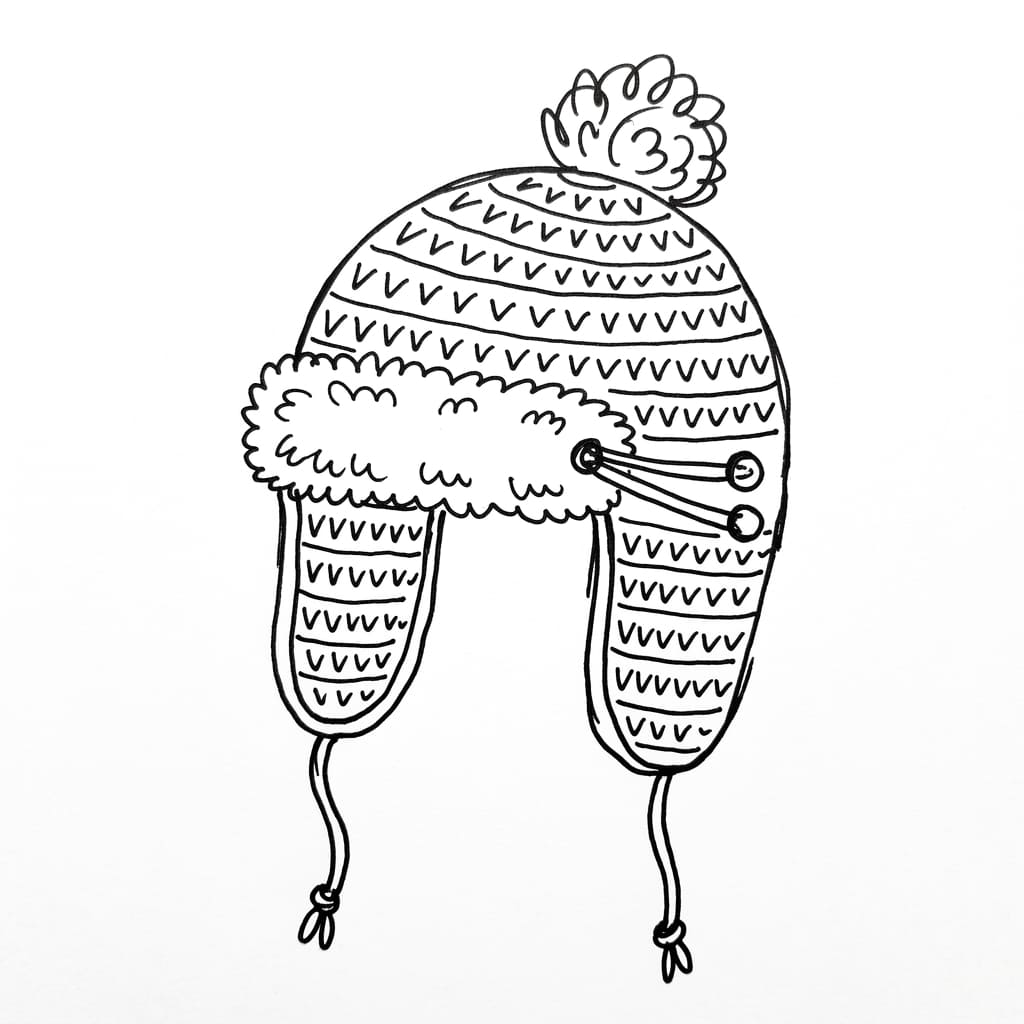
Cold weather calls for a chunky friend.
Draw the main crown as a rounded shape, then add two soft rectangles hanging down from the sides for ear flaps.
Connect the ear flaps across the top with a simple curved line. Keep the outline slightly bumpy to suggest knit texture—but remember, no actual texture or shading required.
Here’s the secret: Trapper hats look complicated because they have parts. But each part is just a basic shape. Draw them one at a time, and magic happens.
12. Beret Beside a Paintbrush
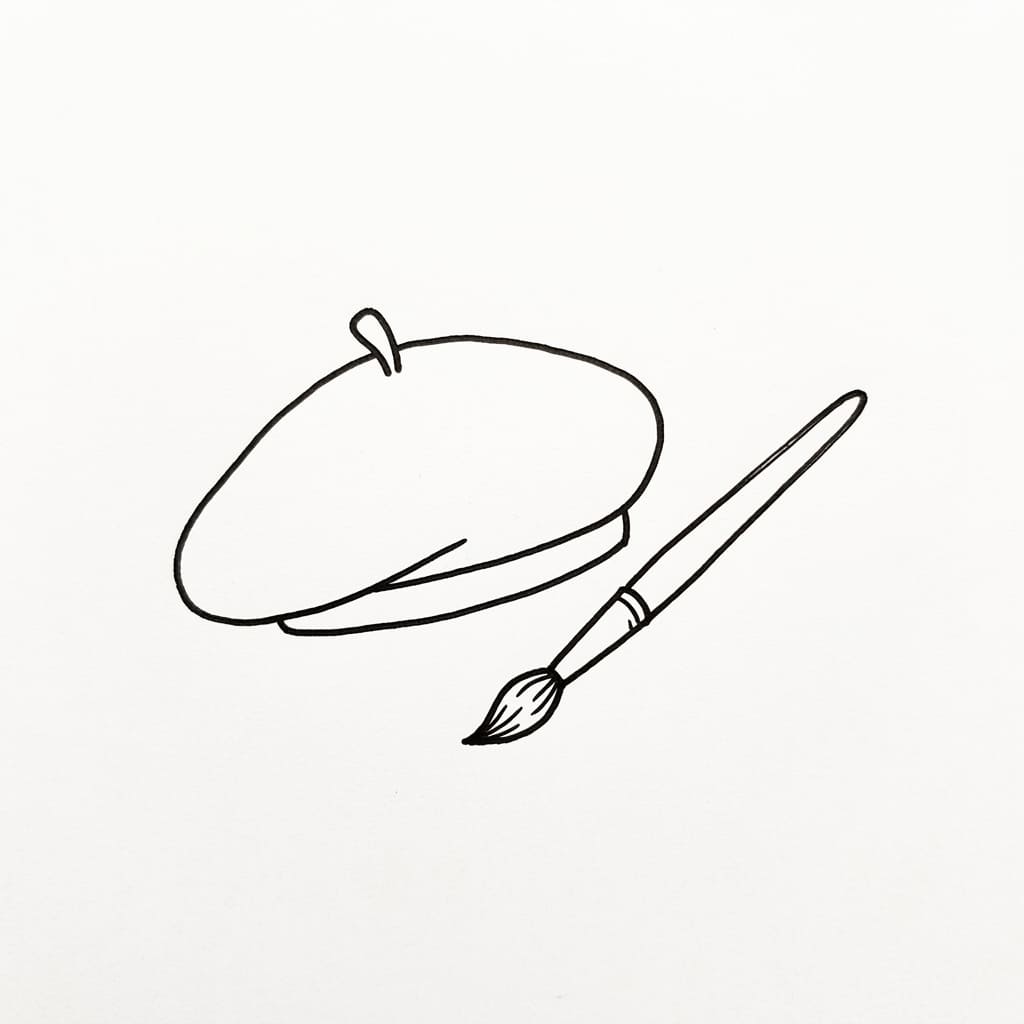
Artistic vibes for the win.
Draw a flat oval for the beret’s top, then curve it down to a tighter band at the bottom.
Add that little nub on top—you know, the signature beret stem thing. Place a simple paintbrush beside it: a long thin rectangle for the handle and a small teardrop for the bristle tip.
This pairing works because: Berets and paintbrushes just belong together. Like peanut butter and jelly, or procrastination and midnight. 🙂
13. Firefighter Helmet Viewed From the Side
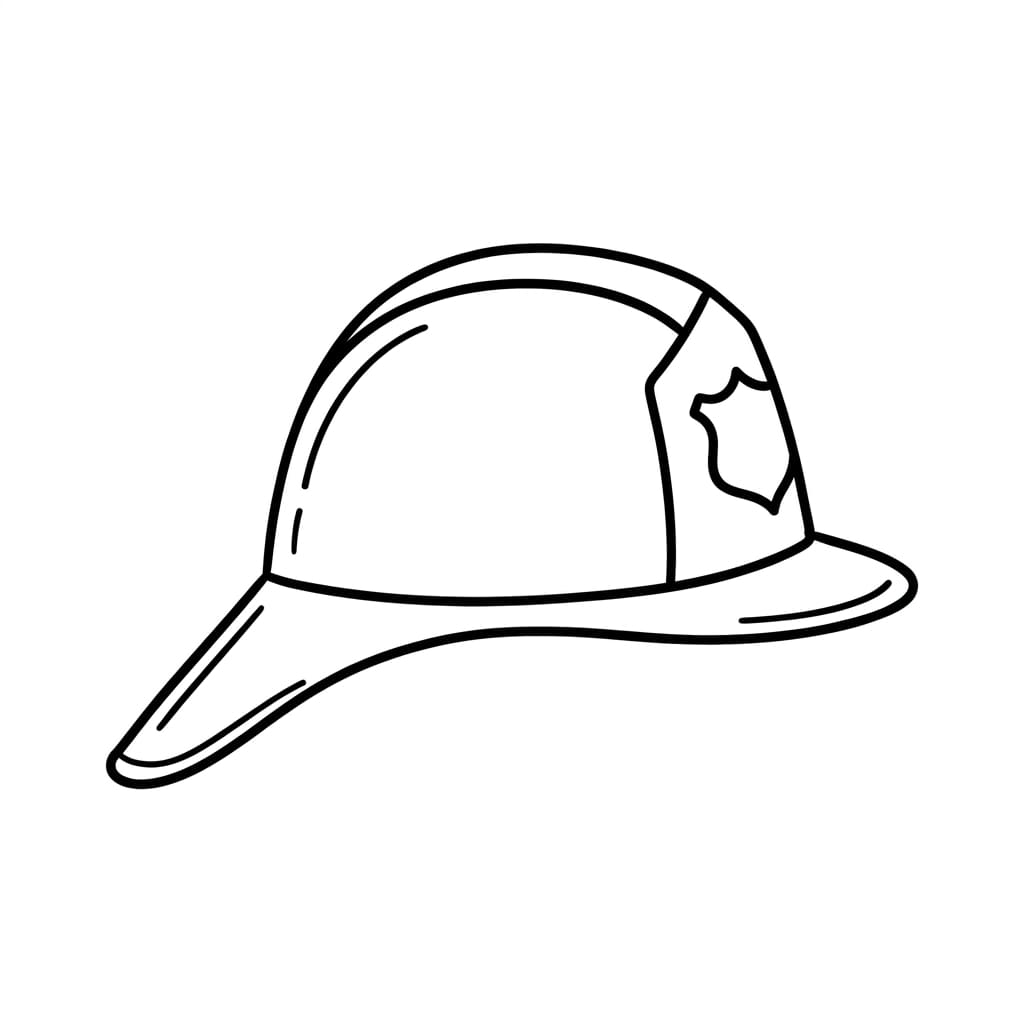
Time for something heroic.
Draw the helmet’s main dome, then add the distinctive back brim that extends down to protect the neck.
Include a simple badge shape on the side—just a circle or shield outline with a tiny star inside if you’re feeling ambitious. Keep everything in clean black lines with zero color.
Side view makes this helmet incredibly approachable. You don’t need to figure out the front shield or the face underneath. Just profile and done.
14. Simple Fisherman Hat Beside a Tiny Tackle Box
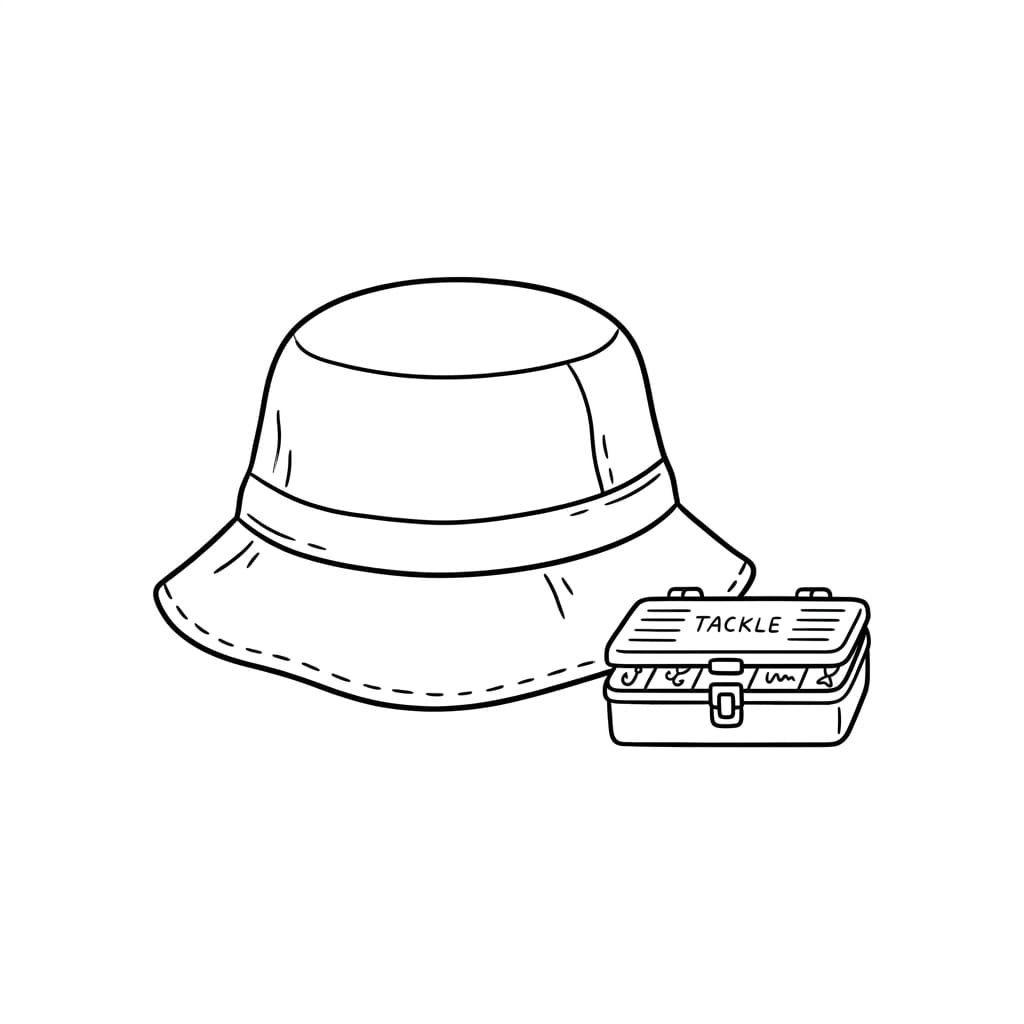
Let’s go fishing (on paper).
Draw a rounded bucket-style hat with a short brim—think “Gilligan but make it sketchy.”
Then add a tiny rectangle beside it with a few smaller rectangles inside for the tackle box compartments. No color, no pattern, no stress.
Why I love this combo: The tackle box gives context without needing water, fish, or any of the hard stuff. Your viewer immediately knows what’s happening.
15. Vintage Cloche Hat Viewed From the Side
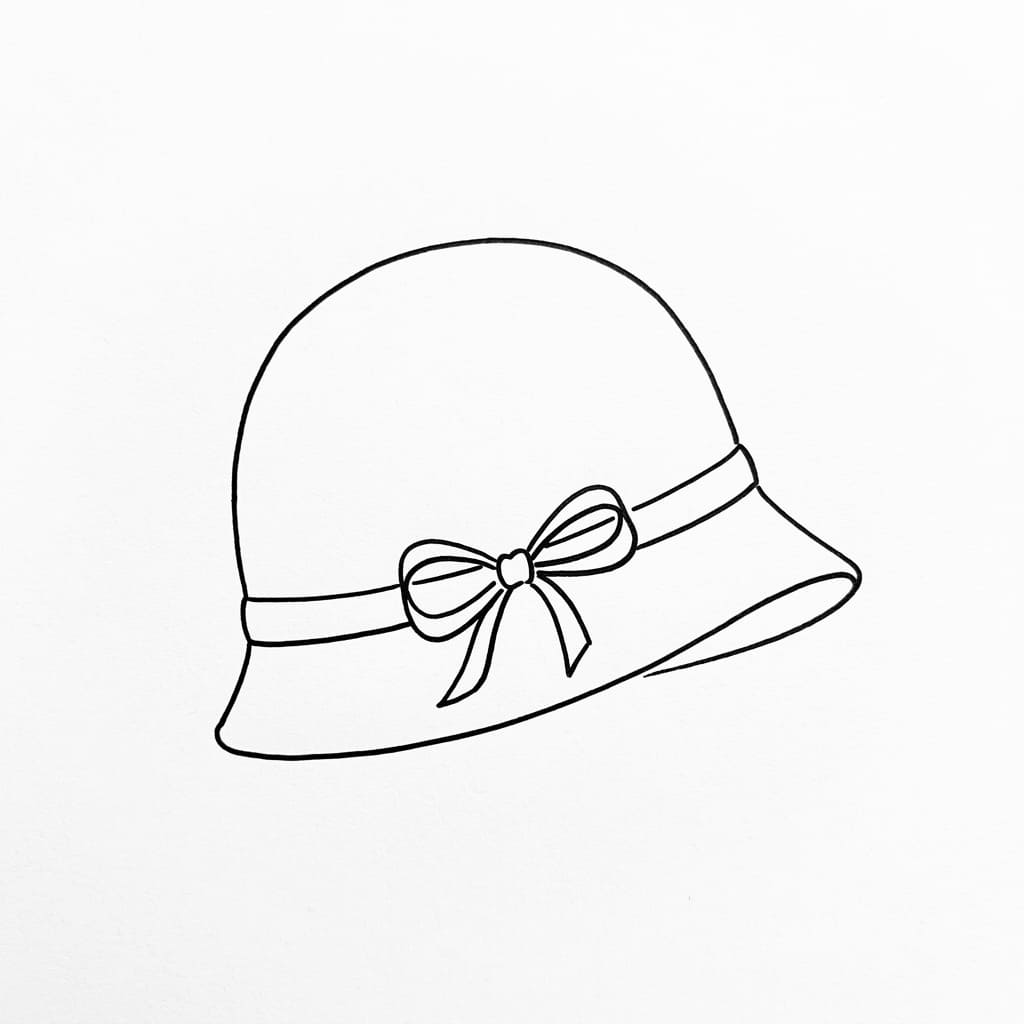
Elegant, swoopy, and shockingly simple.
Draw a dome that curves down low over the forehead, then flares out slightly around the chin area.
Add a simple curved line for a decorative band. That’s literally the whole hat—the cloche is basically a bell shape with attitude.
Ever seen those 1920s fashion illustrations? This single line drawing captures that same glamorous feel without any of the complicated cross-hatching.
16. Small Baby Bonnet with Ribbon Ties
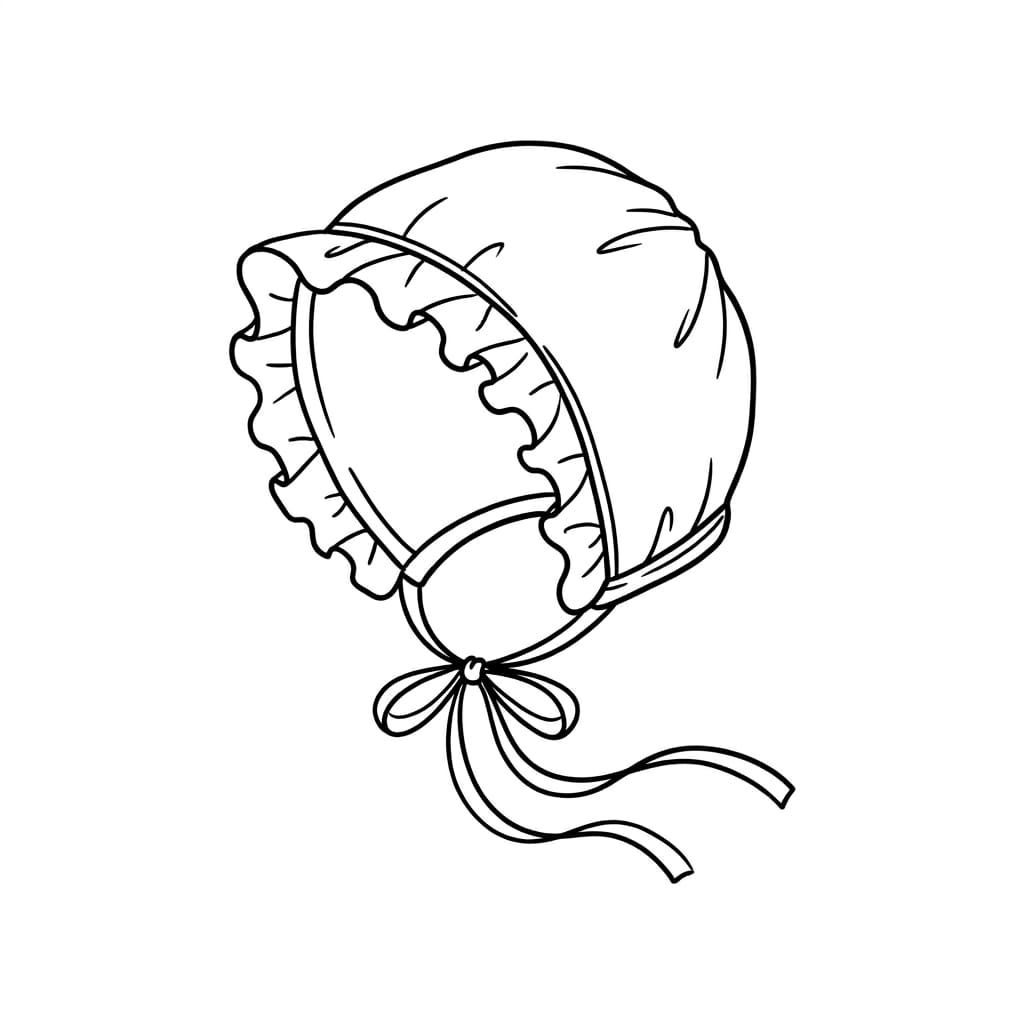
Cute alert.
Draw a soft rounded shape that frames an imaginary baby face—think a half-circle with gently scalloped edges around the front.
Add two curved ribbon lines hanging down on either side for the ties. Keep every line soft and simple.
Your ego might say: “Bonnet? That’s too simple.” But I promise, drawing something small and sweet builds just as much skill as drawing something big and loud.
17. Construction Hard Hat Placed on Stacked Bricks
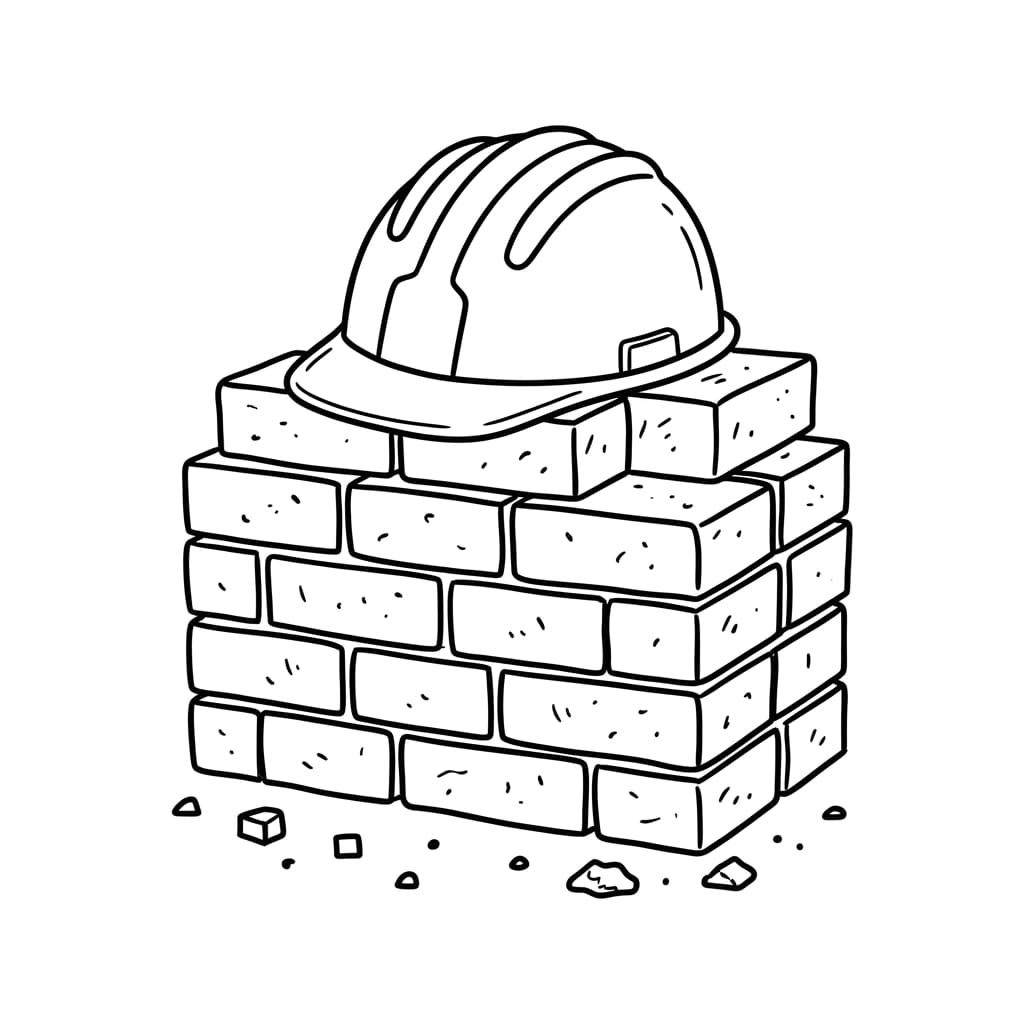
Last one, and it’s a banger.
Draw two or three chunky rectangles stacked messily for the bricks. Add a few quick lines on the bricks for texture if you want—but no pressure.
Then place a classic hard hat on top: rounded dome, short front brim, and a slight ridge line down the center of the crown.
Here’s the real talk: This whole article gave you 17 ideas. If you draw just five of them today, you’ve officially practiced more than most people do in a week.
Quick Tips Before You Pencil Out
Let me leave you with a few things I wish someone told me when I started drawing hats:
- Keep your lines loose. Tight, tense lines look stiff. Relax your grip and let the pencil flow.
- Don’t erase everything. Some sketchy lines add character. IMO, a few stray marks make digital-perfect drawings look human.
- Trace real hats first. Grab a photo, lay down some tracing paper, and build muscle memory. No shame in this game.
- Draw the same hat twice. Your second attempt always looks better than your first. Always.
So here’s my challenge to you: Pick three hats from this list and sketch them right now. Don’t overthink. Don’t judge. Just draw.
You’ve got 17 simple hat drawing ideas sitting right in front of you. The pencil is waiting. The blank page isn’t scary anymore.
Go make some hat magic.
One Comment