Hairdryer Drawing Ideas Made Simple: No Skills Required, Just Fun
Ever stare at a blank page and feel your brain freeze up?
Yeah, me too. You want to draw something—anything—but your inner critic starts whispering, “You can’t even draw a stick figure properly.”
Well, I’ve got good news. That little voice is wrong. Today, we’re grabbing a pencil and tackling something you use almost every morning: the humble hairdryer.
Sounds weird, right? Stick with me.
I discovered this little hack when I needed simple shapes to practice line work. A hairdryer doesn’t demand perfect proportions or fancy shading. It’s basically a tube with a handle. Even better?
I’ve pulled together 16 ridiculously easy hairdryer drawing ideas that anyone—and I mean anyone—can sketch in minutes.
No prior skills required. No fancy materials. Just you, a piece of paper, and a willingness to have some fun.
Ready to prove yourself wrong? Let’s go.
Why a Hairdryer Makes the Perfect Drawing Subject for Beginners
Before we jump into the ideas, let me ask you something: Have you ever tried drawing a human face or a dog and wanted to cry?
I have. Trust me, my first “portrait” looked like a potato with eyes. Here’s the thing—starting with complex subjects kills your motivation fast. You need simple, recognizable objects that build your confidence.
A hairdryer fits that bill perfectly.
Here’s why I love drawing hairdryers when I teach beginners:
- Basic shapes only – Cylinders, rectangles, and circles. That’s it.
- No symmetry nightmares – Unlike drawing a face, nobody notices if one side is slightly off.
- Instant recognition – You finish the sketch, and people immediately know what it is.
- Zero pressure – Who judges a hairdryer drawing? Absolutely no one.
Plus, you probably own one. You can look at it, touch it, and understand exactly how the parts connect. That’s a huge advantage when you’re learning to observe and translate real objects onto paper.
What You’ll Need (Spoiler: Almost Nothing)
Let me save you a trip to the art store. You don’t need fancy supplies.
Grab these three things:
- Any pencil (the one from your junk drawer works fine)
- Any paper (printer paper, notebook paper, the back of an envelope—I won’t tell)
- An eraser (optional, honestly. Mistakes become “creative choices”)
That’s it. No shading tools, no expensive sketchbooks, no professional-grade anything. We’re doing clean black line drawings on white backgrounds only.
Why? Because shading adds complexity we don’t need yet. We’re building confidence, not masterpieces.
FYI: I once drew an entire collection on napkins at a coffee shop. The waitress thought I was weird. I didn’t care.
16 Hairdryer Drawing Ideas (From “I Can’t Draw” to “Look What I Made!”)
Let me walk you through each idea like we’re sitting at the same table. I’ll tell you exactly what to expect, why each one works for beginners, and where to start your pencil.
The Classics – Simple Side Views to Build Your Foundation
1. The Basic Handheld Hairdryer (Side View)
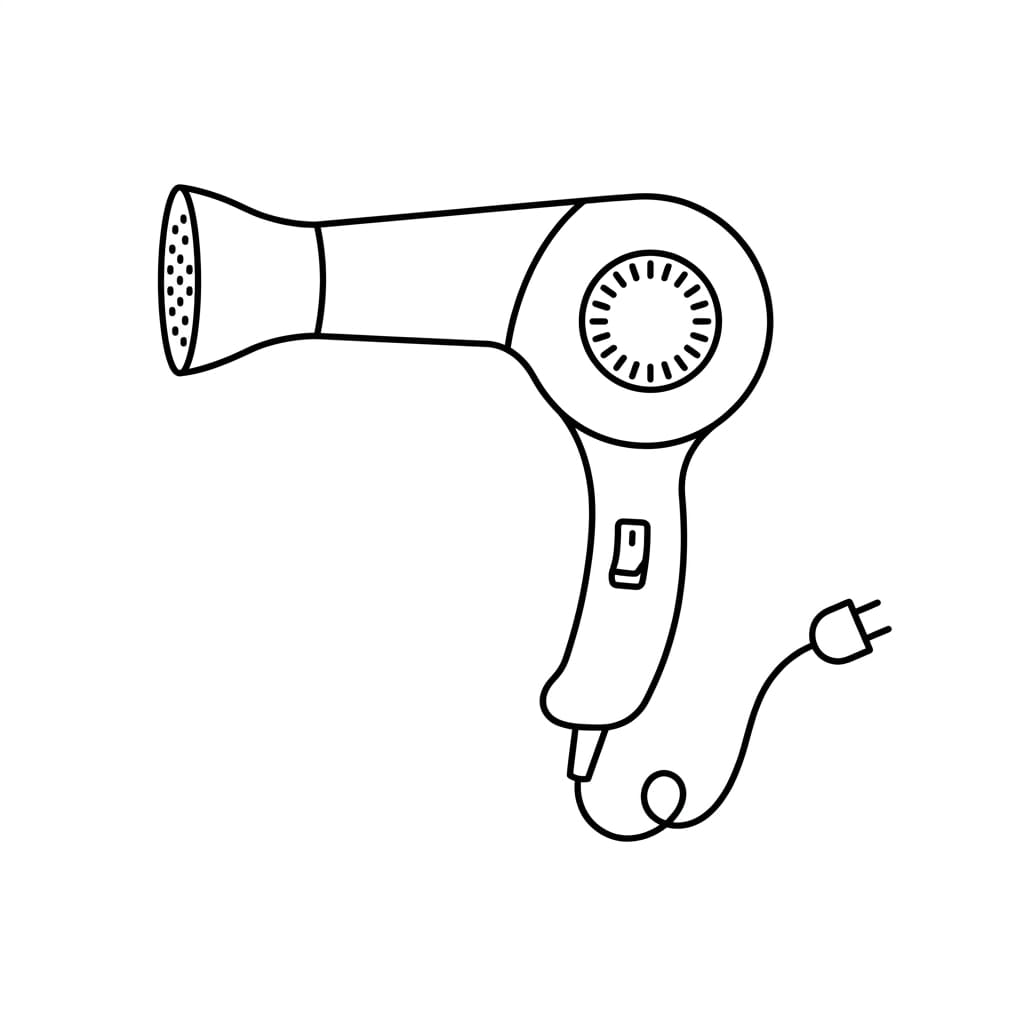
What you’ll draw: A classic hairdryer with a short nozzle, simple handle, black outline, white background. No shading. No color.
This is your warm-up exercise. Start with the main body—draw a rounded rectangle lying horizontally.
Then add the nozzle as a slightly narrower shape at the front. The handle drops down from the bottom like a backwards “L.”
My tip: Don’t overthink the handle curve. A simple right angle works perfectly. You’re not entering a realism competition; you’re teaching your hand to follow your eye.
2. Travel Hairdryer with Foldable Handle
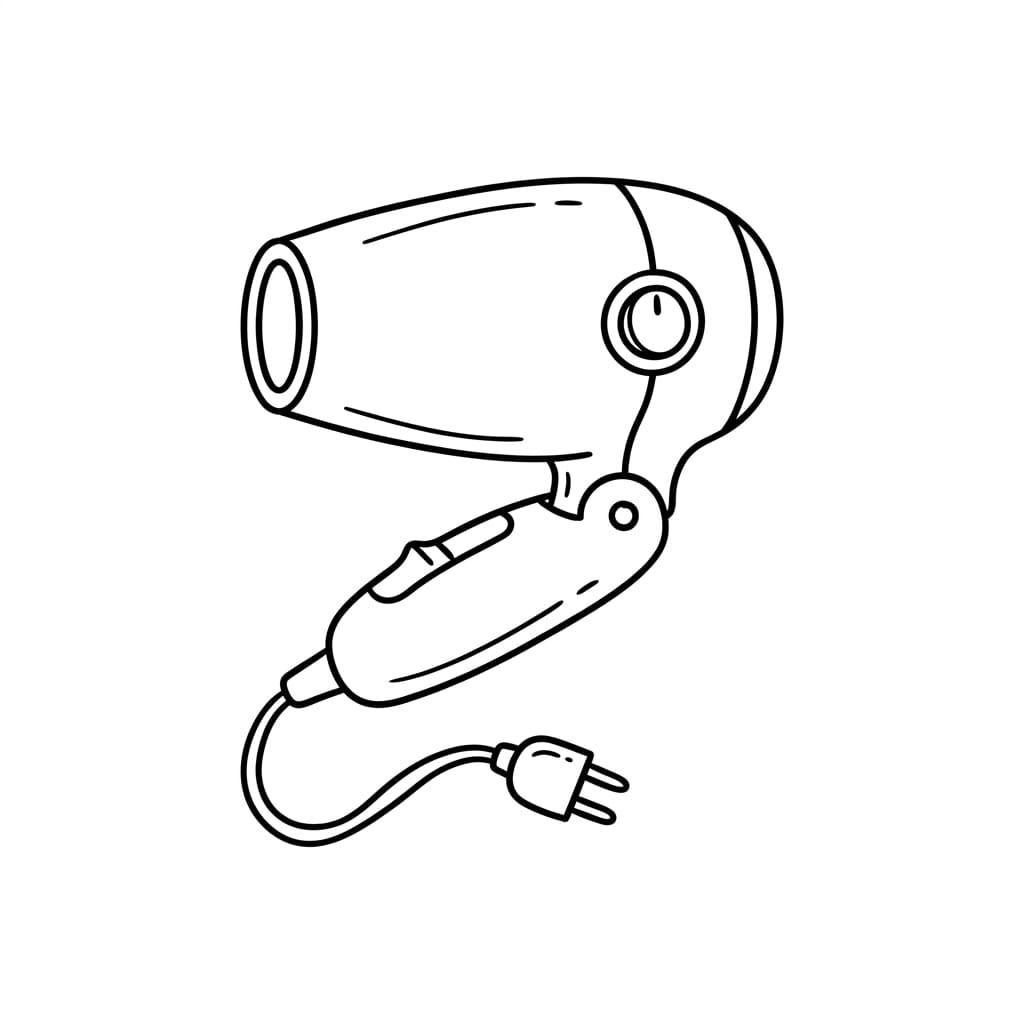
What you’ll draw: A compact, rounded design where the handle folds up into the body.
This one always makes me smile. Draw an oval-ish shape for the main body, then add a shorter, chubbier handle hinged at the bottom. The foldable design means you can draw the handle tucked in or flipped out.
Ever wondered why travel hairdryers look so cute? It’s the proportions. Everything gets squished into a smaller, friendlier package. Your drawing will look adorable automatically.
3. Front View – Circular Air Vent
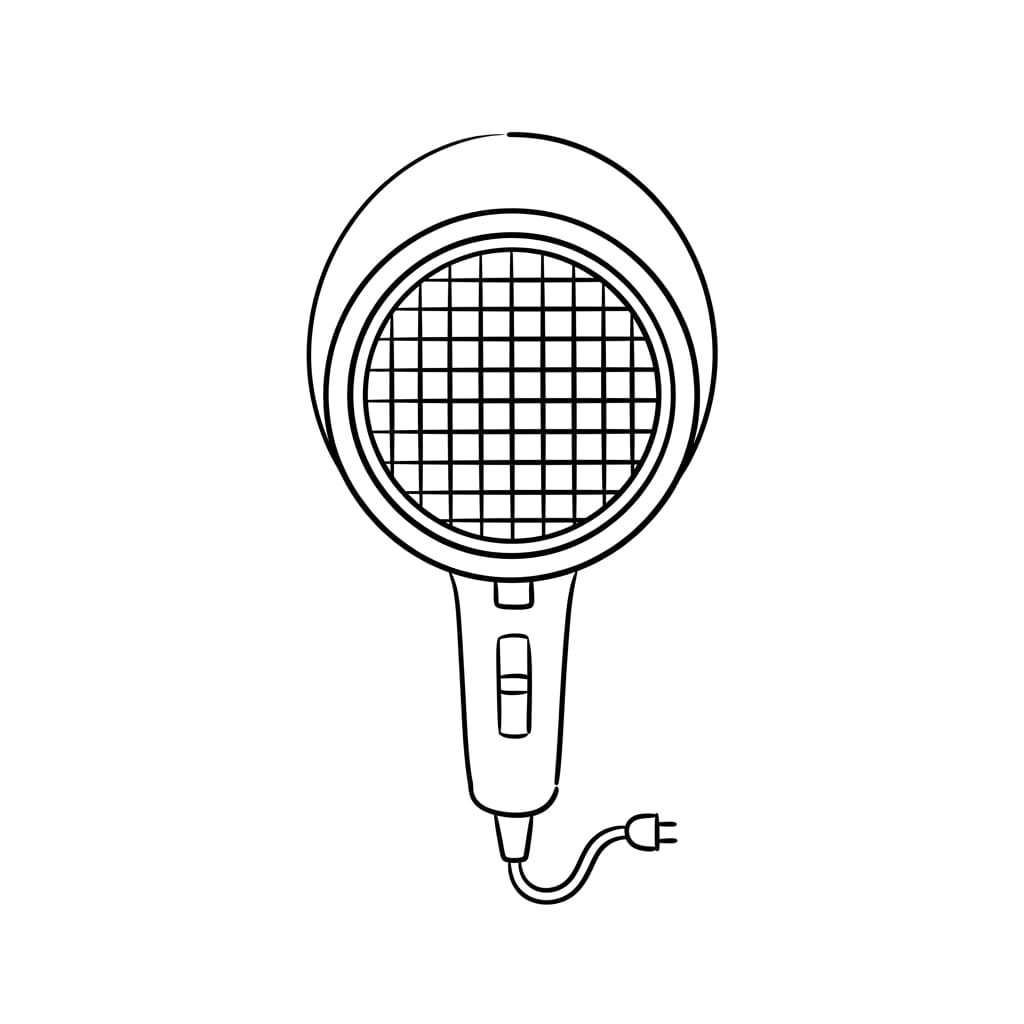
What you’ll draw: A circle showing the air intake vent with simple straight lines inside.
Here’s a secret: Circles are harder than they look. So don’t stress if yours looks more like a lumpy potato.
Draw your circle (or circle-ish shape), then add 4-6 straight lines radiating from the center or running parallel across the opening.
This angle teaches you to see objects from unfamiliar perspectives. When’s the last time you really looked at the back of your hairdryer? Probably never. And that’s exactly why this drawing works.
Adding Personality – Vintage, Wall-Mounted, and Compact Designs
4. Vintage-Style Hairdryer
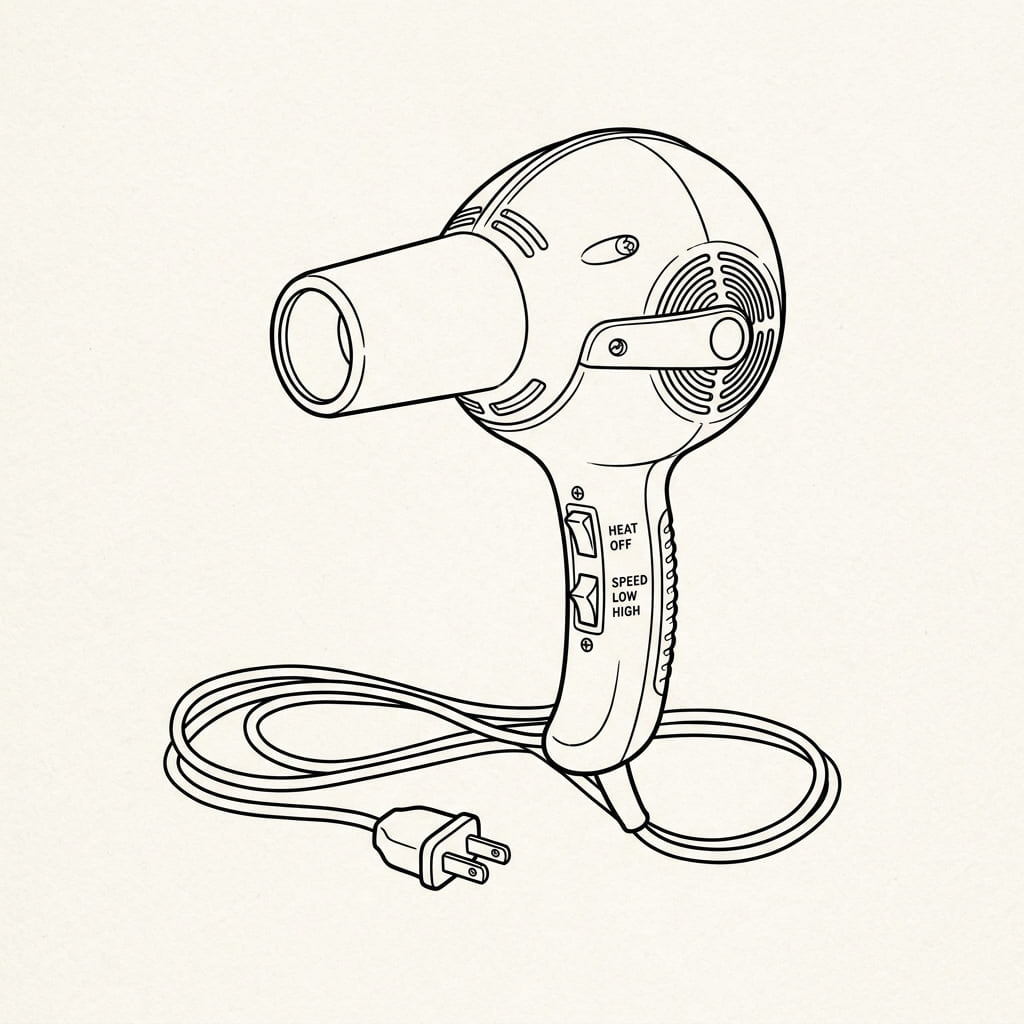
What you’ll draw: A bulky body with a curved handle, retro proportions, clean black line drawing.
Oh, I love this one. Old hairdryers look like something from a sci-fi movie made in the 1960s.
Draw a chunkier, more rounded main body. Make the handle sweep down in a gentle curve instead of a sharp angle.
IMO, vintage designs forgive wobbly lines better than modern ones. A slightly uneven retro hairdryer looks “authentically old.” A slightly uneven modern hairdryer just looks wrong. Take advantage of that.
5. Wall-Mounted Hairdryer with Coiled Cord
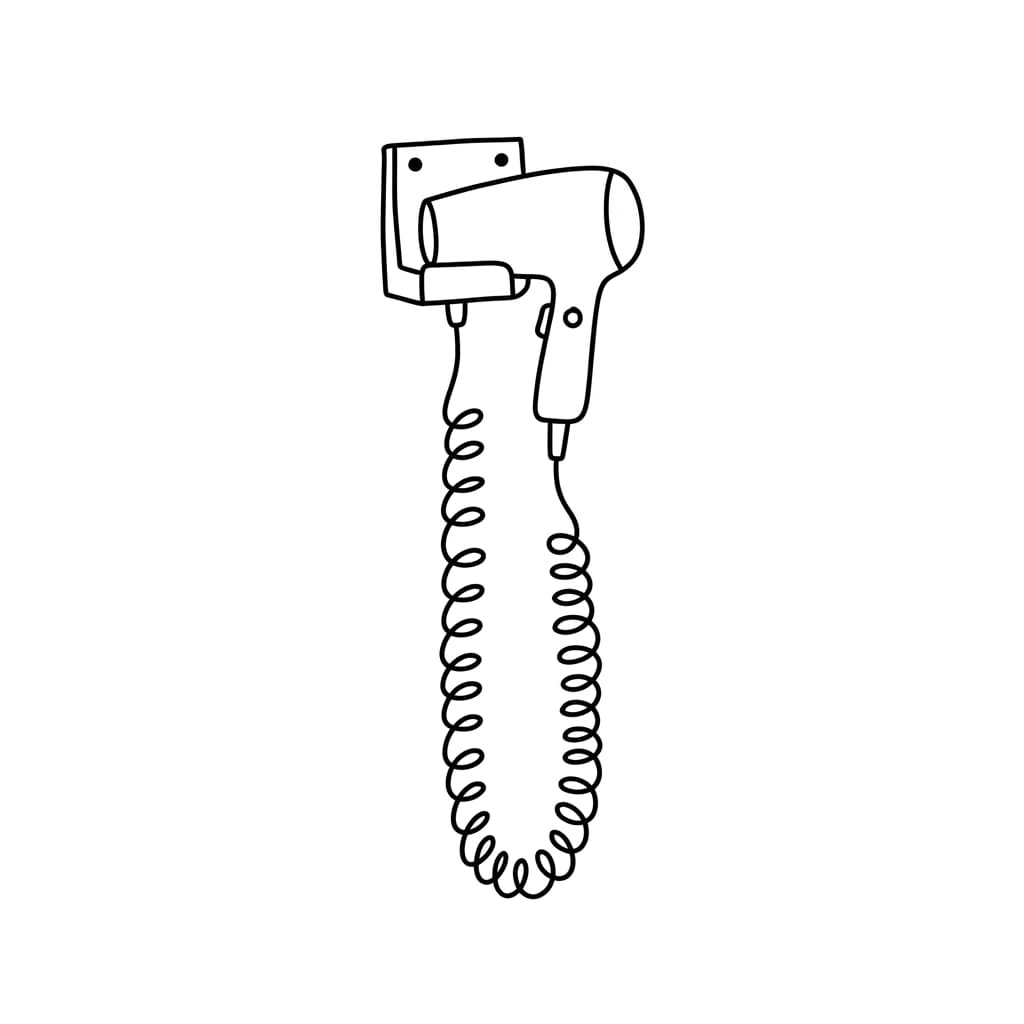
What you’ll draw: A basic wall-mounted unit with a curly cord dangling underneath.
This one adds a fun element—the cord. Draw a simple rectangle mounted to an implied wall (just draw a vertical line behind it). Then add a squiggly line dropping down for the coiled cord.
Here’s where humor kicks in: Your squiggly cord will look terrible. And that’s actually great.
Coiled cords are impossible to draw perfectly. Embrace the chaos. Make it extra curly. Add more loops than necessary. Nobody expects accuracy here.
6. Hairdryer with Concentrator Nozzle
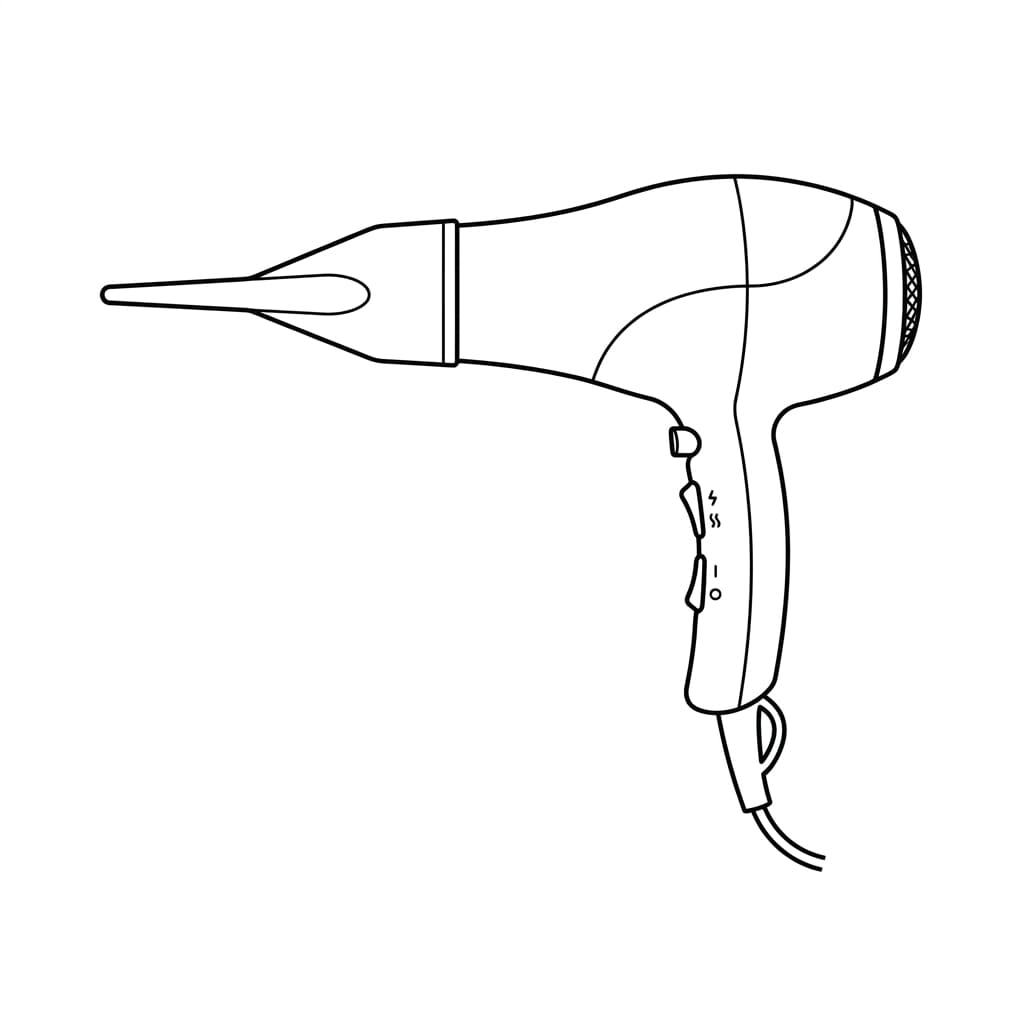
What you’ll draw: A long, narrow attachment on the front, simple side angle, clean line art.
Remember those flat nozzle attachments that come with your hairdryer but you never use? Draw one.
Start with the main body, then extend the front into a long, tapered rectangle. The nozzle should look like a flattened tube sliding onto the end.
Pro tip: Draw a small gap between the main body and the nozzle to show they’re separate pieces. Tiny detail. Huge difference in realism.
Playing with Angles and Perspectives
7. Compact Mini Hairdryer
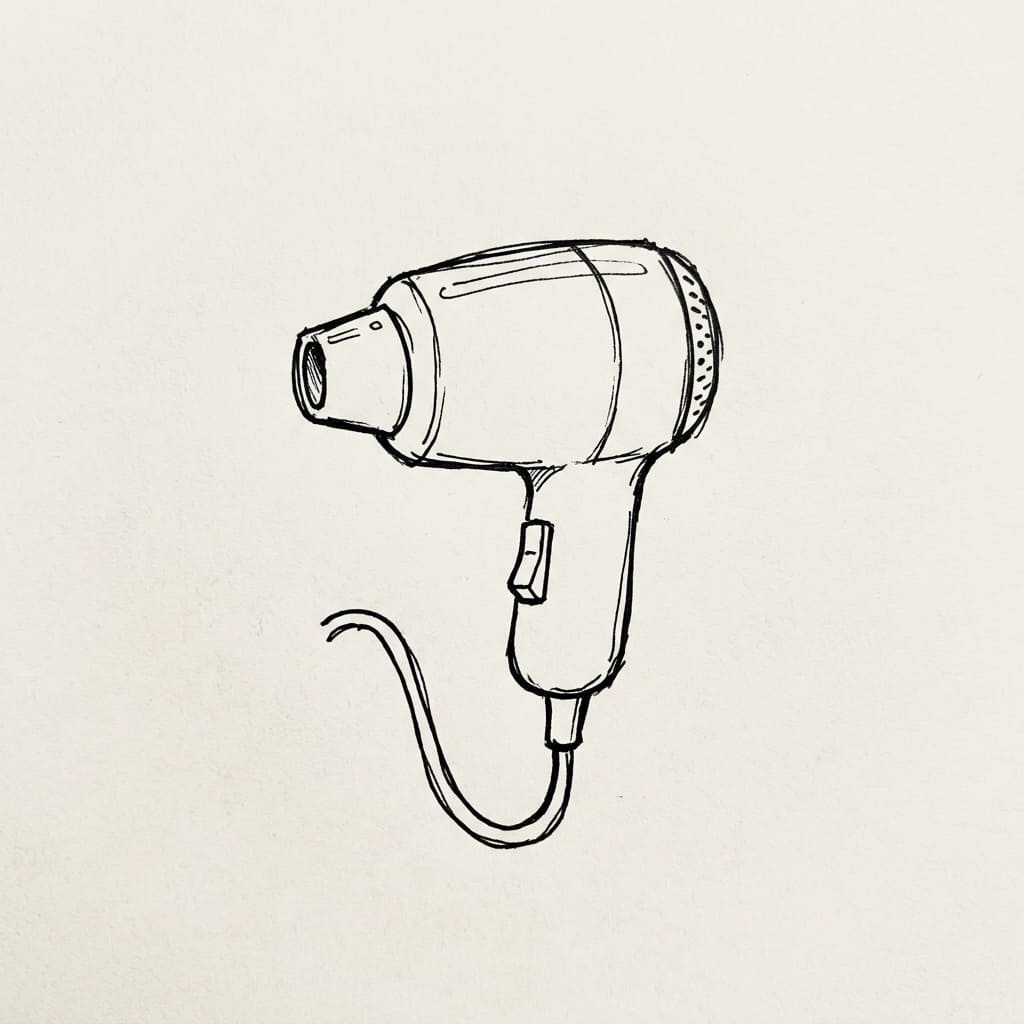
What you’ll draw: A tiny version with short handle and tiny nozzle, simplified proportions.
This is cheating, and I love it. Just draw a regular hairdryer but make everything smaller. That’s literally it. Shorten the handle. Squish the body. Miniaturize the nozzle.
Why does this work? Because mini versions naturally look cuter and less intimidating. Your brain sees “small” and thinks “easy.” Use that psychology to your advantage.
8. Top-Down Angled View (Basic Perspective)
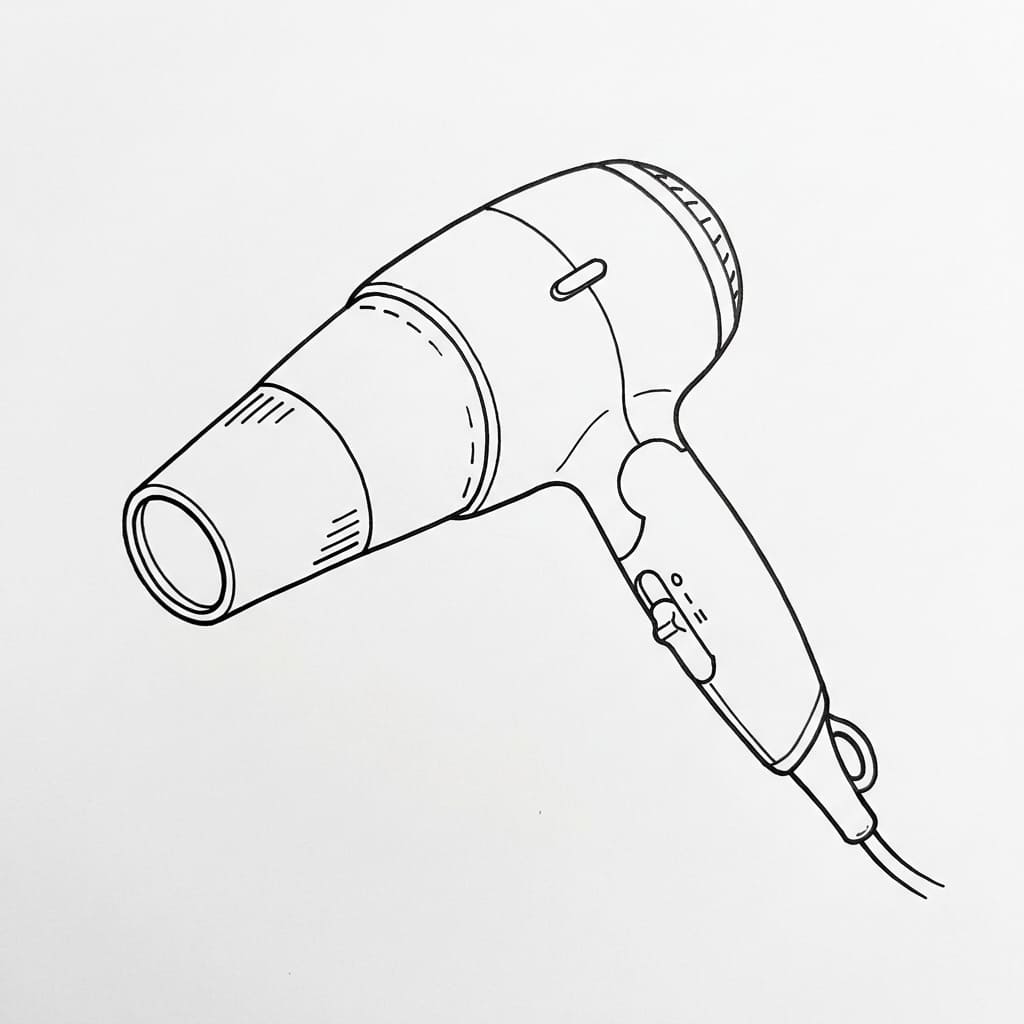
What you’ll draw: A hairdryer seen from above showing both the nozzle and handle, simple line drawing.
Okay, this sounds scary, but I promise it’s not. Imagine looking down at your hairdryer on the bathroom counter. You see the top of the nozzle and the handle stretching out to the side.
Draw an oval for the nozzle opening (seen from above). Then draw the body as a long tube receding slightly.
Add the handle as a shape extending sideways. The magic word here is “basic.” We’re not doing perfect three-point perspective. We’re hinting at depth, not engineering it.
9. Sleek Modern Hairdryer
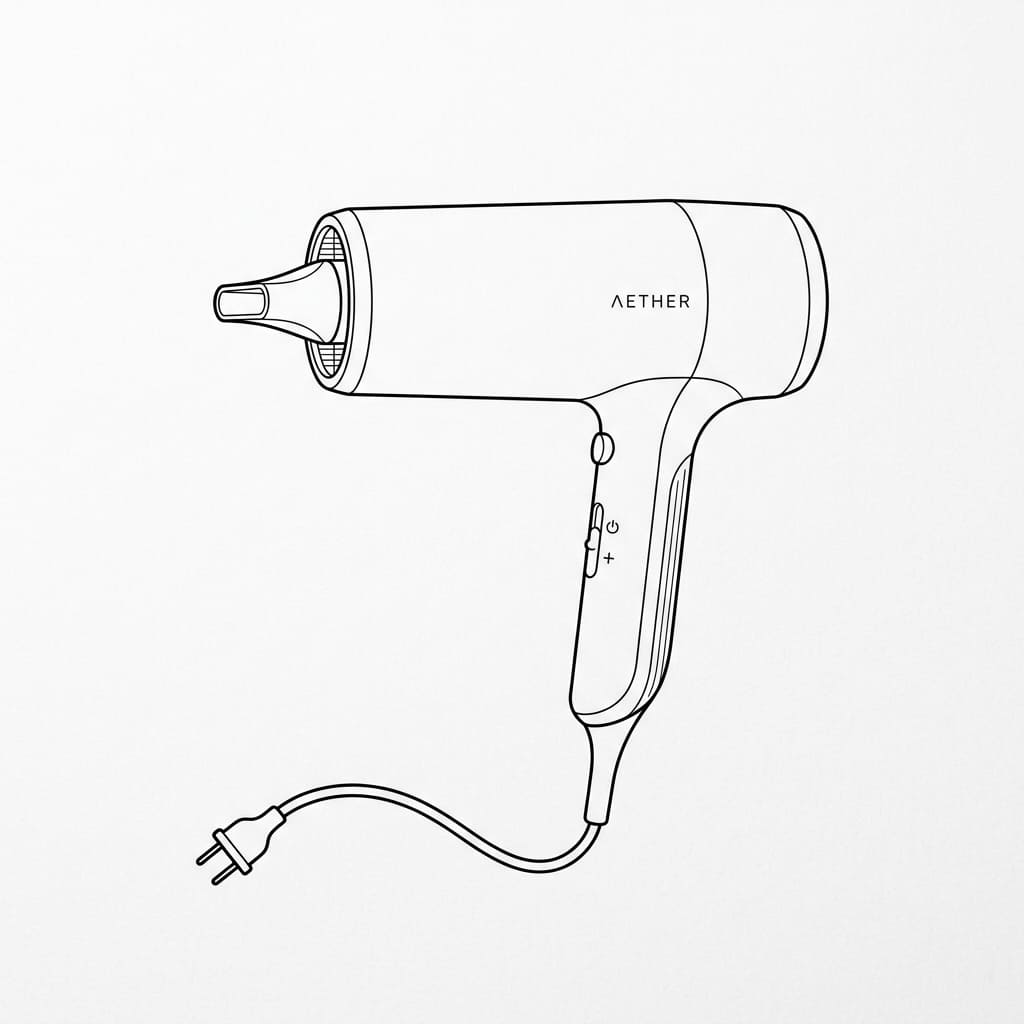
What you’ll draw: A smooth cylindrical body with minimal buttons, clean black outline.
Remember how I said vintage designs forgive mistakes? Modern designs do the opposite.
So here’s the trick: Focus on smooth, continuous lines. Draw the main cylinder in one long, slow stroke. Add a couple of tiny rectangles for buttons. Keep everything minimal.
Think Dyson, not drugstore. Long, elegant, simple. Fewer details actually make this drawing easier because you can’t mess up what you don’t include.
Creating Scenes – Hairdryers Meet Other Objects
This is where things get fun. A hairdryer alone is fine. A hairdryer interacting with other bathroom items? That’s a story.
10. Hairdryer Hanging on a Hook
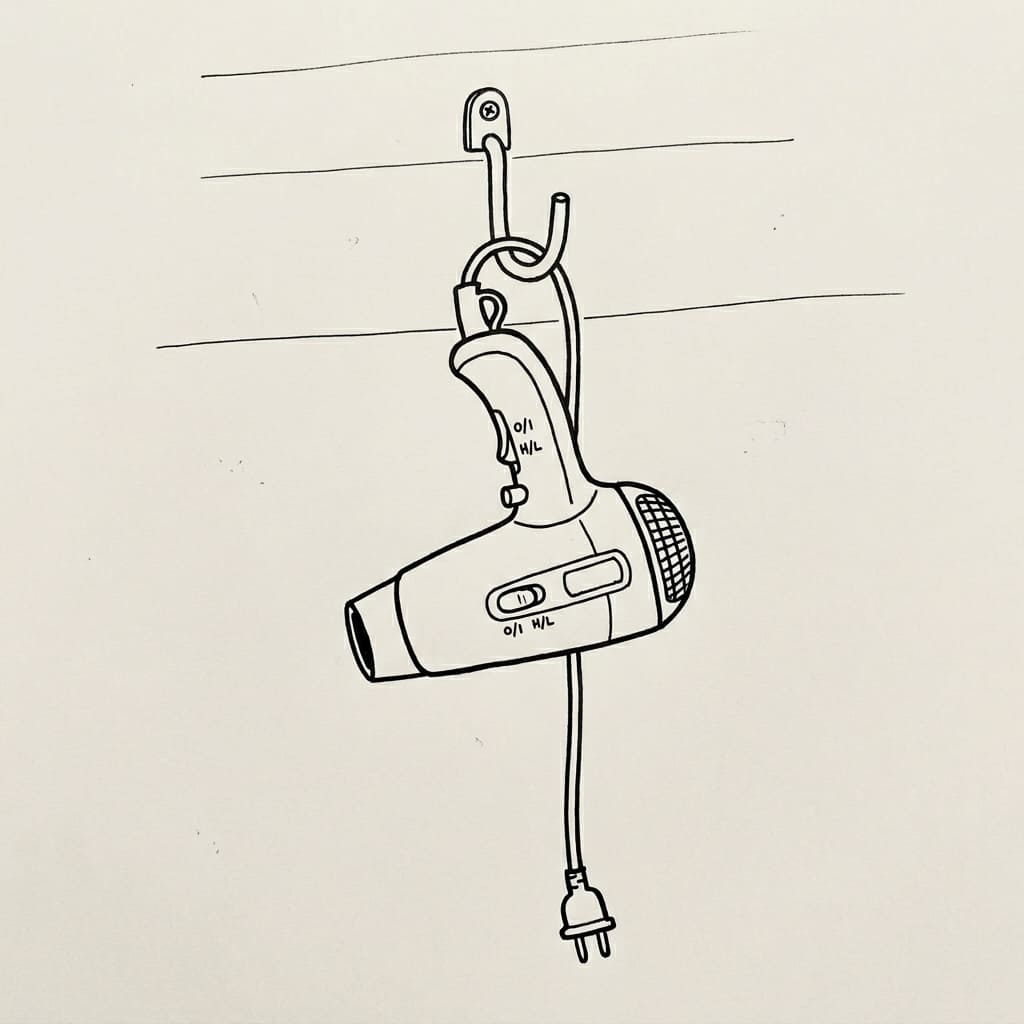
What you’ll draw: The hairdryer hanging by its handle from a simple hook shape.
Draw a small hook (a curved line with a circle at the top). Then draw the hairdryer handle looping over it, with the body dangling downward.
Why this works: Gravity does the hard work for you. You don’t need perfect positioning because the hairdryer hangs naturally. Just draw the handle hooked on, and let the rest drop straight down.
11. Hairdryer Next to a Wide-Tooth Comb
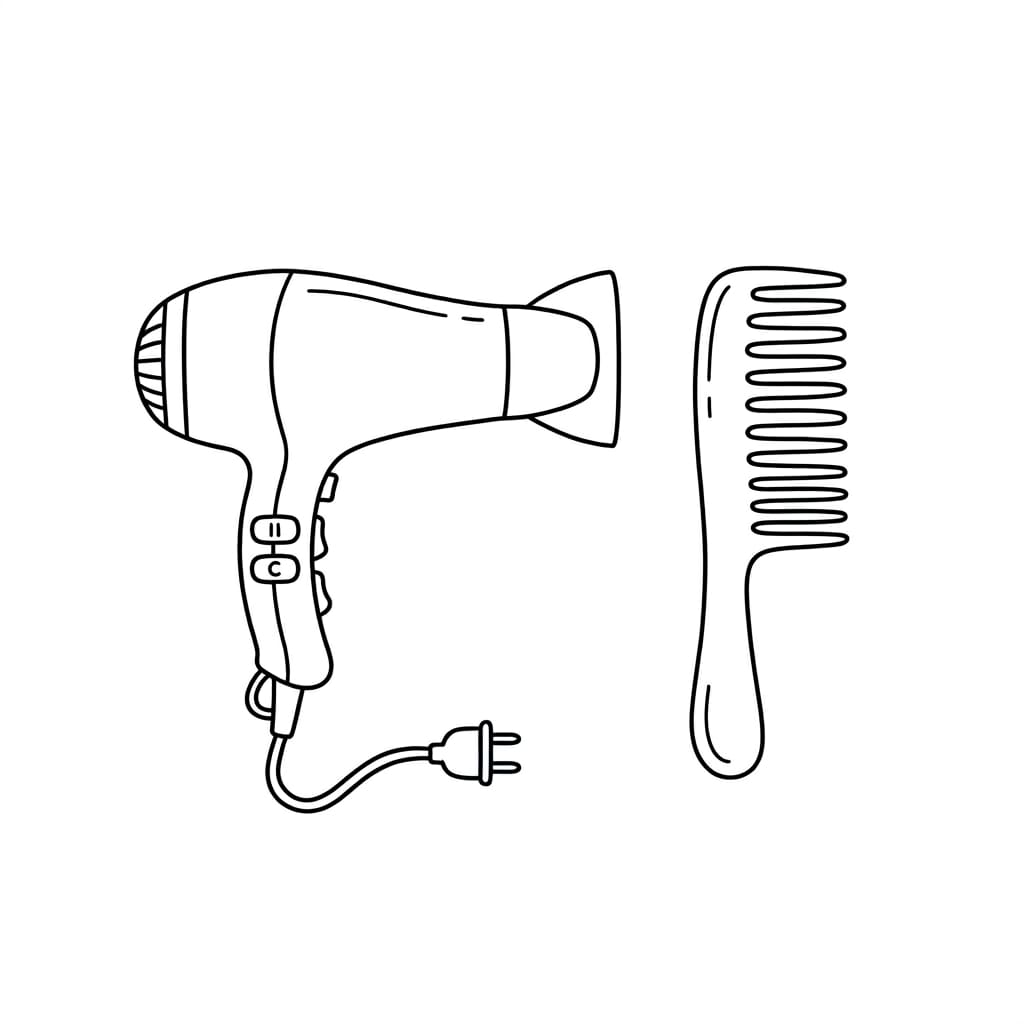
What you’ll draw: Both objects aligned horizontally, minimal line drawing, clean composition.
Place your hairdryer lying flat. Next to it, draw a simple comb—just a long rectangle with teeth (small vertical lines) along one edge.
This teaches you composition without you realizing it. You’re not just drawing objects anymore. You’re arranging them. Big difference. Big growth.
12. Hairdryer Crossed with Open Scissors
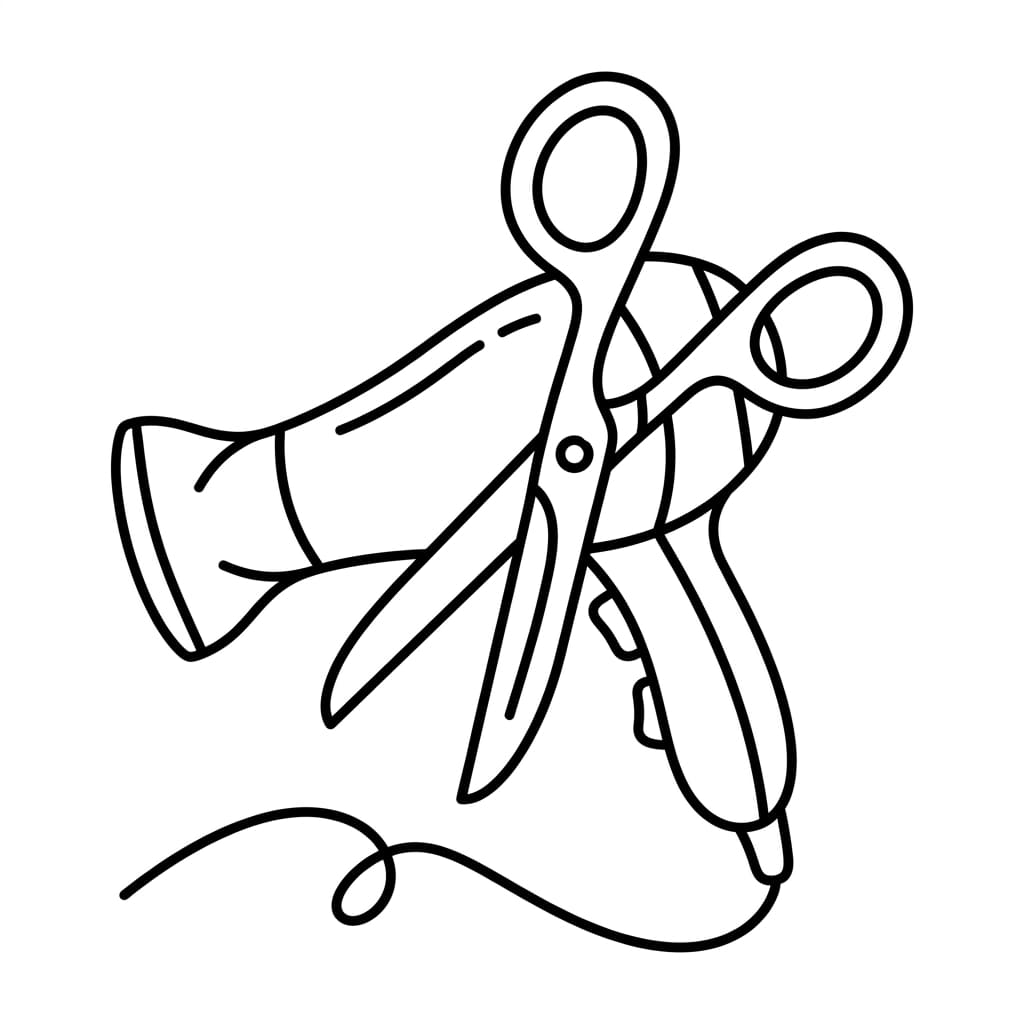
What you’ll draw: A loose crossed layout, playful doodle style, clean black line drawing.
Draw one hairdryer angled diagonally. Then draw a pair of open scissors crossing over it. Keep the scissors simple—two oval loops for finger holes and two straight blades.
A word of warning: Scissors are surprisingly tricky. Your first attempt will look like weird birds. That’s fine. Draw them again. And again. By the third try, something clicks. I promise.
Adding Mirrors, Brushes, and Bottles
13. Hairdryer Facing a Round Handheld Mirror
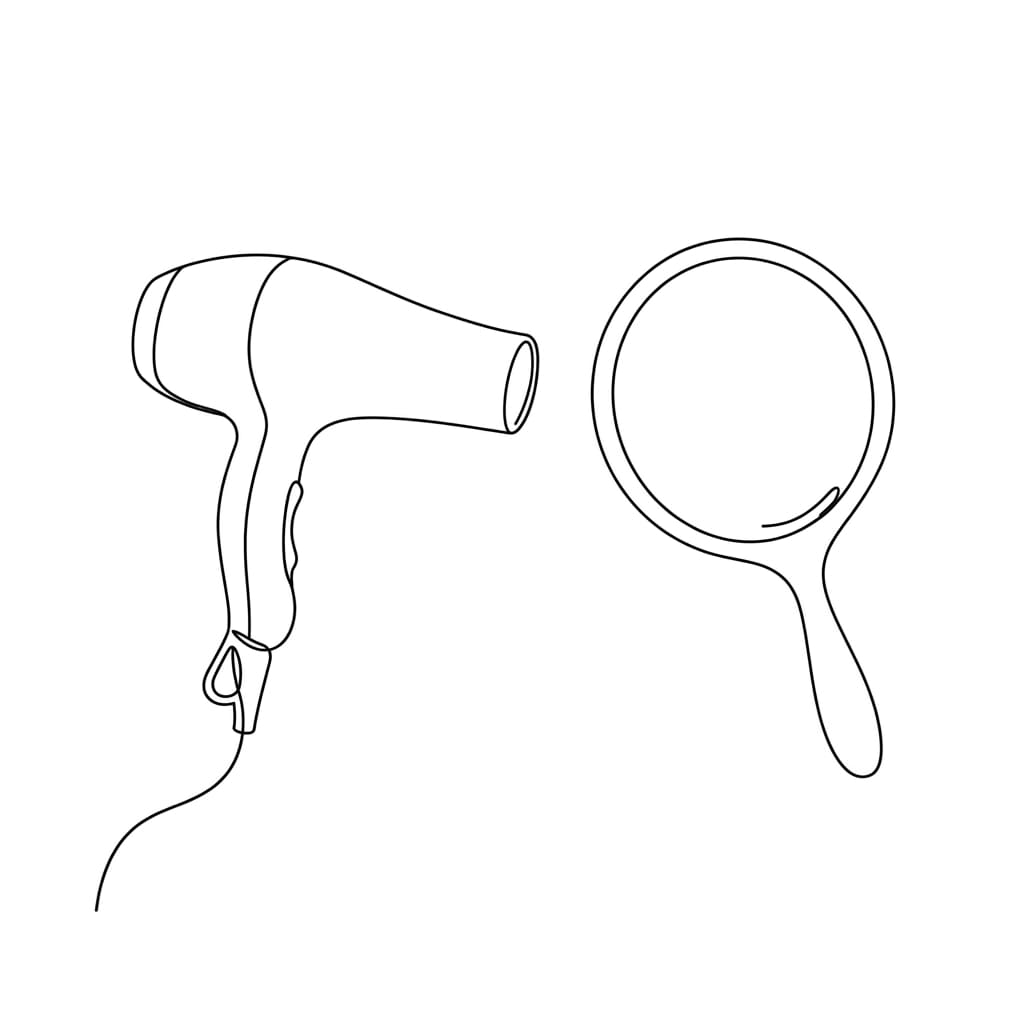
What you’ll draw: A hairdryer pointing toward a simple circle mirror with a handle.
Draw your hairdryer on the left, angled right. On the right side, draw a plain circle (the mirror) attached to a simple handle. No reflection details. No fancy rim. Just a circle on a stick.
Here’s a rhetorical question for you: Why do we instinctively want to add reflections to mirrors in drawings? I catch myself doing it too. Don’t. A blank circle reads perfectly as a mirror when paired with a hairdryer. Context does the heavy lifting.
14. 3/4 Back Perspective (Rear Air Intake View)
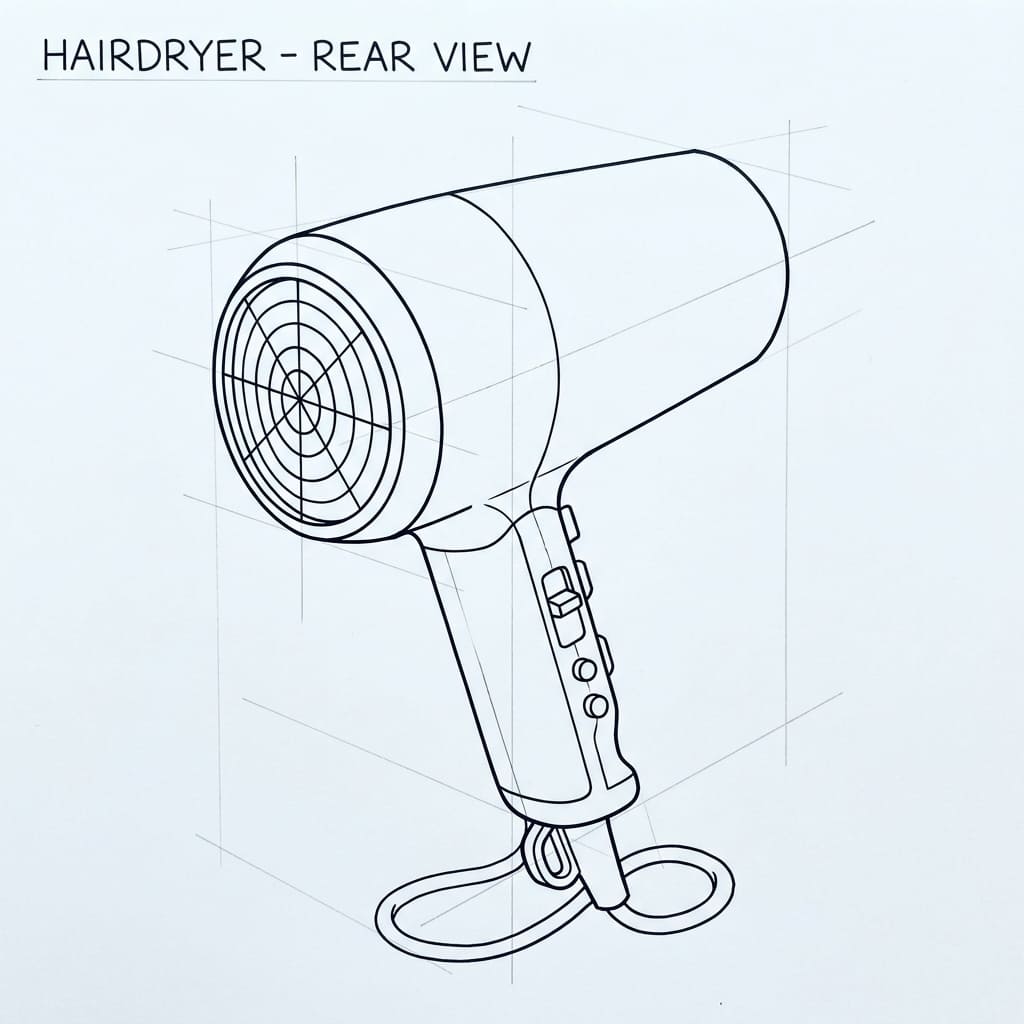
What you’ll draw: The back of the hairdryer showing the air intake and angled handle.
This sounds advanced, but stick with me. Draw the rear circle (the air intake) slightly off-center. Draw the handle angling away from it. Use simple geometric shapes—circles and rectangles.
IMO, this angle impresses people way more than it should. It looks technical and intentional, even when you’re just guessing where the lines go. Use that to your advantage.
15. Hairdryer Overlapping a Simple Oval Hair Brush
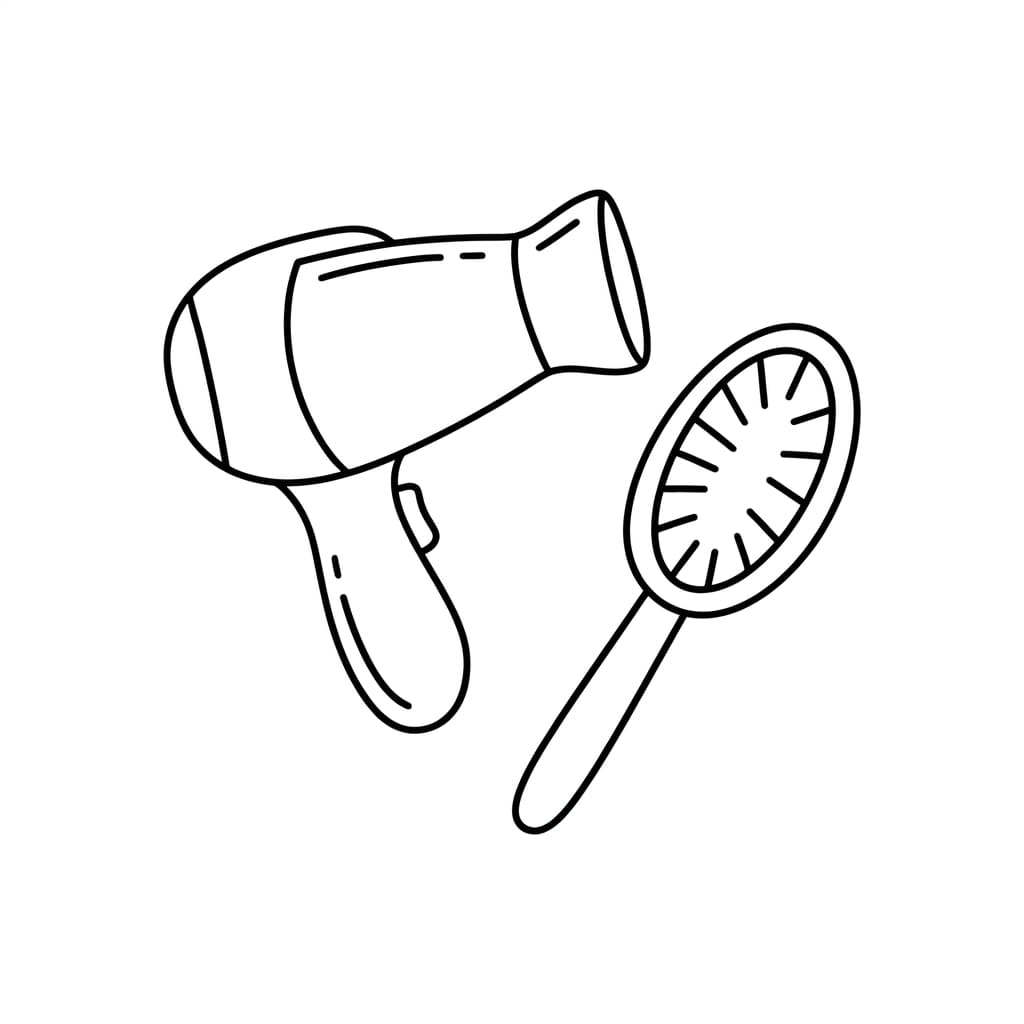
What you’ll draw: A hairdryer slightly overlapping a brush, soft rounded shapes, minimal doodle style.
Draw your brush first—a long oval with a handle. Add 6-8 straight bristle lines poking out. Then draw your hairdryer overlapping the brush slightly near the middle.
Pro tip: Draw the brush first, then the hairdryer over it. If you do it backward, the overlap looks wrong. FIFY (fixed it for you, in case you were wondering).
16. Hairdryer Upright Next to a Spray Bottle
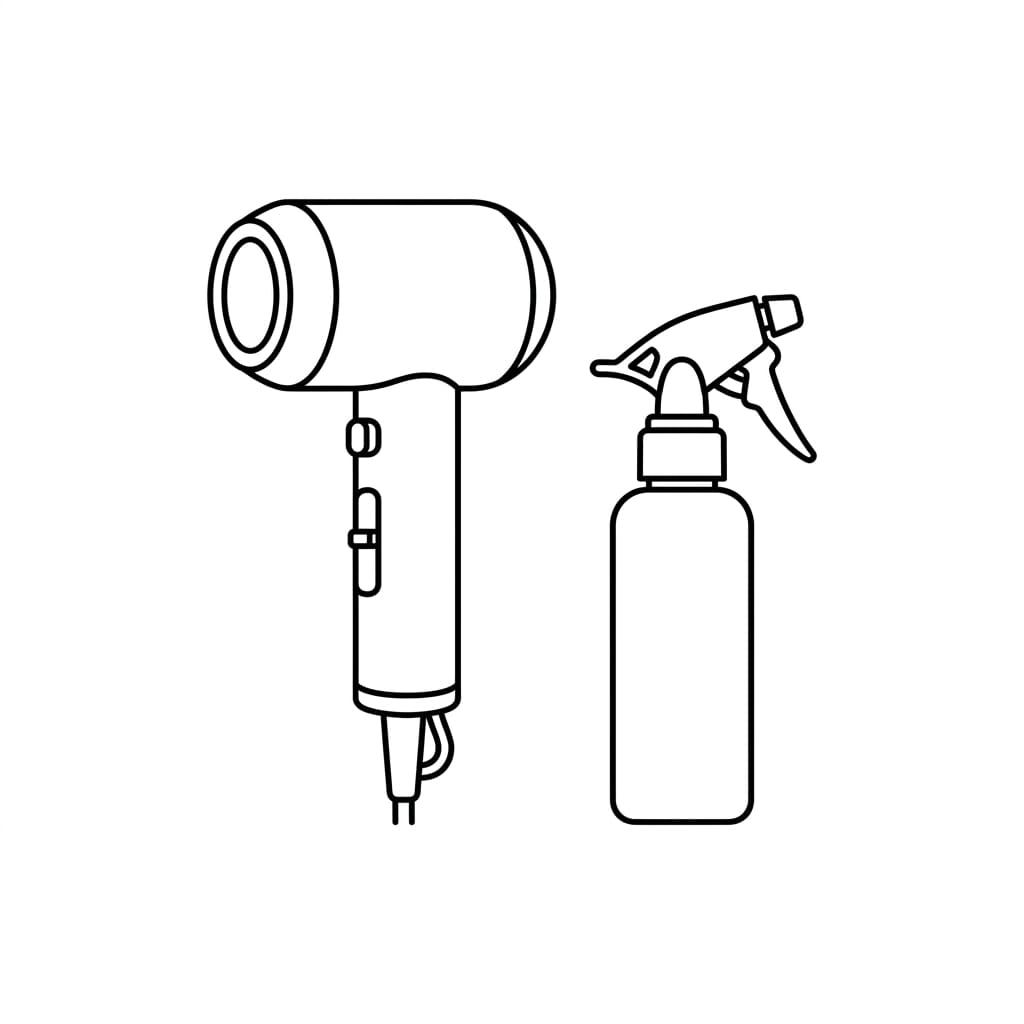
What you’ll draw: Both standing vertically, simple forms, clean and balanced composition.
Stand your hairdryer on its end (nozzle pointing up or down—your choice).
Next to it, draw a simple spray bottle with a trigger top. Both objects share the same vertical orientation, which creates instant visual harmony.
Why this works as a final drawing: You’ve moved from a single object to a complete scene. Two objects. Clear vertical lines. Balanced composition. That’s real progress, and you didn’t even notice it happening.
Putting It All Together: Your 5-Minute Daily Practice
Look, I’m not going to tell you to practice for an hour every day. You won’t do it. I wouldn’t do it either.
Here’s what actually works: Five minutes. One drawing. Every day.
Pick one idea from this list. Set a timer for five minutes. Draw until the timer stops. Then stop. Even if it’s ugly. Even if you only finish half.
Do this for two weeks, and here’s what happens:
- Your hand stops shaking
- Your lines get smoother
- You stop judging every stroke
- You start having fun again
And isn’t that the whole point?
A Few Final Thoughts Before You Grab Your Pencil
Remember that blank page that made your brain freeze up earlier? Go look at it now.
Still scary? Maybe a little. But here’s the difference—now you have 16 specific ideas.
You know exactly what to draw. You know it only needs black outlines. You know shading isn’t required. You know perfection isn’t the goal.
The goal is showing up. Putting pencil to paper. Making a mark. Laughing when it looks weird. Trying again anyway.
So here’s your challenge: Pick the very first idea—the basic side view hairdryer. Draw it right now. Not later. Not tomorrow. Right now.
It’ll take you ninety seconds. You’ll either surprise yourself or laugh at the result. Either way, you win.
Now go draw something. And send me a mental high-five when you’re done.
P.S. Still staring at the page? Draw a rectangle. Add a smaller rectangle at the front. Add an L-shaped handle at the bottom. Congratulations—you just drew a hairdryer. Told you it was simple.